Set Up a New User Device With WireGuard MFA
This article will show you how easy it is to enroll a new user and device into WireGuard MFA (Multi-Factor Authentication) with Pro Custodibus.
Let’s say we’ve just hired a new DB admin, Daisy, and we want to provision her with access to our DB cluster through WireGuard. The WireGuard gateway to our DB cluster has a Pro Custodibus agent on it, and we’ve already set up a key-rotation policy to require MFA in order to access this gateway. This is what we want to achieve:

This is how we’d do it, to set up Daisy and her new laptop with access to the DB cluster through the cluster’s WireGuard gateway:
Register User
First, we’ll add a new user account in Pro Custodibus for our new user, Daisy.
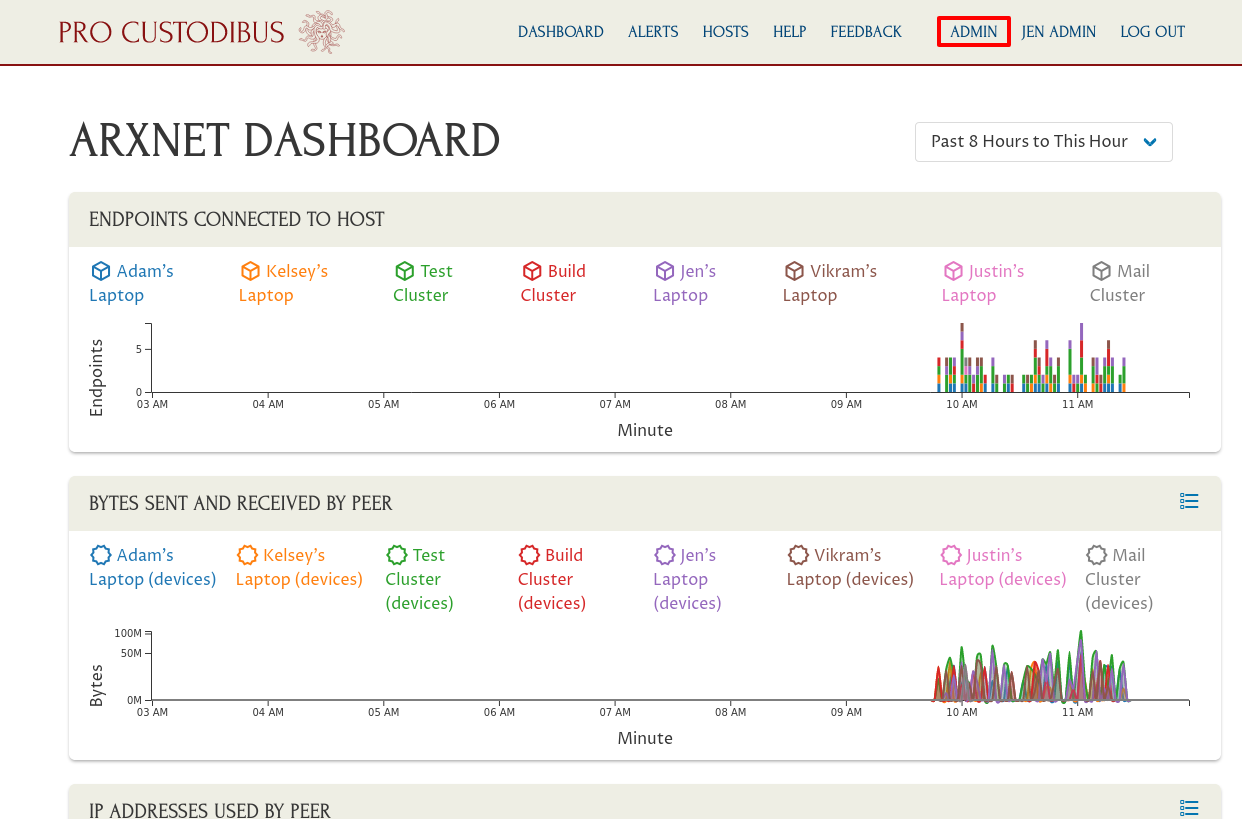
To do so, log into Pro Custodibus as an admin user, and click the Admin link in the app header:
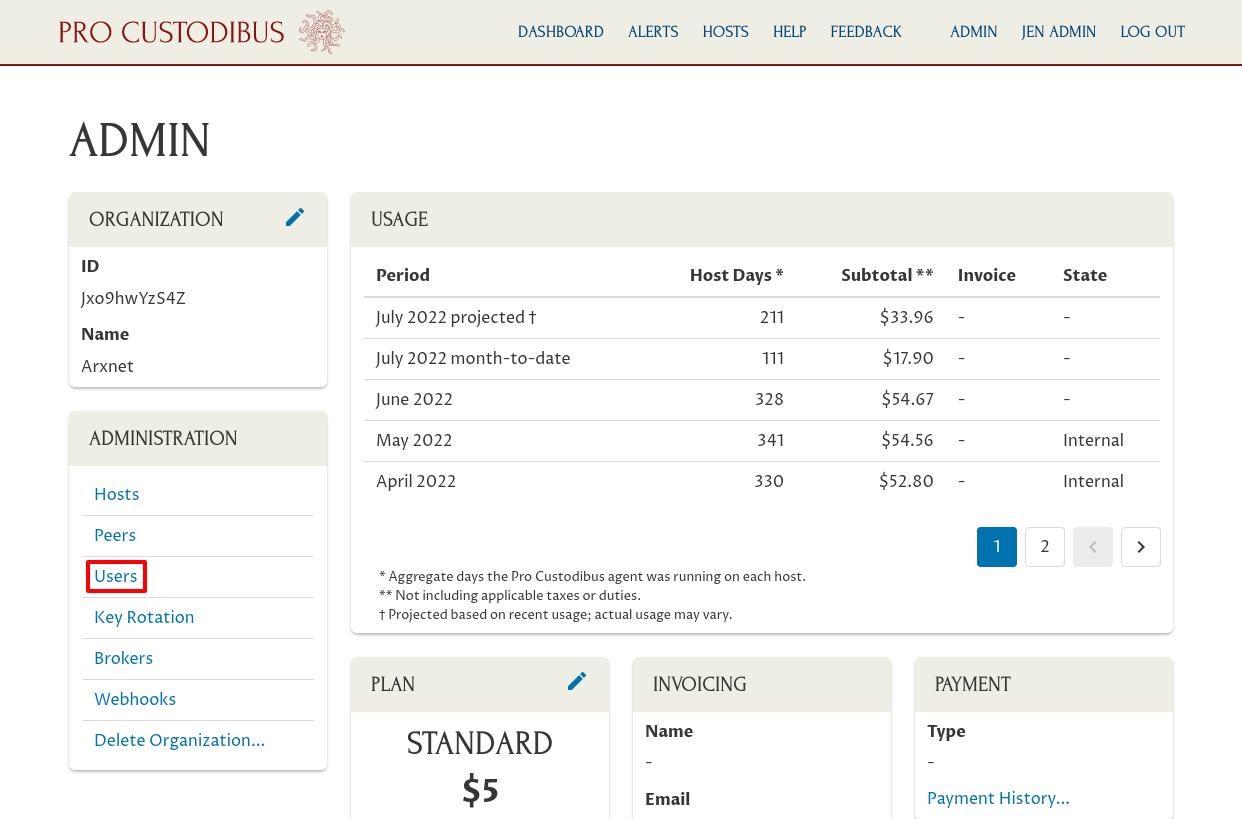
Then click the Users link in the Administration panel:
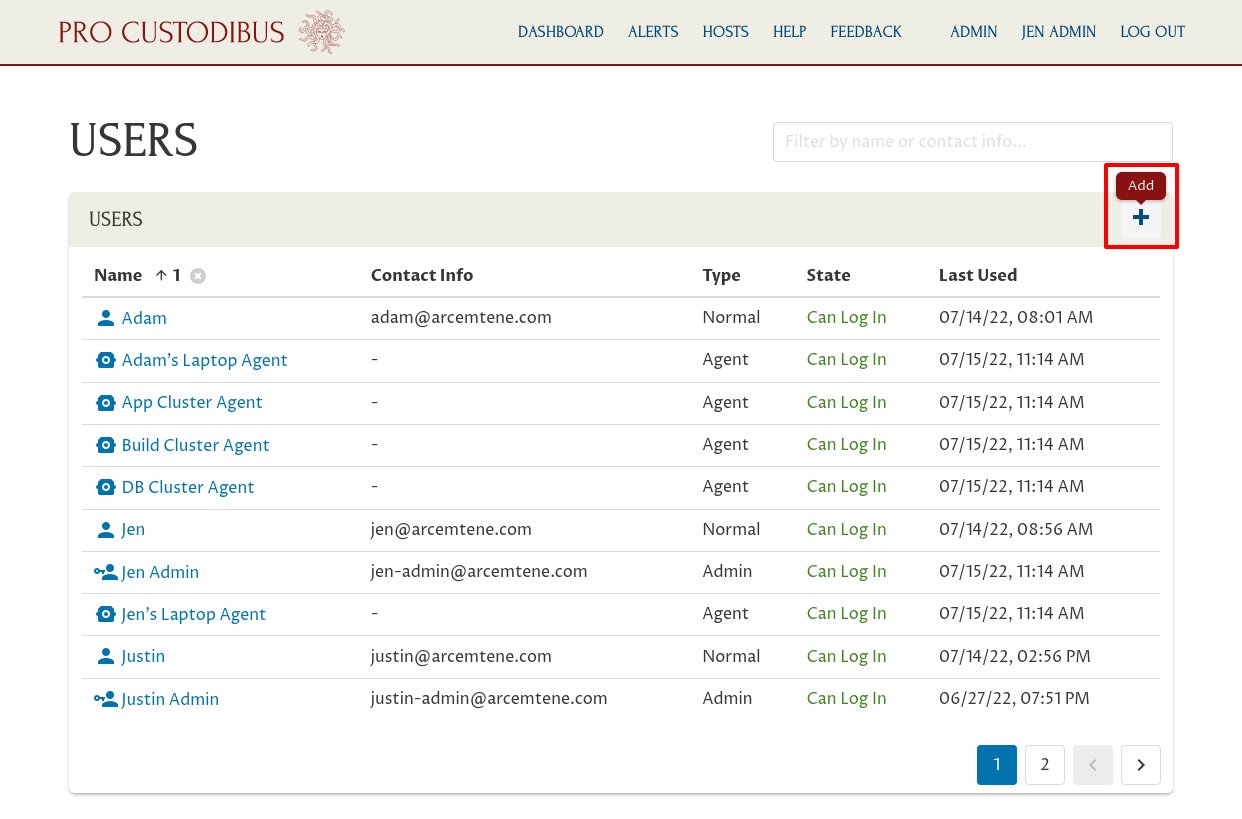
Then click the Add icon in the Users panel:
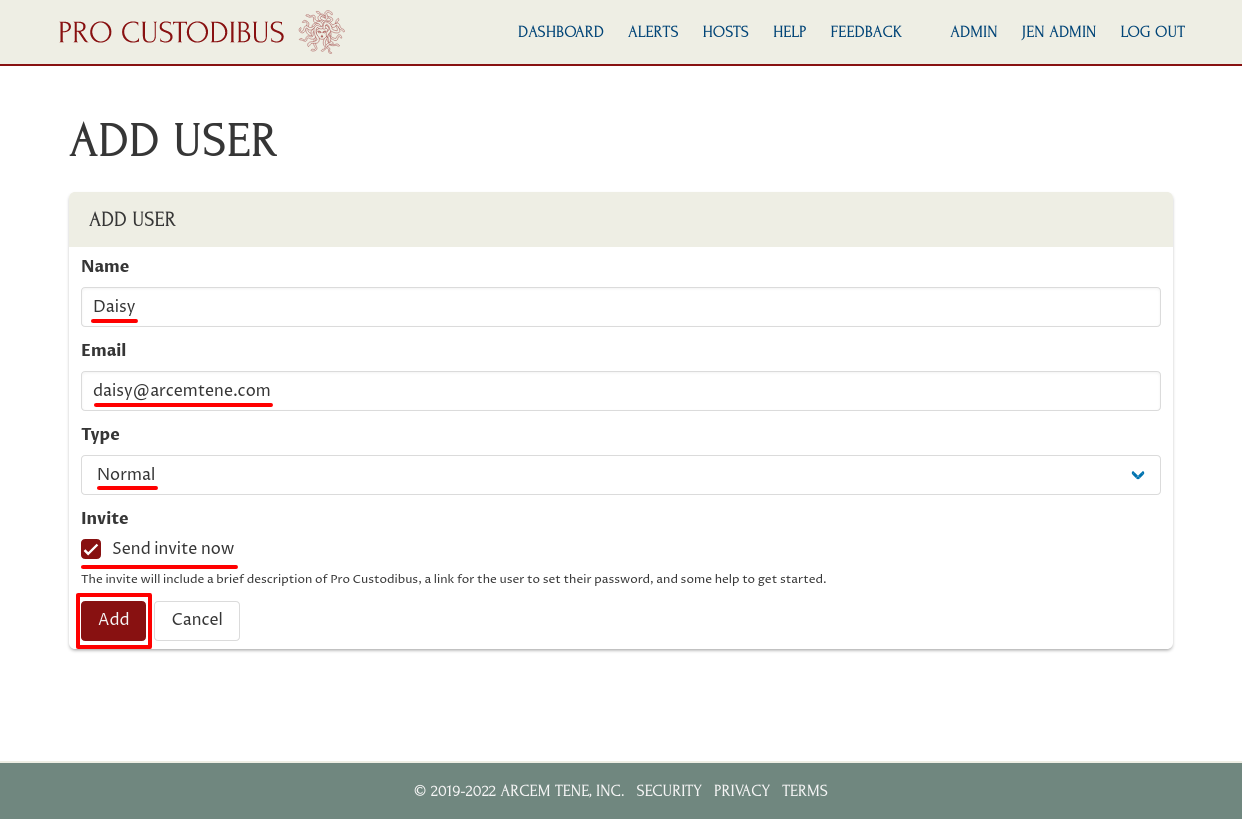
Enter a display name for the user (like “Daisy”) in the Name field, and her email address (like “daisy@arcemtene.com”) in the Email field. Select “Normal” for the Type field, so she’ll have normal user (non-admin) permissions organization-wide.
Select the Send invite now checkbox, to email her a link to set her password so she can log into Pro Custodibus. Then click the Add button:
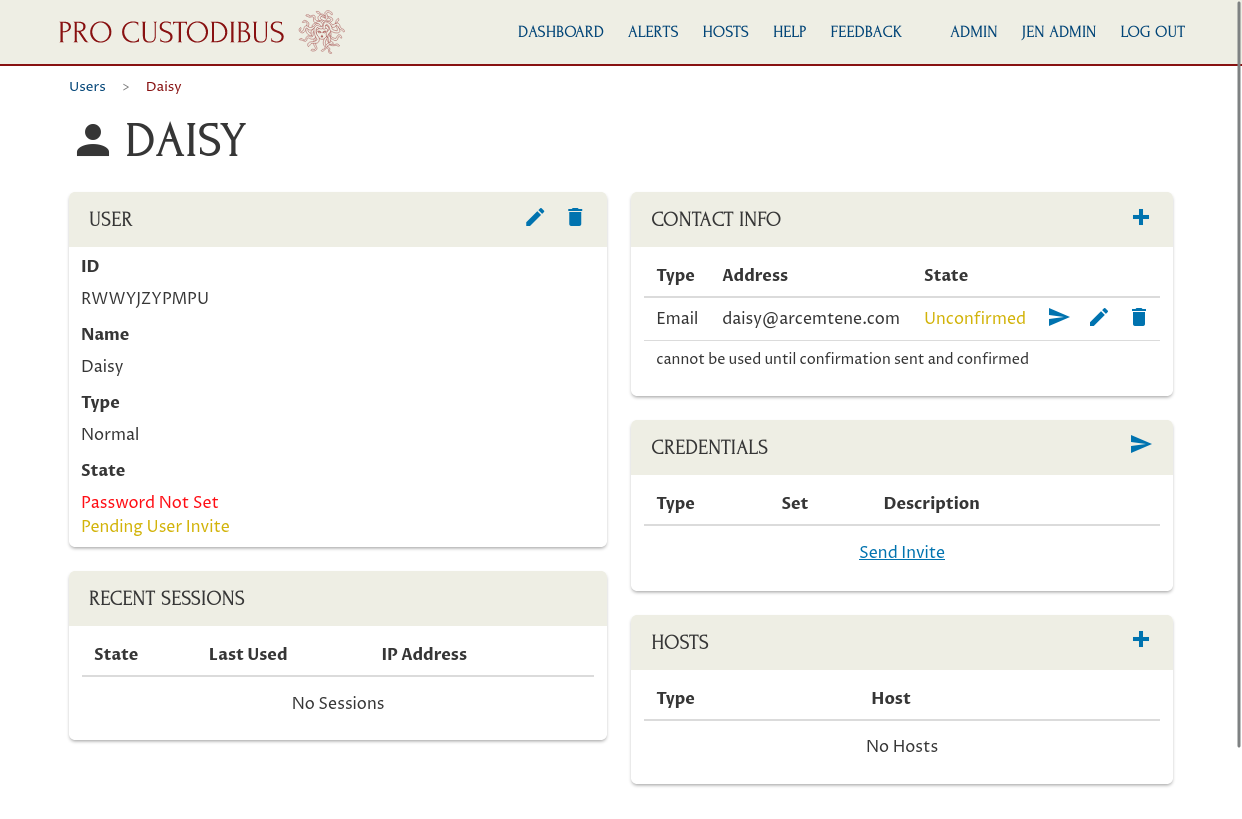
This will create a new user. You’ll see the user hasn’t set her password yet or confirmed her email address, but has a pending invite to do so:
Register Device
Next, we’ll register a new host record in Pro Custodibus for our new user’s laptop.
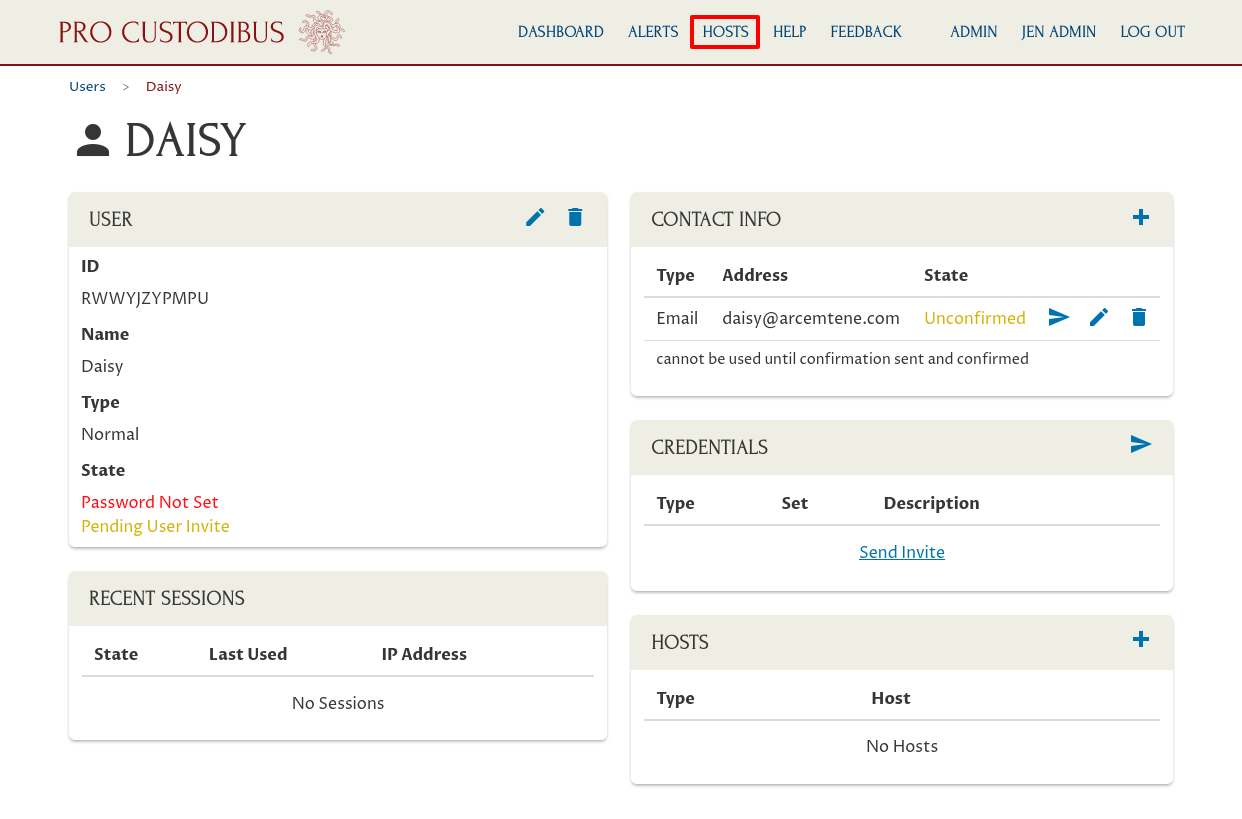
Click the Hosts link in the app header:
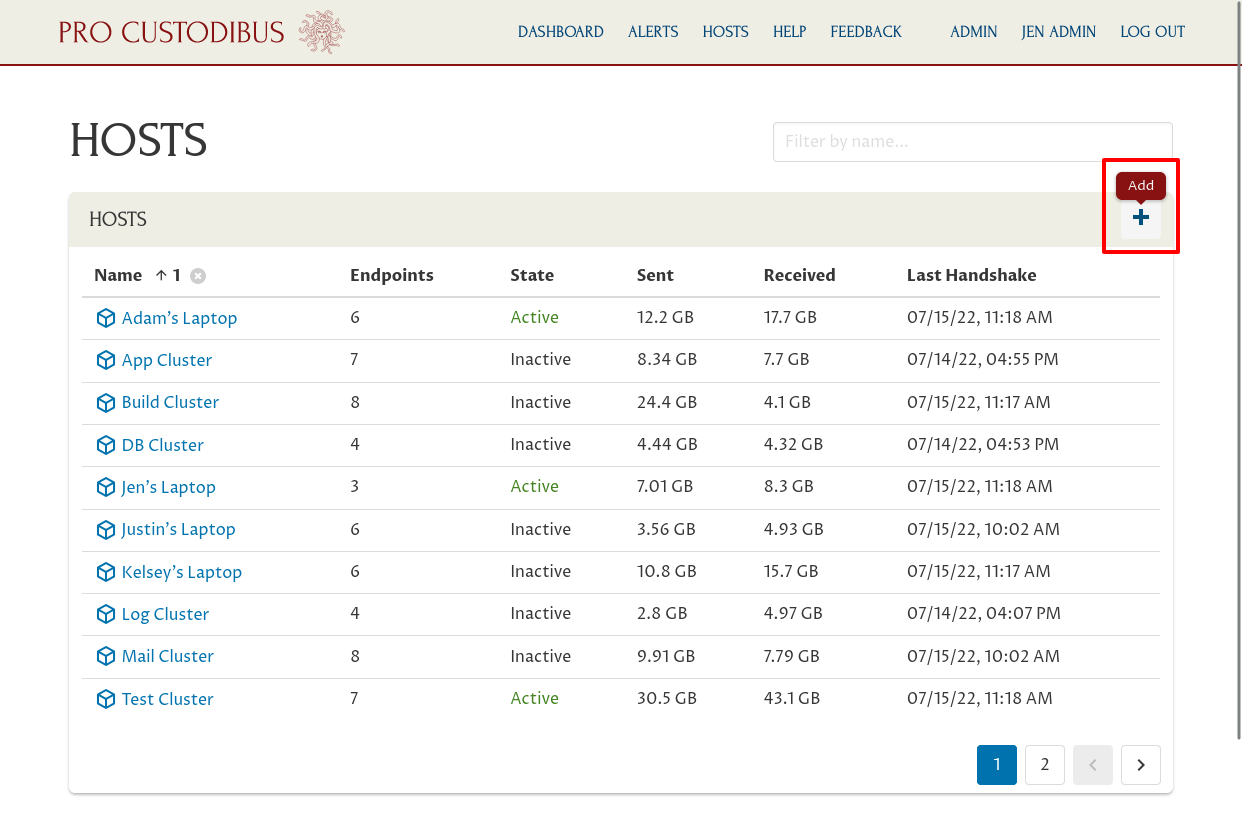
Then click the Add icon in the Hosts panel:
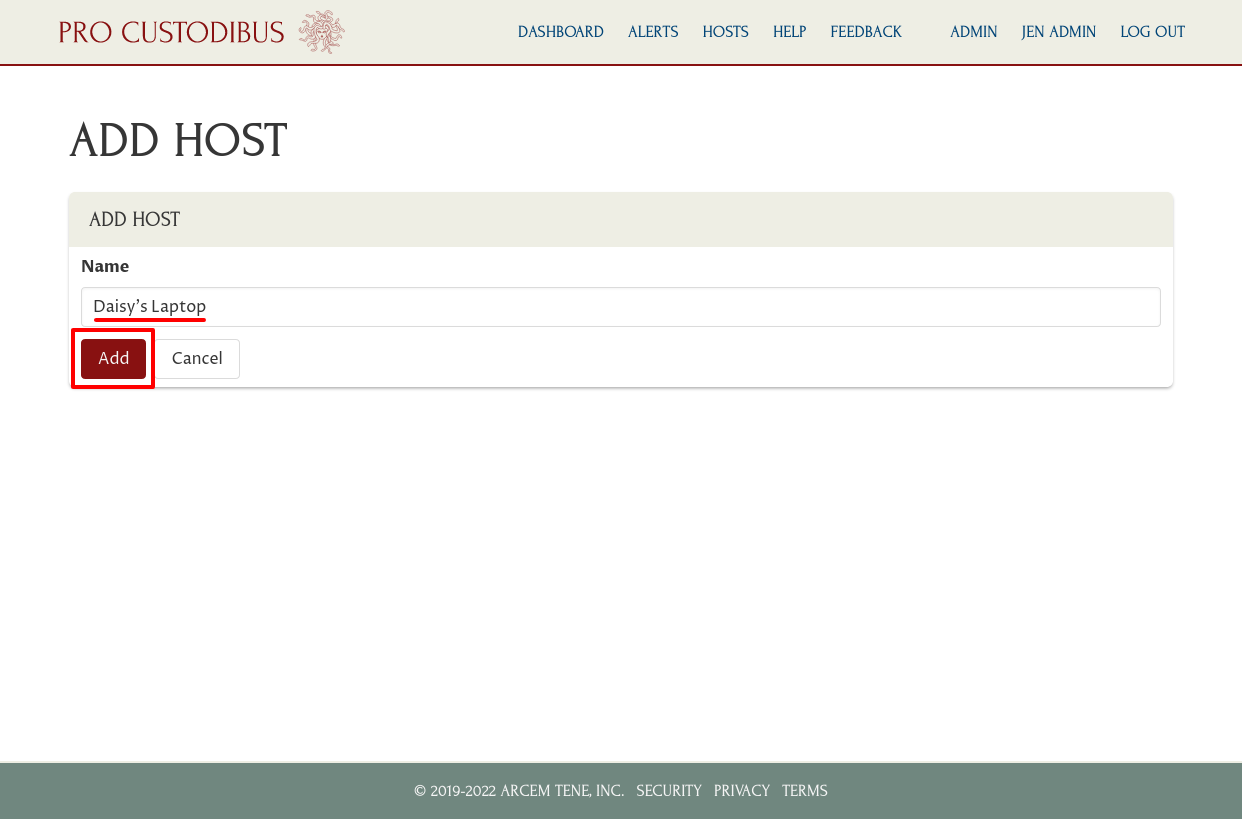
Enter a display name for the host (like “Daisy’s Laptop”) in the Name field. Then click the Add button:
This will create a new host, and display the host’s set-up page.
On this page, click the procustodibus.conf and procustodibus-setup.conf links to download those two files:
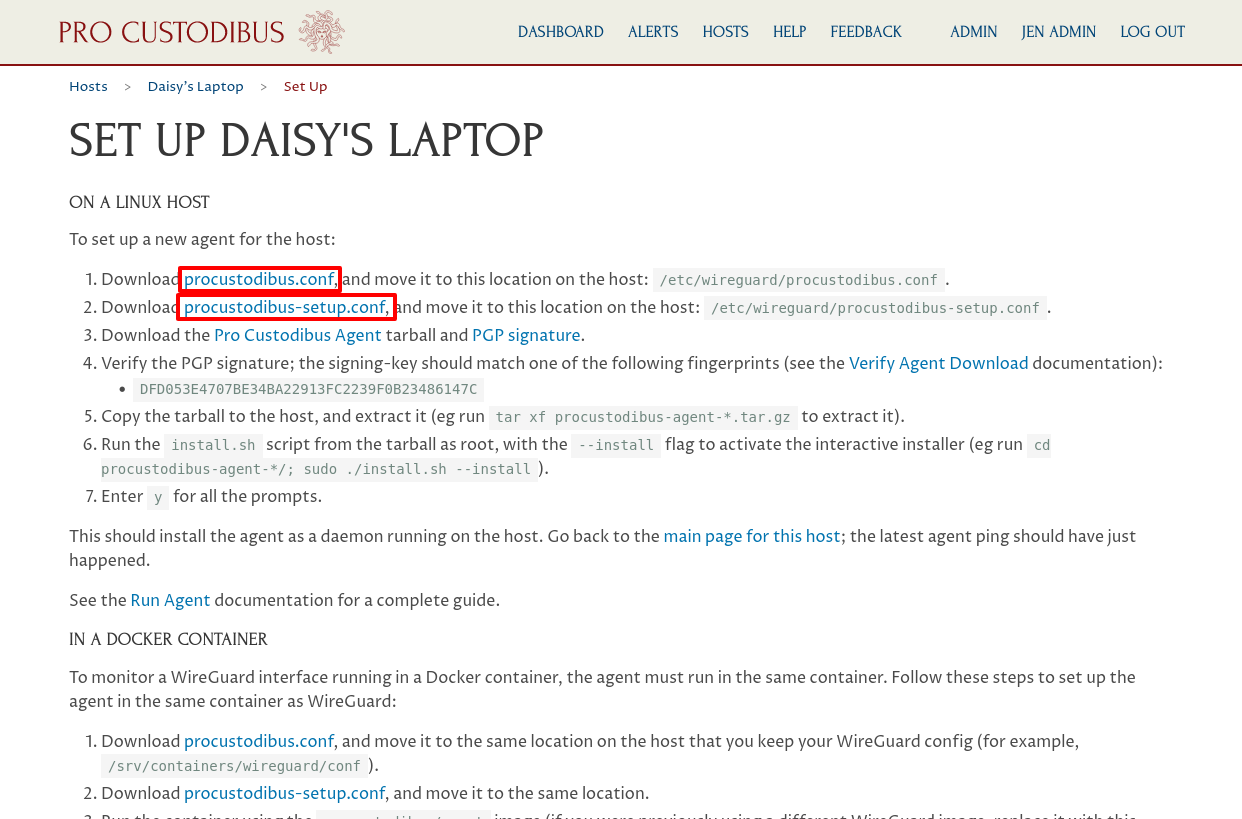
Send those two files to Daisy; or if you’re able to connect directly to her laptop, copy them over to her laptop, and save them in the /etc/wireguard directory.
Install Agent on Device
Now install WireGuard on Daisy’s laptop, if it’s not installed already, and download and install the Pro Custodibus agent on it, as well.
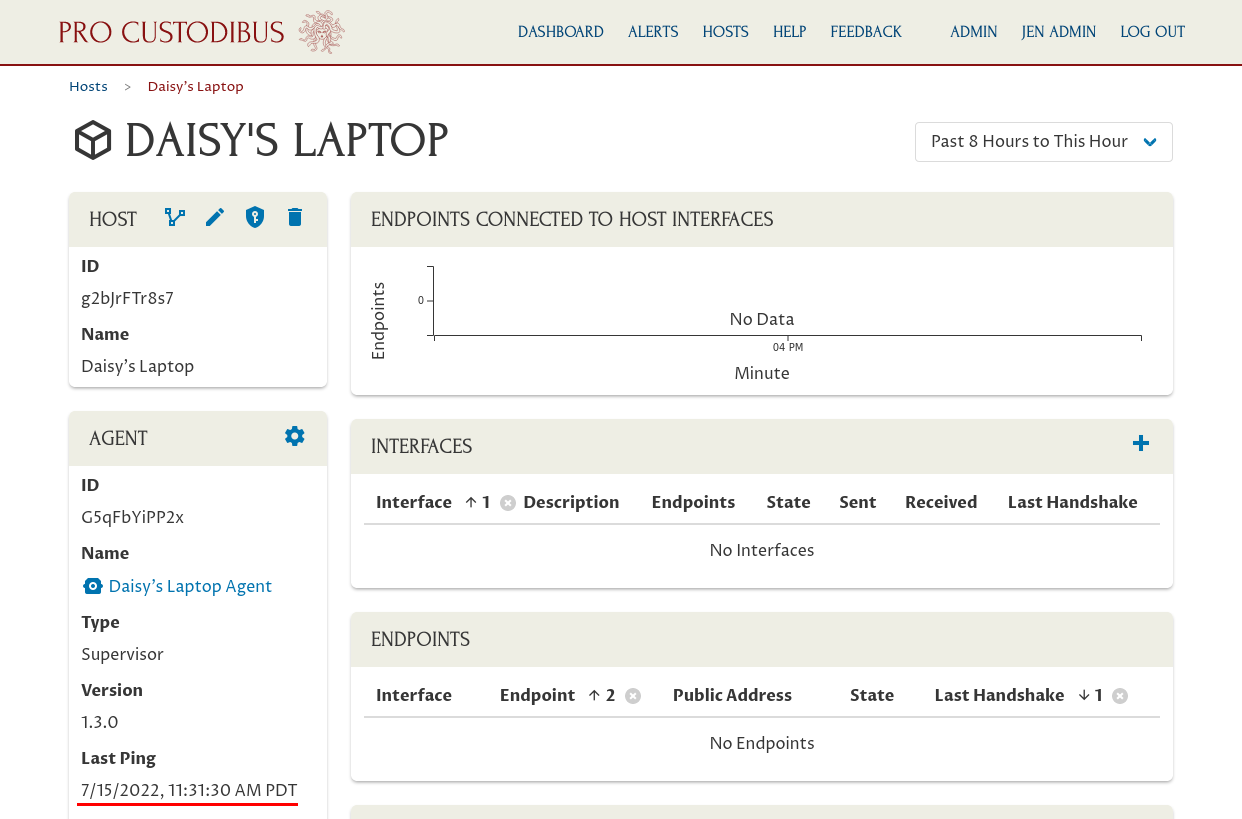
Once the agent is up and running on her machine, click the Daisy’s Laptop link in Pro Custodibus to return to the main page for her laptop:
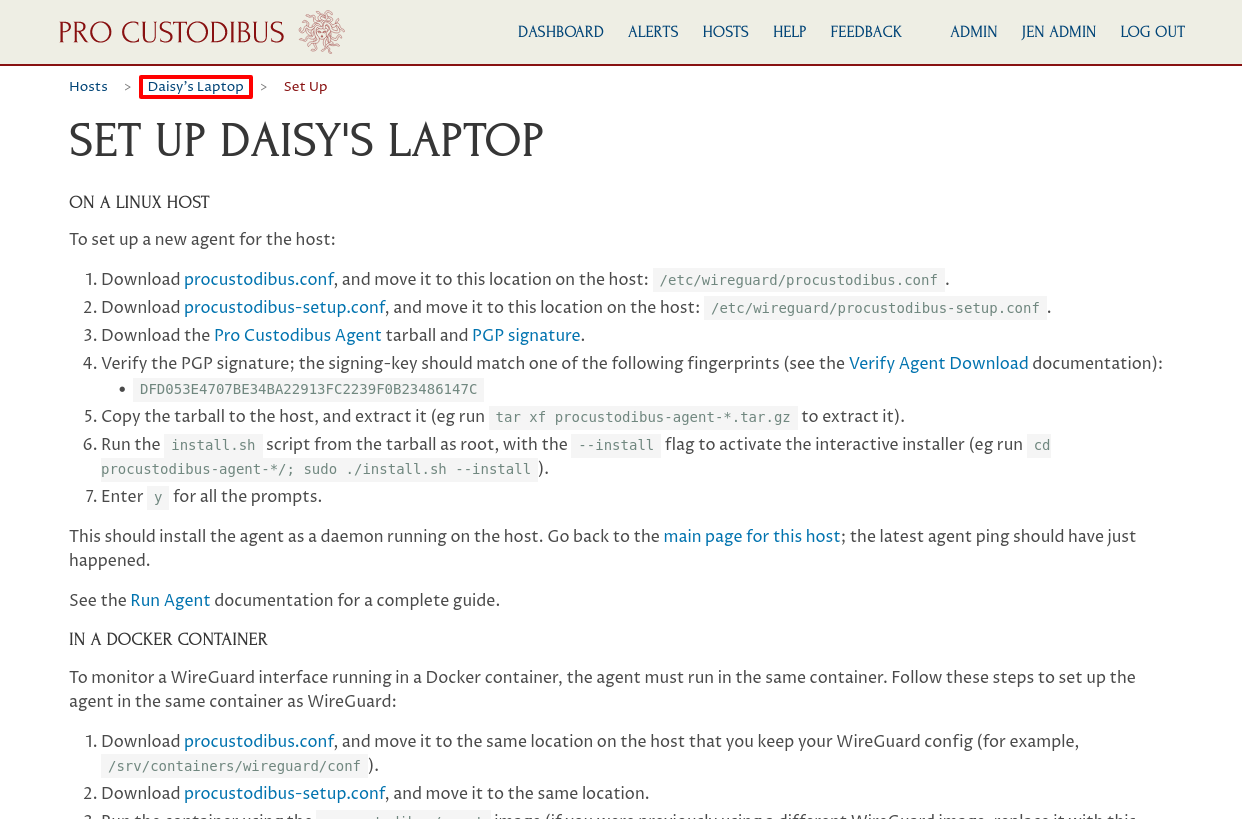
You should see that the agent is connected and has just sent its Last Ping:
Assign Device to User
Next, connect Daisy’s user account to the laptop by scrolling down and clicking the Add icon in the Users panel:
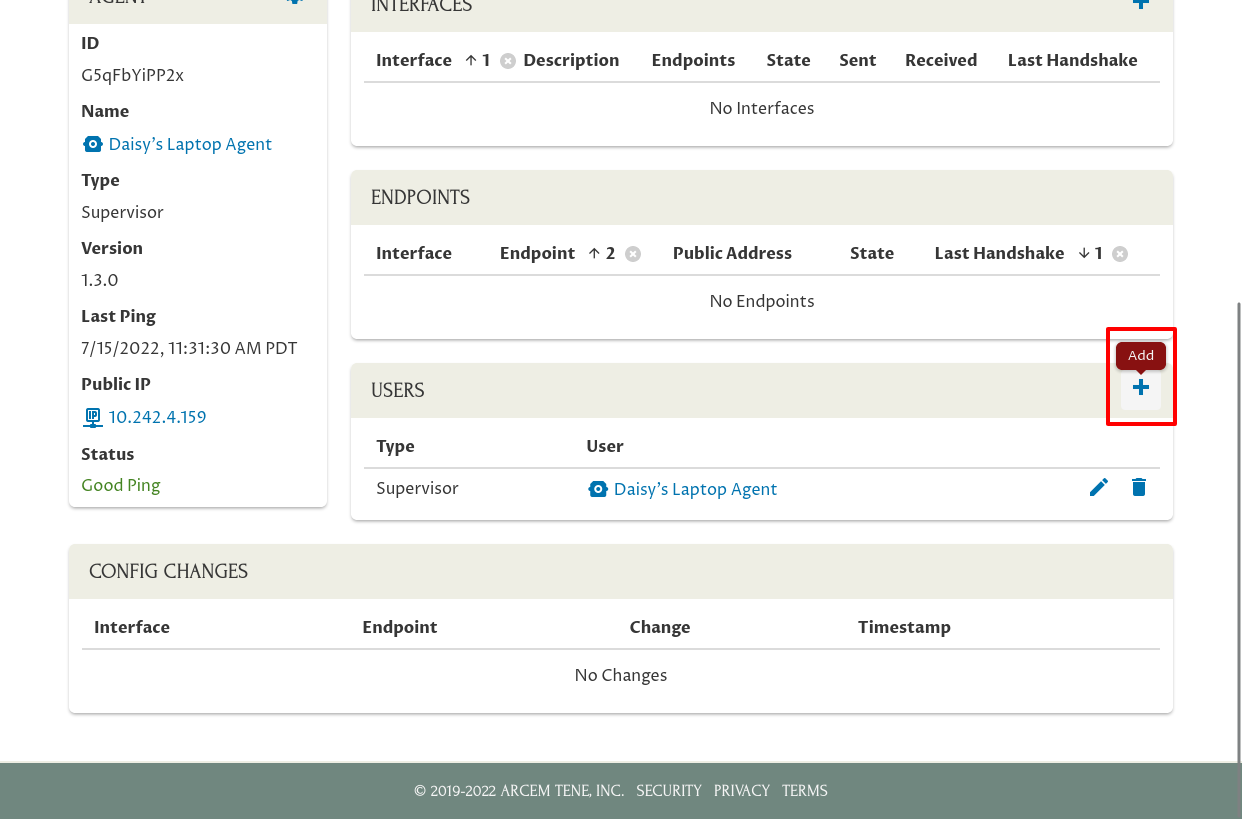
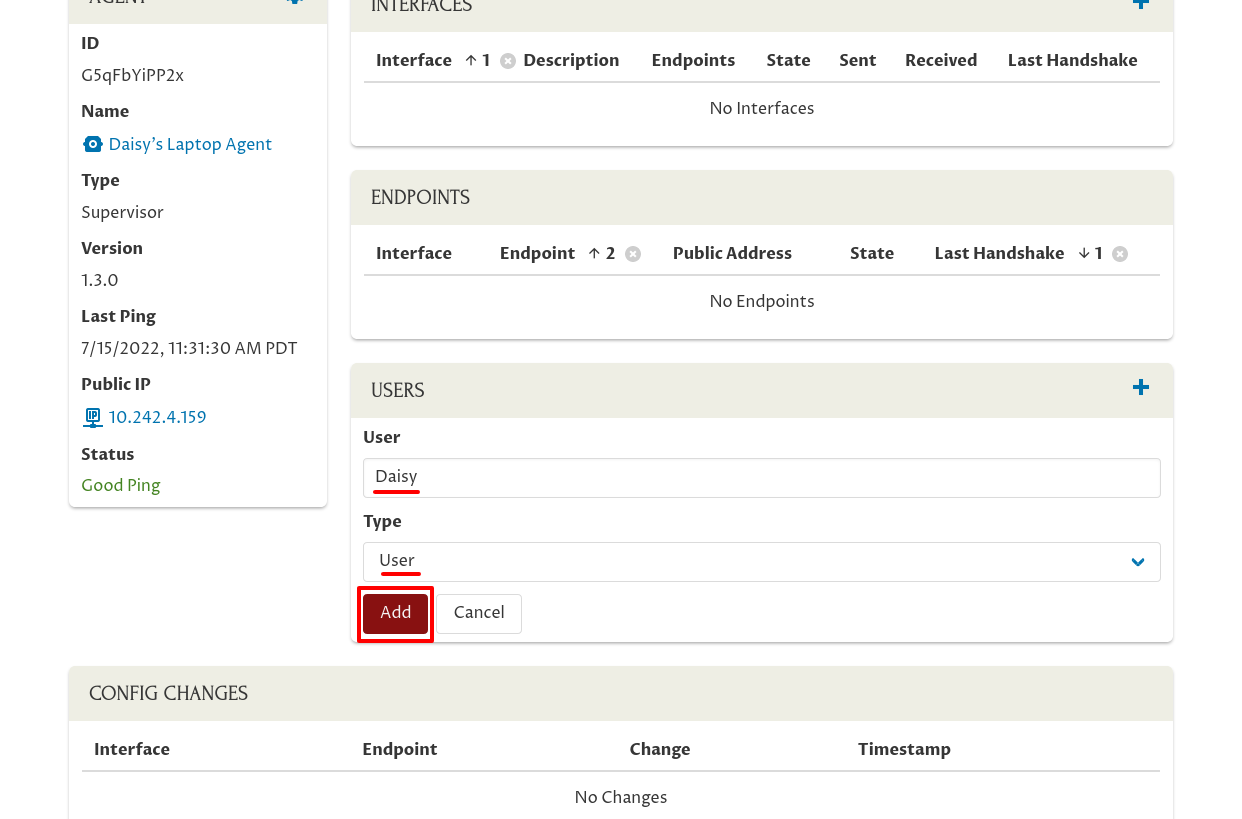
Select her user account in the Users field (start typing her name if it doesn’t appear in the initial list of users). Select “User” for the Type field, so she’ll just have normal user (non-admin) permissions for the host.
Then click the Add button:
Add Interface for Device
If you’ve already set up some WireGuard interfaces on the user’s device, you’ll see them show up on this same host page for the device. Otherwise, you can configure them now. Since we want Daisy to be able to access our DB cluster, we’ll set up a WireGuard interface on her laptop with access to that cluster.
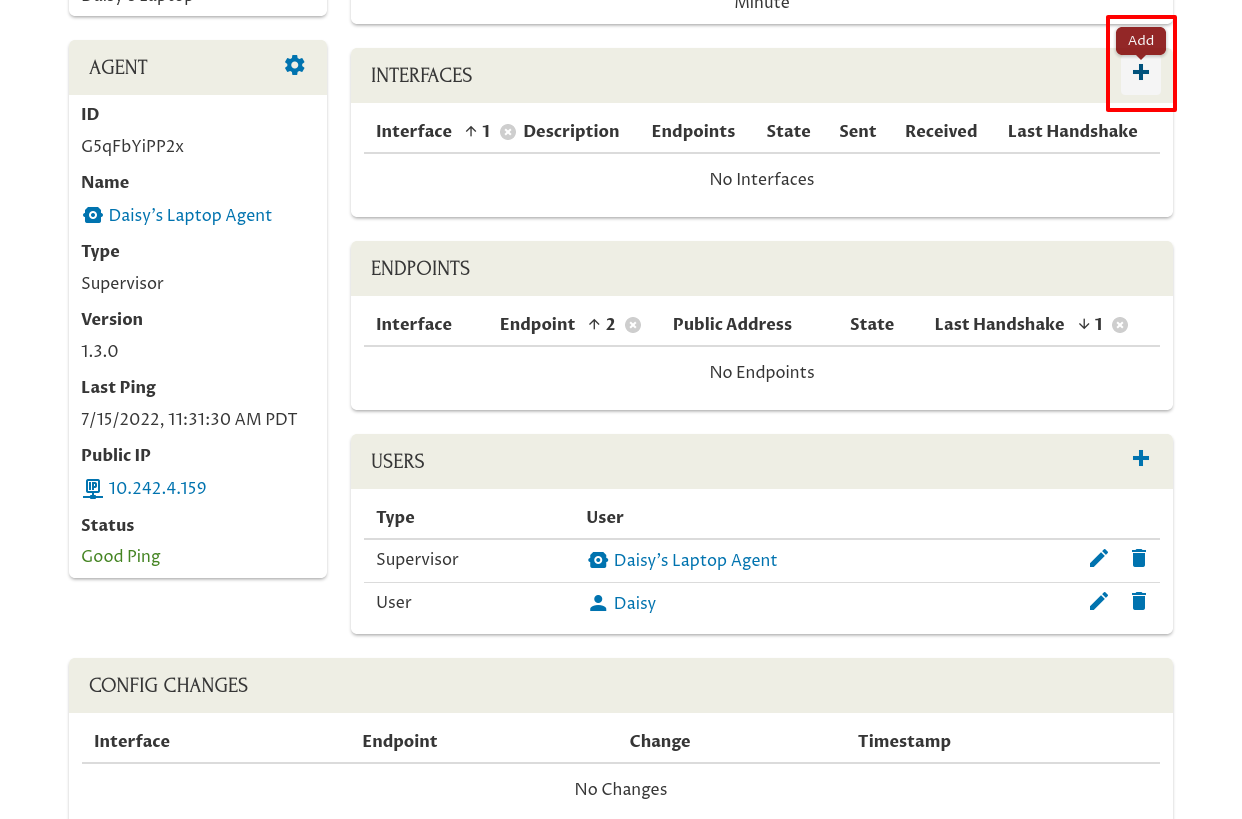
First, click the Add icon in the Interfaces panel:
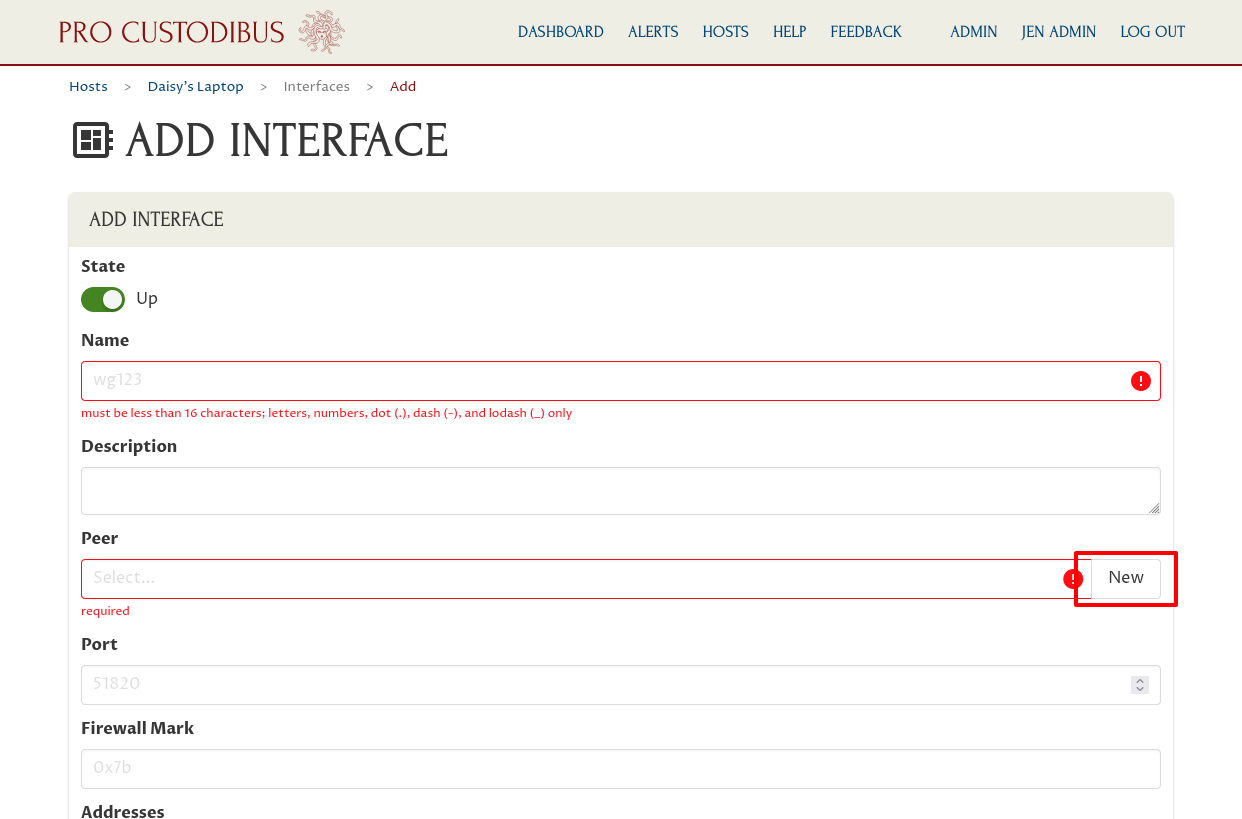
Click the New button on the right side of the Peer field to create a new peer identity for the interface:
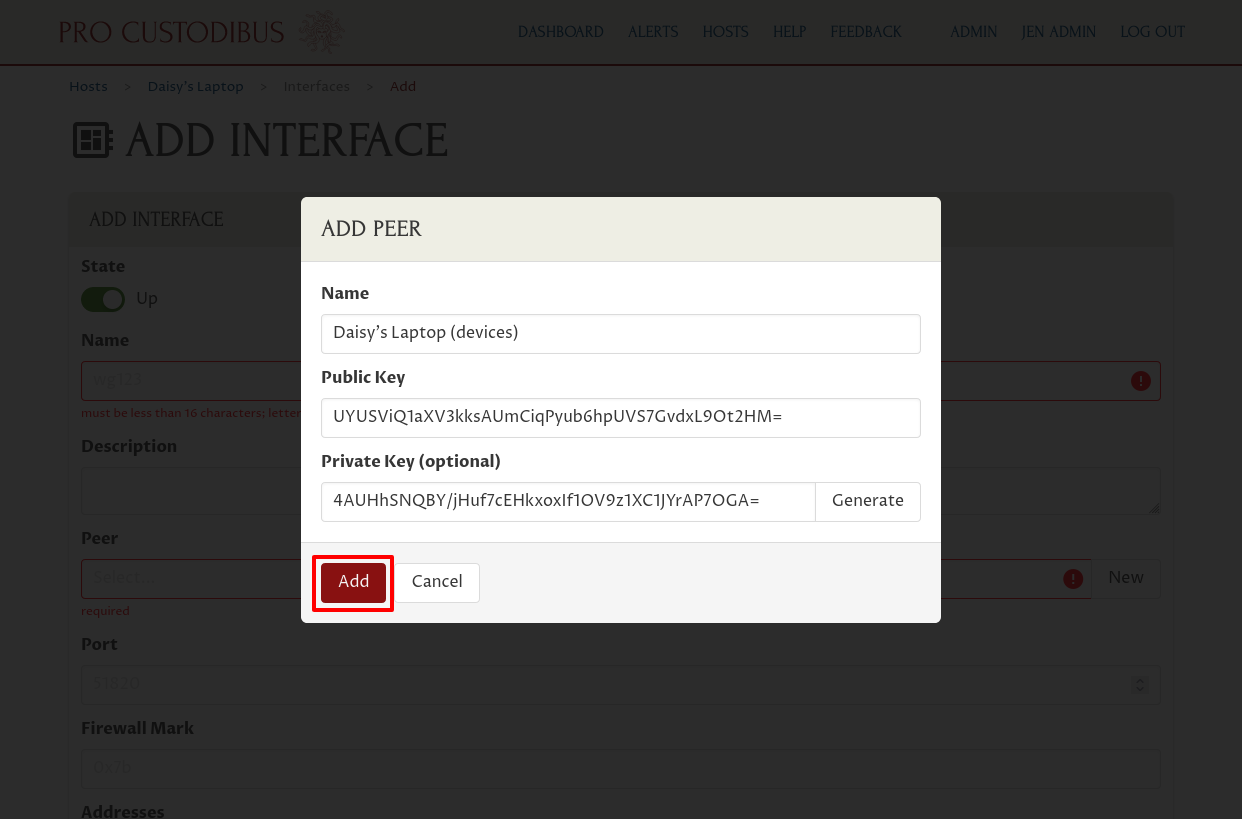
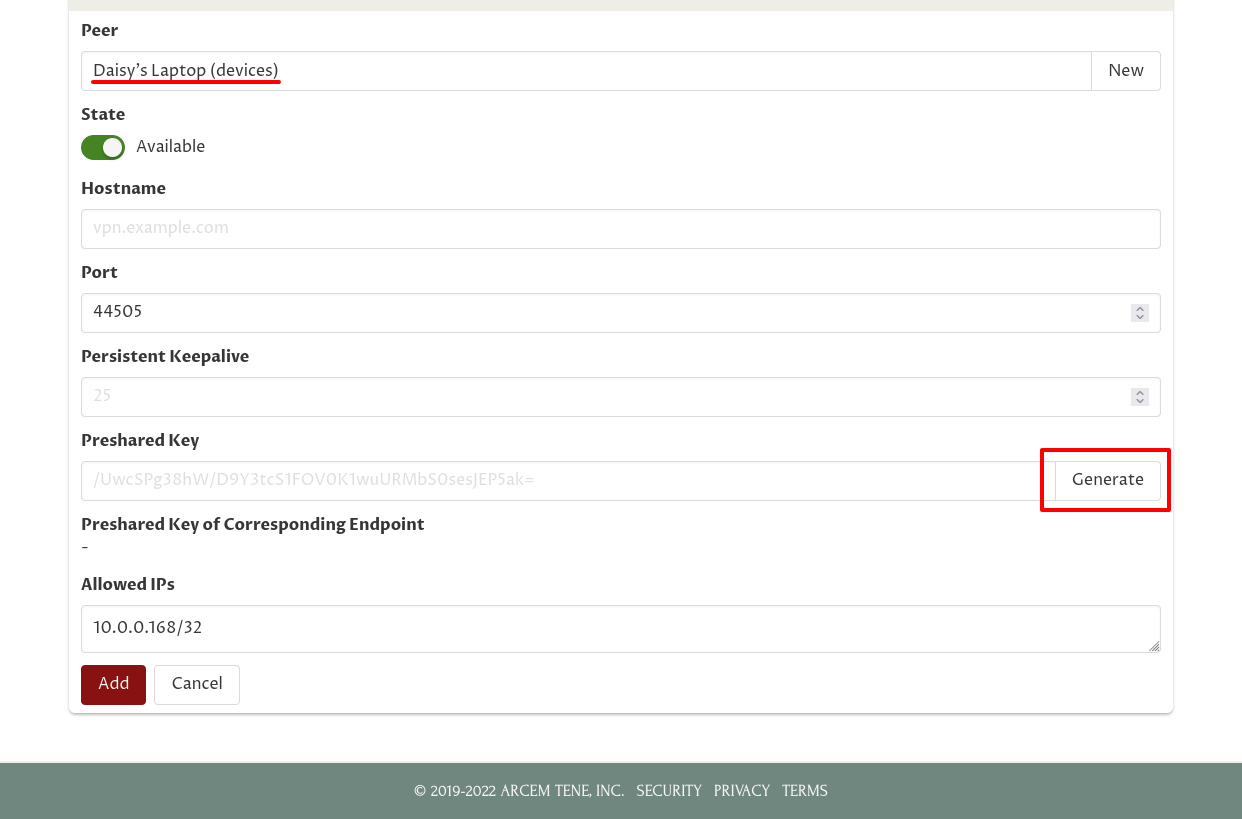
Enter a name for the peer, like “Daisy’s Laptop (devices)” in the Name field. Then click the Generate button on the right side of the Private Key field to generate a new public key pair:
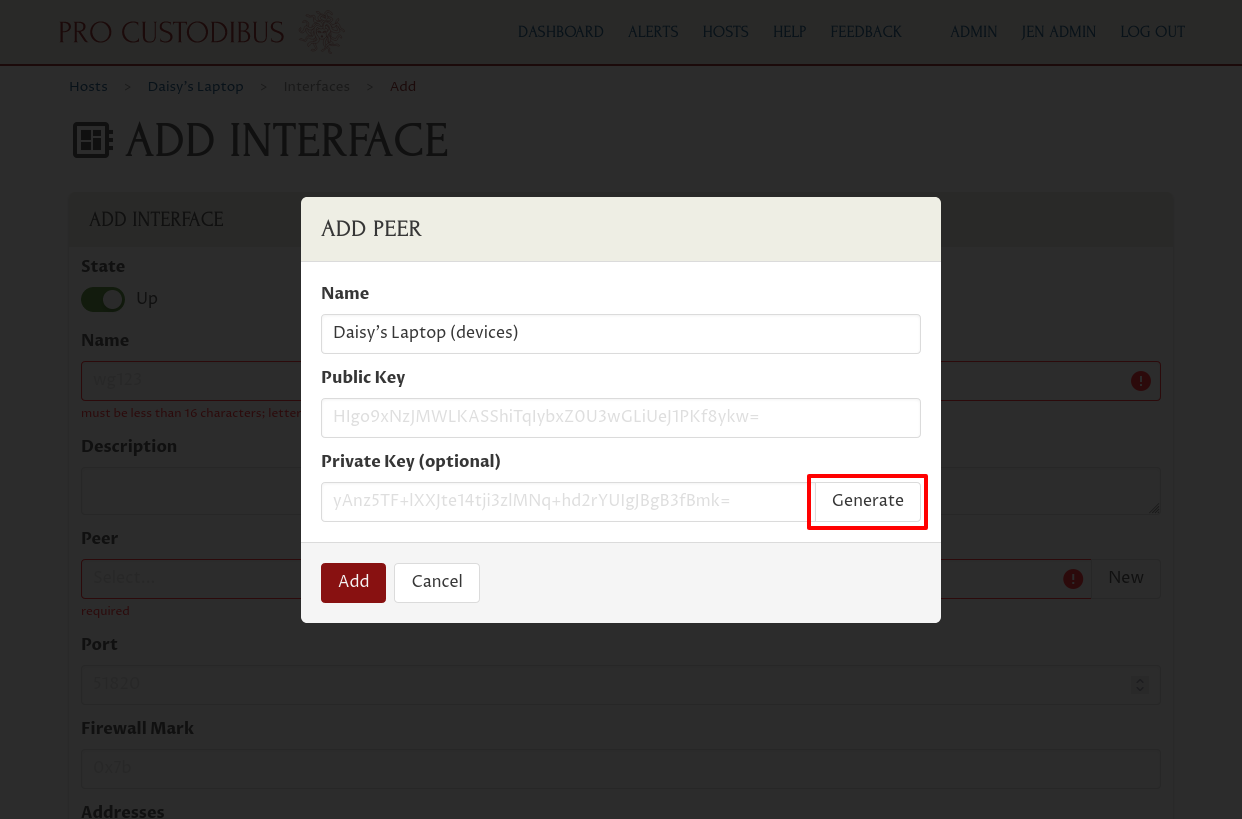
Then click the Add button to add the new peer identity:
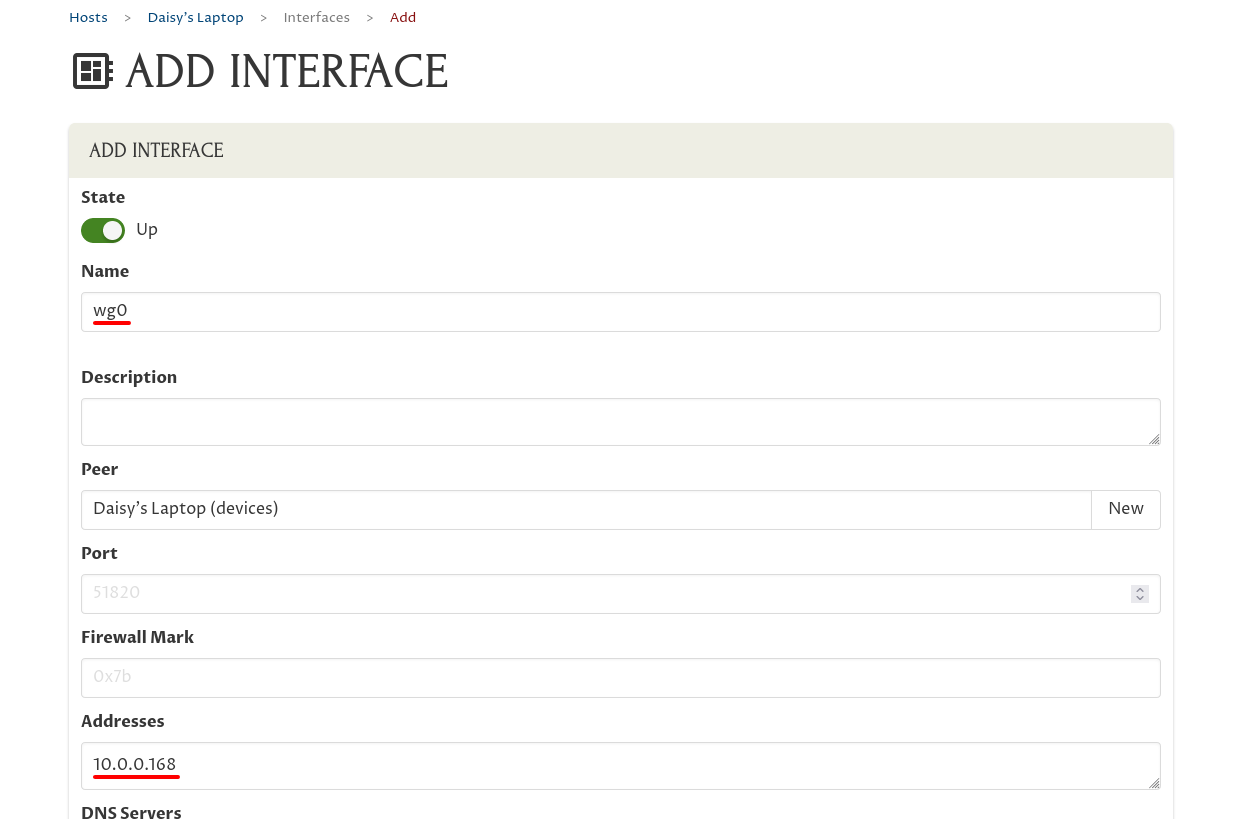
Next, enter a system name for the interface in the Name field. The operating system on Daisy’s Laptop will use this name to identify the interface, so it must be a short, alphanumeric name. Something like “wg0” is a pretty good default for this.
If you will set up multiple WireGuard interfaces on a host, you can enter longer, human-oriented descriptions for each interface in the Description field, to help you distinguish one interface from another.
Also be sure to enter the IP address this interface will use within your WireGuard network in the Addresses field. We’re using the 10.0.0.0/24 address space for this WireGuard network, so we’ll assign her interface an address of “10.0.0.168” — this is the IP address that the other WireGuard peers in the network will use for her laptop:
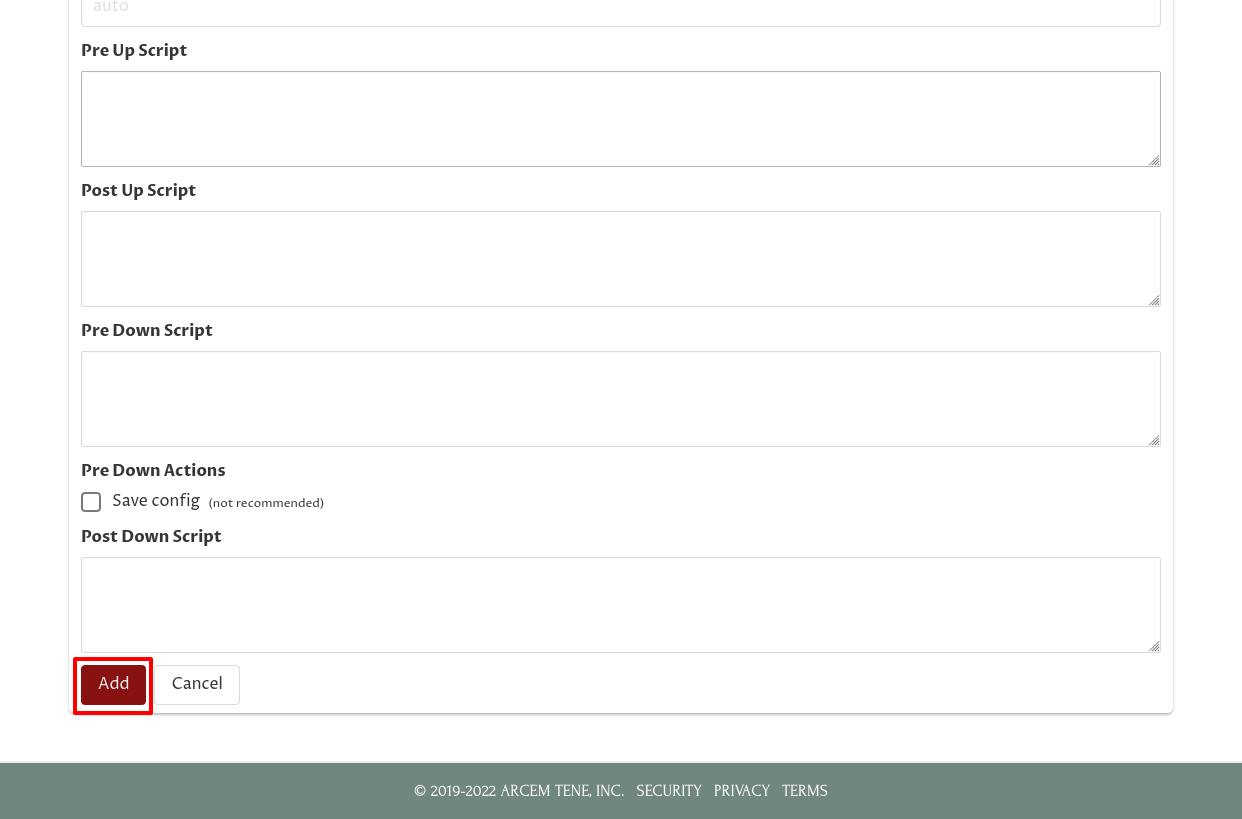
You usually don’t need to enter anything into any of the other fields on this page; in this case we don’t either, so scroll down to the bottom of the page, and click the Add button:
Add Endpoint for Device
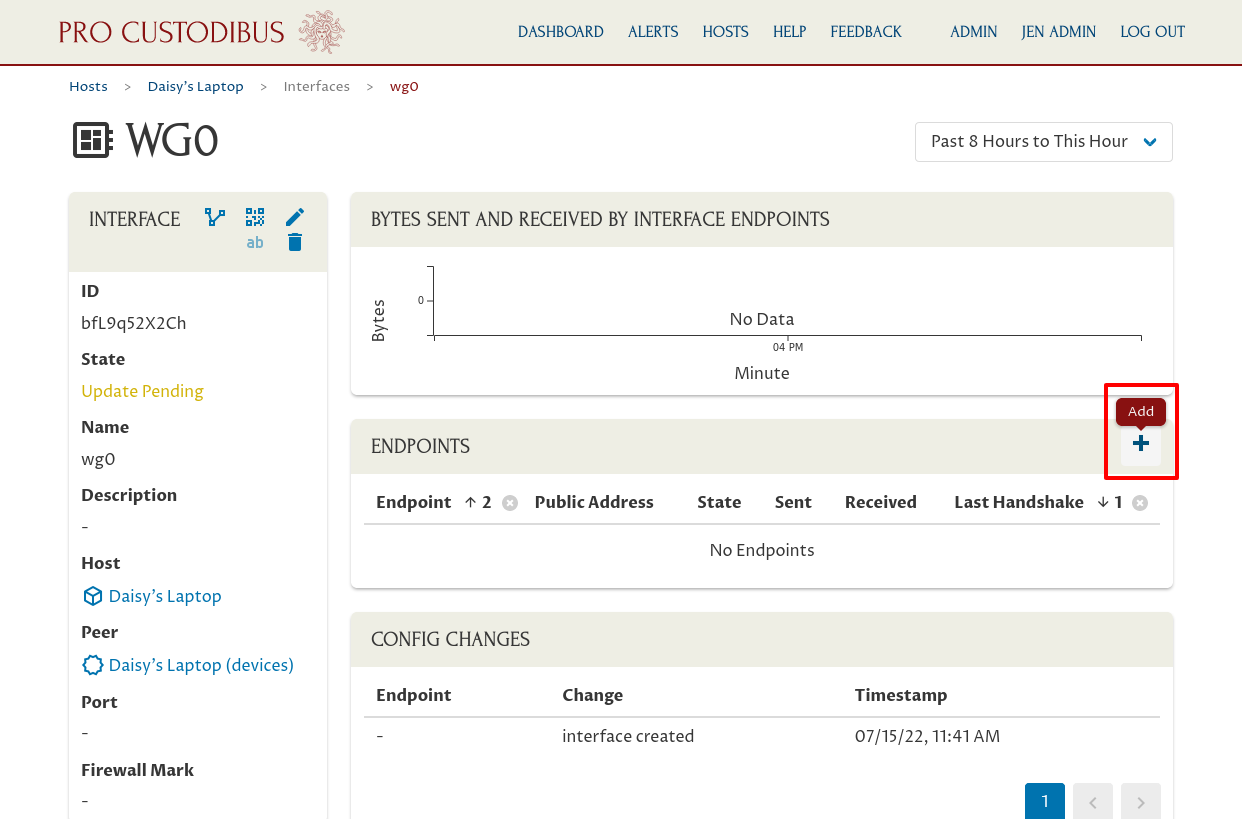
Now we have a WireGuard interface on the new device — but it has no endpoints it can connect to. We’ll add an endpoint to the DB cluster’s WireGuard peer; this will tell Daisy’s laptop how to connect to the DB cluster gateway.
Click the Add icon in the Endpoints panel:
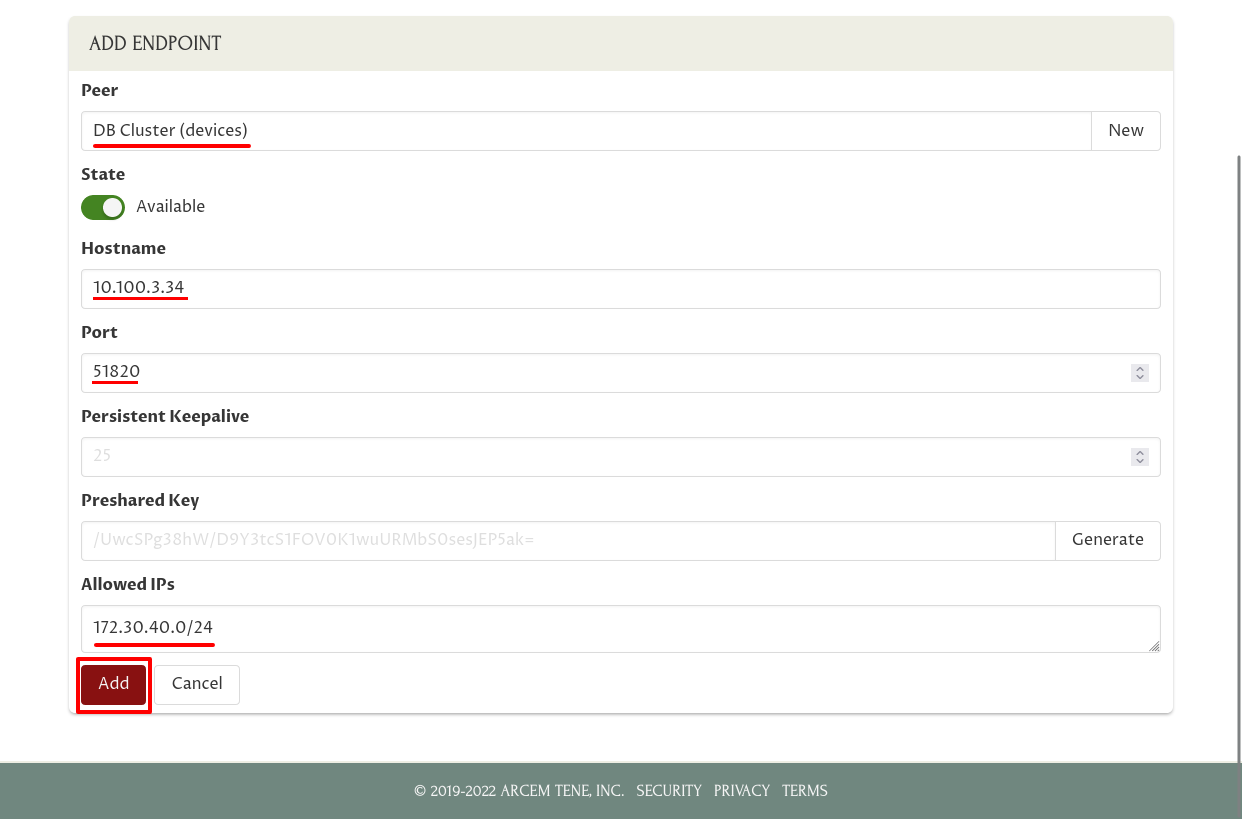
In the Peer field, select the peer to connect to (in this case, we’re going to configure Daisy’s laptop to connect to the “DB Cluster (devices)” peer). Start typing the peer’s name if the one you’re looking for doesn’t appear in the initial list of peers.
If you’ve previously added an endpoint from another device to the selected peer, Pro Custodibus will automatically fill in the Hostname, Port, and Allowed IPs fields with the last endpoint you added to the selected peer.
If not, enter the public IP address or DNS name at which Daisy’s laptop can connect to the DB cluster in the Hostname field (this is not an internal WireGuard IP address — this is the external IP address used to establish the WireGuard tunnel). Enter the WireGuard listen port of the DB cluster gateway in the Port field.
Enter the list of IP addresses and IP address blocks that Daisy’s laptop will be able to access through this WireGuard connection in the Allowed IPs field. Often this would just be the IP address used by the WireGuard interface on the remote host — but in this case we want to give Daisy access not to the DB gateway itself, but to the hosts in the DB cluster behind the gateway; so in this case we use that block of addresses (“172.30.40.0/24”) for this field.
Click the Add button when you’ve finished entering IP addresses:
Add Corresponding Endpoint
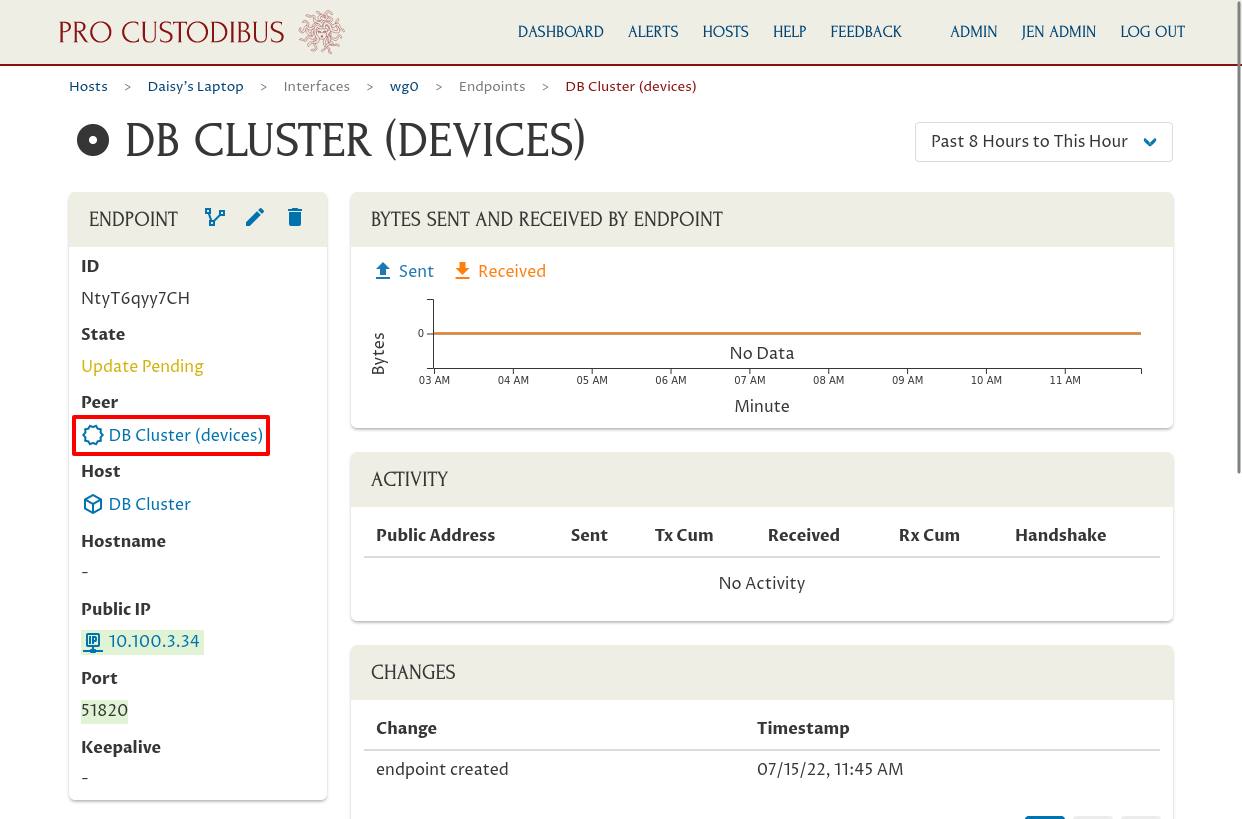
Now that we’ve set up the WireGuard interface and the endpoint to the DB cluster on Daisy’s laptop, the last step is to set up the corresponding endpoint for the reverse direction — the endpoint back to Daisy’s laptop from the DB cluster (the endpoint configuration on Daisy’s laptop tells the laptop how to connect to the DB cluster gateway; the endpoint configuration on the gateway tells the gateway how to connect back to the laptop).
On the page of the endpoint we just created, click “DB Cluster” link in the Peer field to navigate to the peer page for the DB cluster:
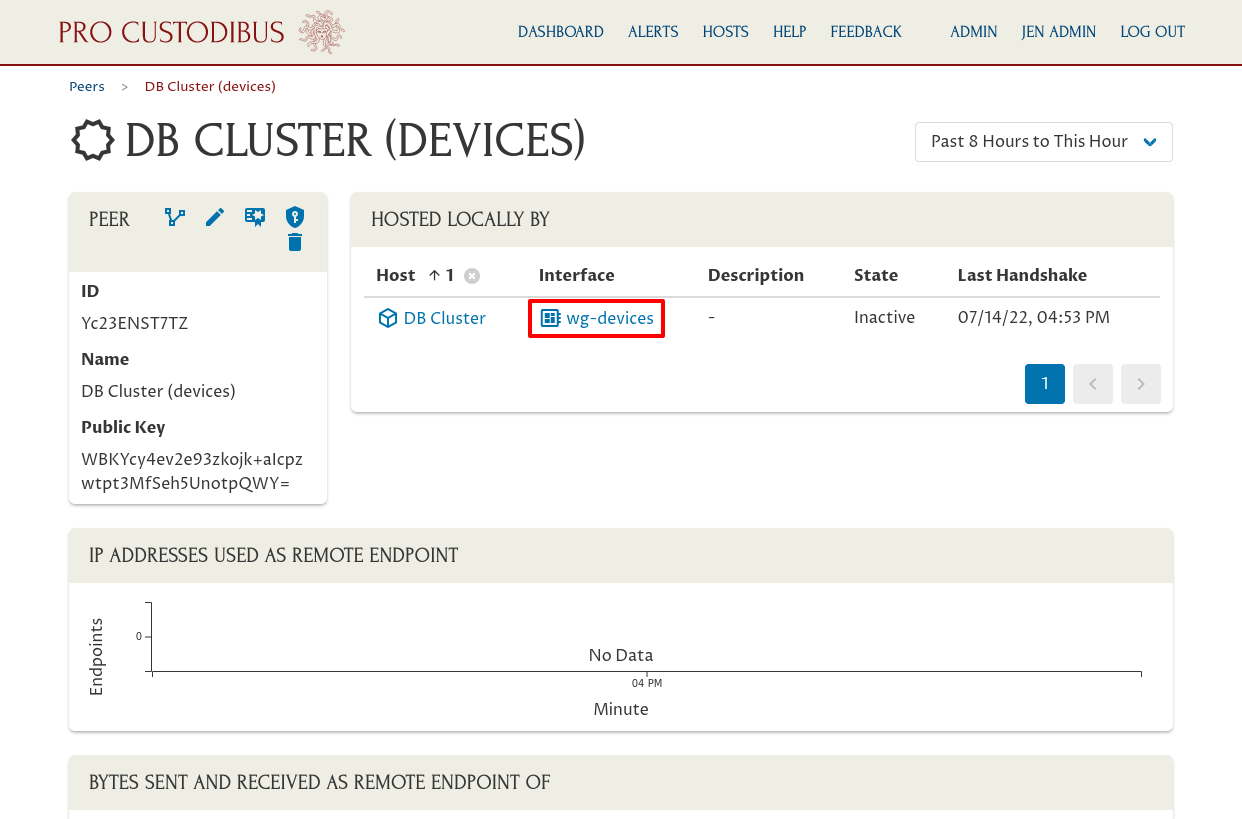
This page shows us where this peer identity is used. In the Hosted Locally By panel, we can see it’s used by the DB Cluster as the identity for its “wg-devices” interface. Click the link in the Interface column of this panel to navigate to the interface page:
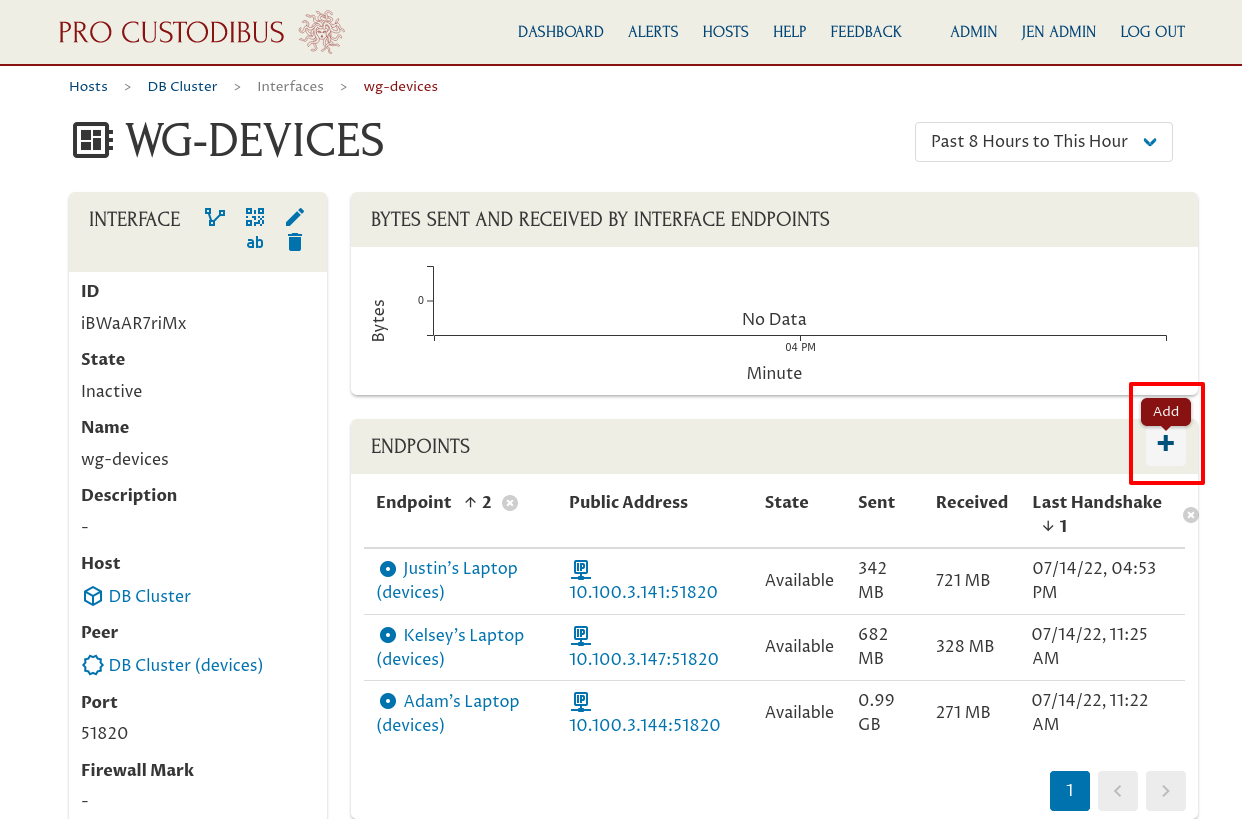
This page shows the connections from the DB cluster gateway through its “wg-devices” interface (the WireGuard interface on the gateway host that we’re using for end-user connections). Click the Add icon in the Endpoints panel to create the endpoint back to Daisy’s laptop from this interface:
In the Peer field, select the new peer identity we just created a few moments ago (the peer for Daisy’s laptop). Start typing the peer’s name if it doesn’t appear in the initial list of peers.
Since we just registered an interface for this peer a few moments ago, Pro Custodibus will try to use that information to automatically fill in the Port and Allowed IPs fields of the endpoint with the information from the new interface.
In this case, Daisy’s laptop will always initiate connections to the DB cluster gateway, and never the reverse (the DB cluster will never need to initiate connections to Daisy’s laptop), so we can just leave the Hostname and Port fields blank.
And in this case, Pro Custodibus will correctly fill in the Allowed IPs field for us, using the WireGuard IP address we just set up for the interface on Daisy’s laptop, so we’ll leave it as is.
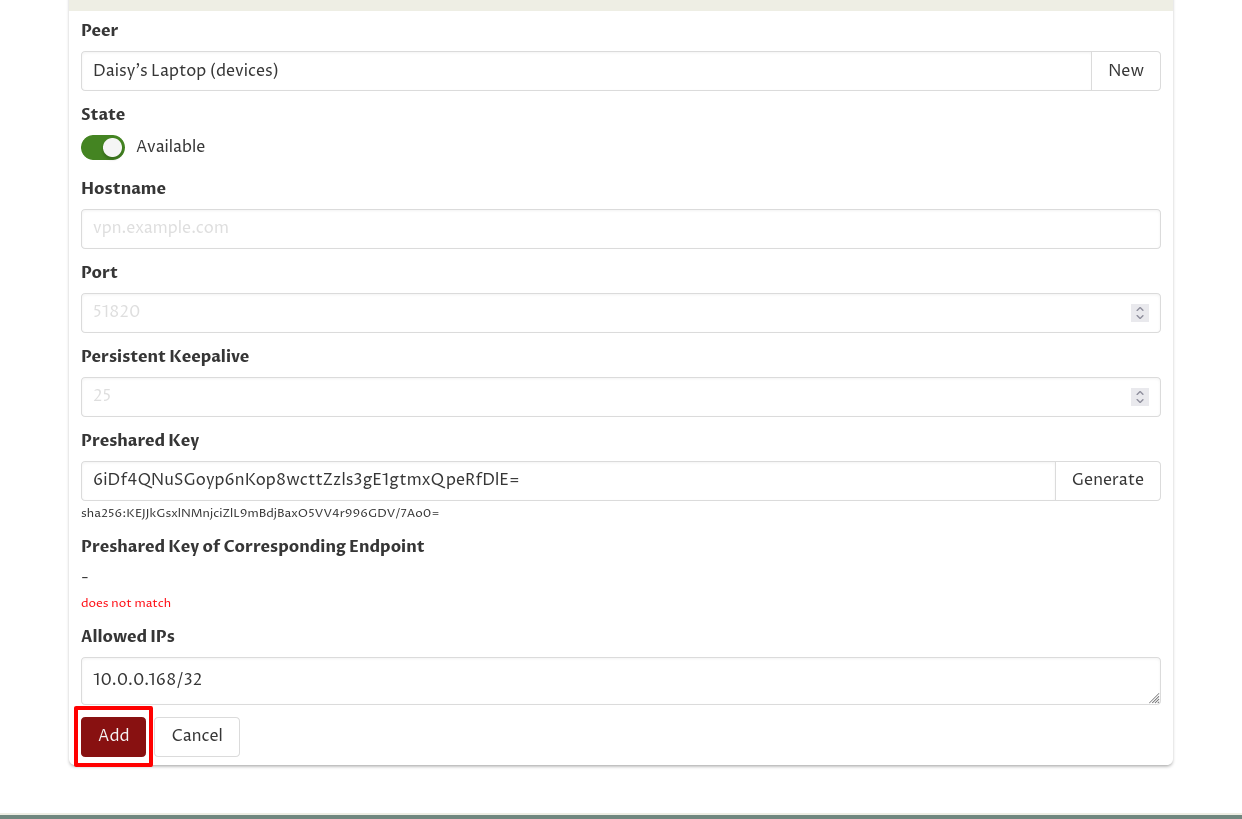
But since we’re going to require Daisy to pass MFA in order to use this connection, we’ll generate an initial preshared key for it. Click the Generate button on the right side of the Preshared Key field to do so. We’re purposefully creating a situation where the preshared key configured on this side of the connection does not match the preshared key on the other side of the connection — Daisy will have to log into Pro Custodibus in order to synchronize the two sides of the connection:
Then click the Add button:
Use MFA
If we hadn’t already set up a key-rotation policy to require MFA in order to access the DB cluster gateway, Daisy would now be able to start connecting to hosts in the DB cluster. However, with it in place, any connections Daisy tries to make will hang:
$ psql -h 172.30.40.81 northwind daisyWith MFA in place, in order to use her WireGuard connection to the DB cluster, Daisy has to log into Pro Custodibus, and synchronize the preshared key on her laptop with the key being used by the DB cluster gateway.
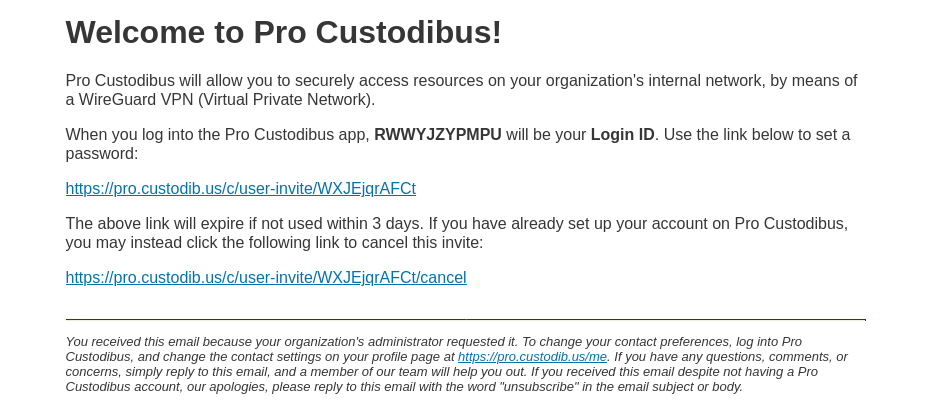
Back up in the Register User section, when we created a user account for Daisy, she received an email like this, showing her login ID to Pro Custodibus, and allowing her to set up a password for it:
When she clicks on the link to set her password, she’ll see this page:
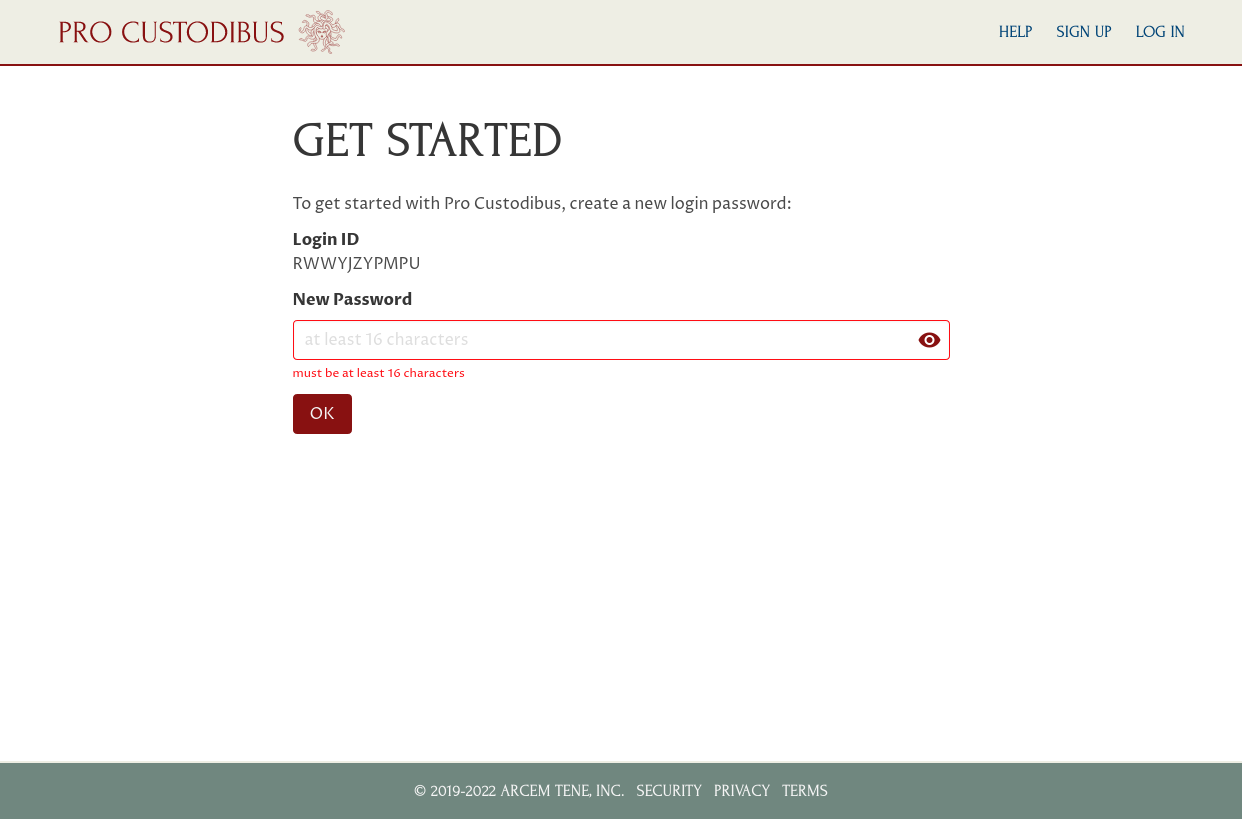
After she sets her password, she can use her login ID and password to log into Pro Custodibus. Once she does that, she’ll be greeted with this page:
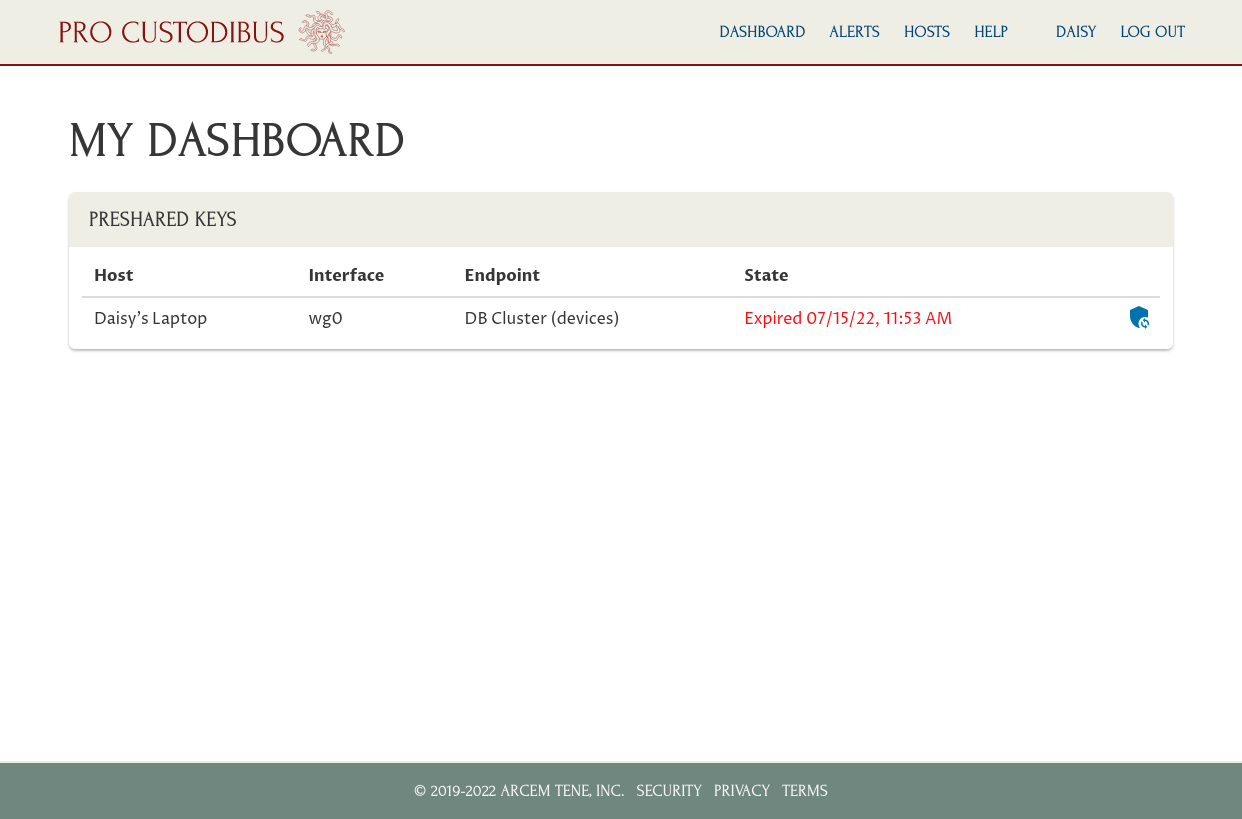
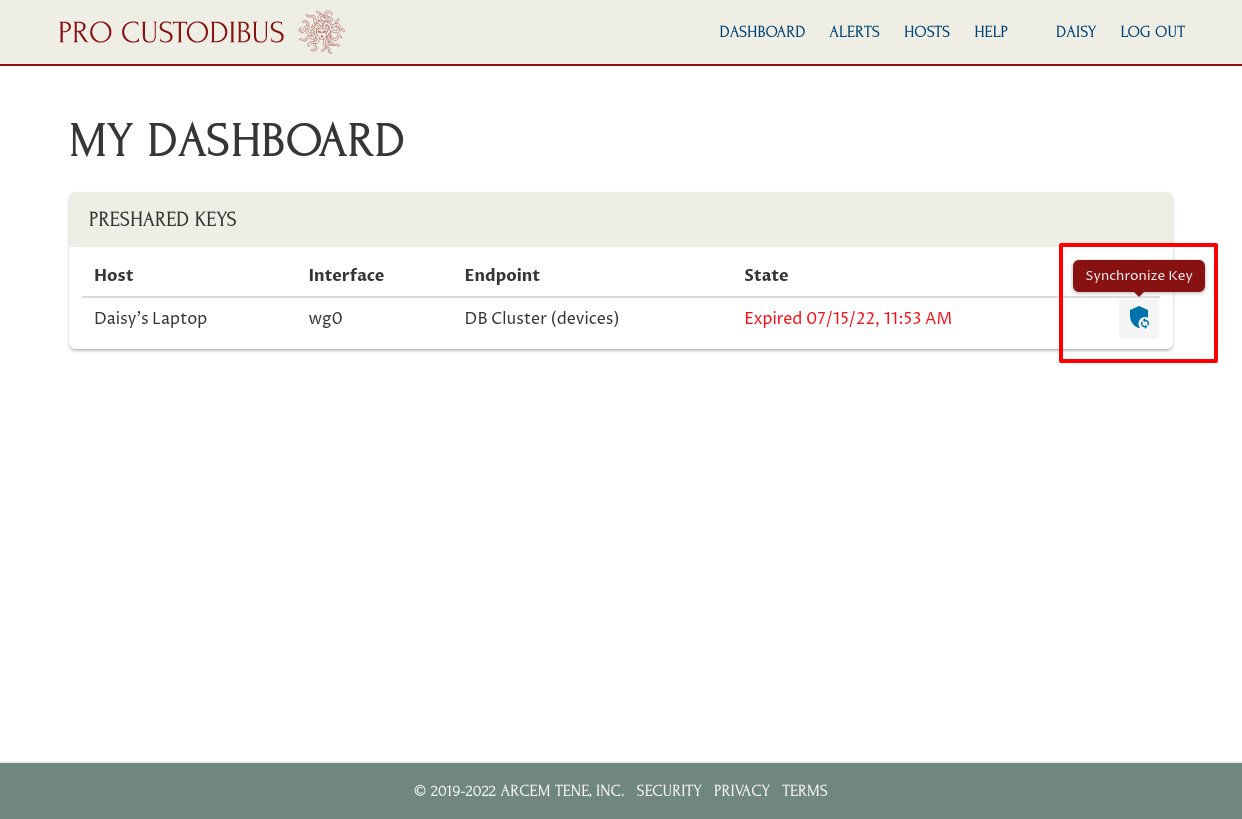
To activate her WireGuard connection to the DB cluster, she just has to click the Synchronize Key icon corresponding to the DB cluster connection in the Preshared Keys panel:
Once the key is synchronized to her laptop (which may take a minute or two), she can start using the WireGuard connection:
$ psql -h 172.30.40.81 northwind daisy
Password for user daisy:
psql (12.11 (Ubuntu 12.11-0ubuntu0.20.04.1), server 12.7)
Type "help" for help.

+northwind=>