Add a WireGuard Peer With the Pro Custodibus GUI
Adding peers to an existing WireGuard VPN (Virtual Private Network) is easy with the Pro Custodibus GUI (Graphical User Interface). This article will show you how to add a new peer to an existing Hub and Spoke network. For our example scenario, we’ll use Pro Custodibus to set up WireGuard on a new fileserver at one office location; and then have it update WireGuard on the VPN hub to allow connections from this new fileserver to other fileservers at other office locations, allowing them to securely sync their content.
The diagram below illustrates this scenario:

The VPN Hub is running in the cloud somewhere with a public IP address of 198.51.100.123. It will accept WireGuard connections from one fileserver, like the NY Fileserver, behind a NAT firewall at the New York office, and forward it to another fileserver, like the SF Fileserver, behind NAT at the San Fransisco office. To this existing network we’ll add a new spoke, the BE Fileserver, which is located behind a NAT firewall at the Berlin office.
The hosts in this WireGuard VPN all have IP addresses in the 10.0.0.0/24 range within the VPN itself; so within the WireGuard network, the other fileservers can access the NY Fileserver via an IP address of 10.0.0.2, and the SF Fileserver via an IP address of 10.0.0.3. When we add the new BE Fileserver to this network, it will be accessible to the other fileservers with an IP address of 10.0.0.4.
If you compare this to the Manual Hub and Spoke Configuration Guide, the VPN Hub would be Host C in that guide, and the fileservers like Endpoint A and Endpoint B.
These are the steps we’ll go through:
Register the New Host
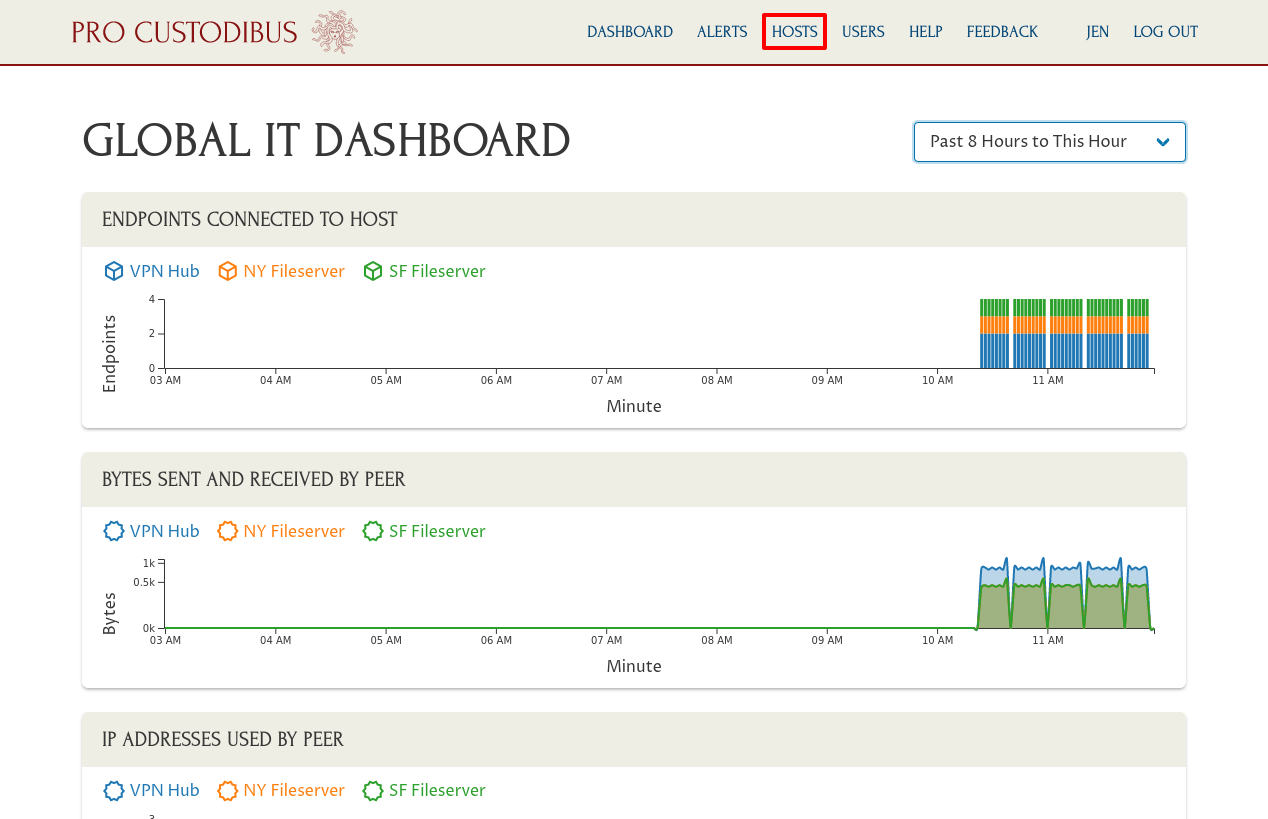
To add the BE Fileserver to the existing VPN through the Pro Custodibus GUI, we first need to register the host with Pro Custodibus. Log into Pro Custodibus, and click the Hosts link in the navigation bar at the top of the page to navigate to the main hosts list:
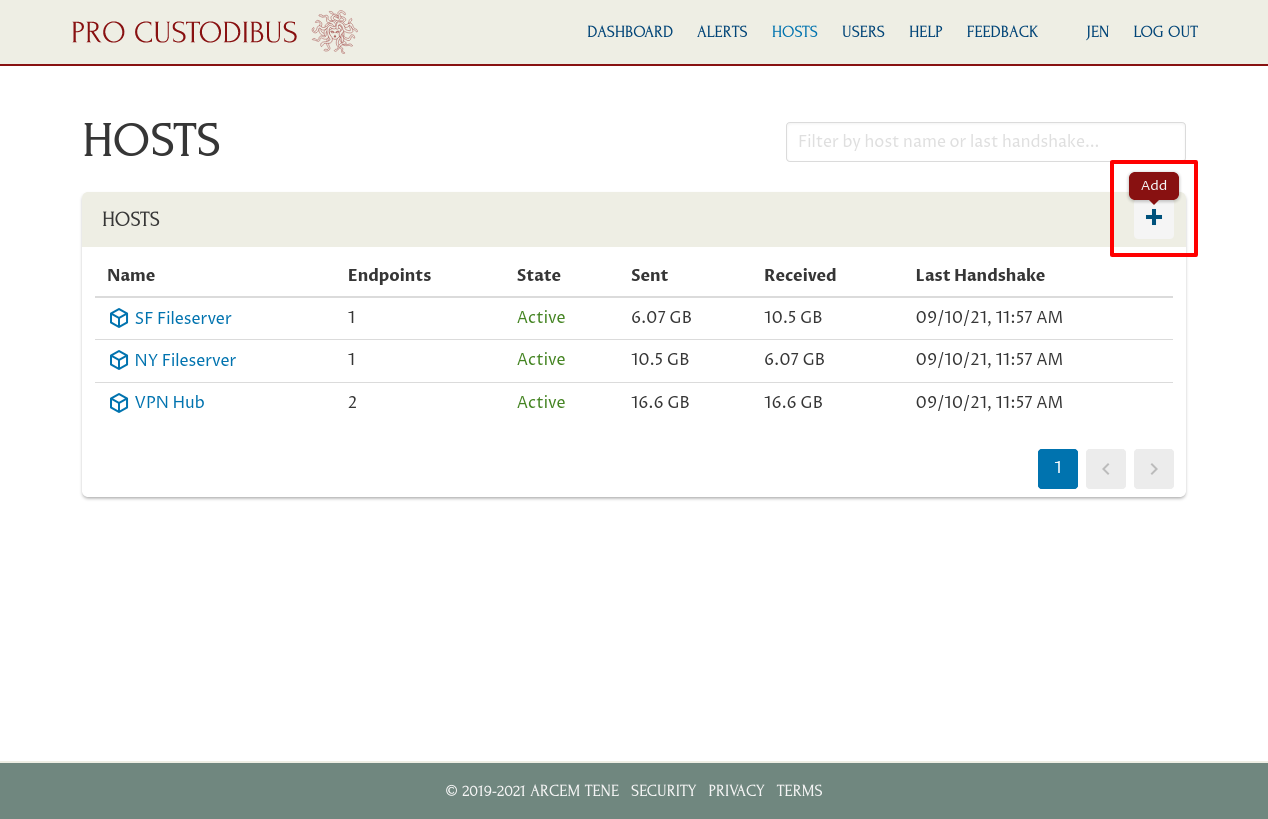
Then click the Add icon in the Hosts panel:
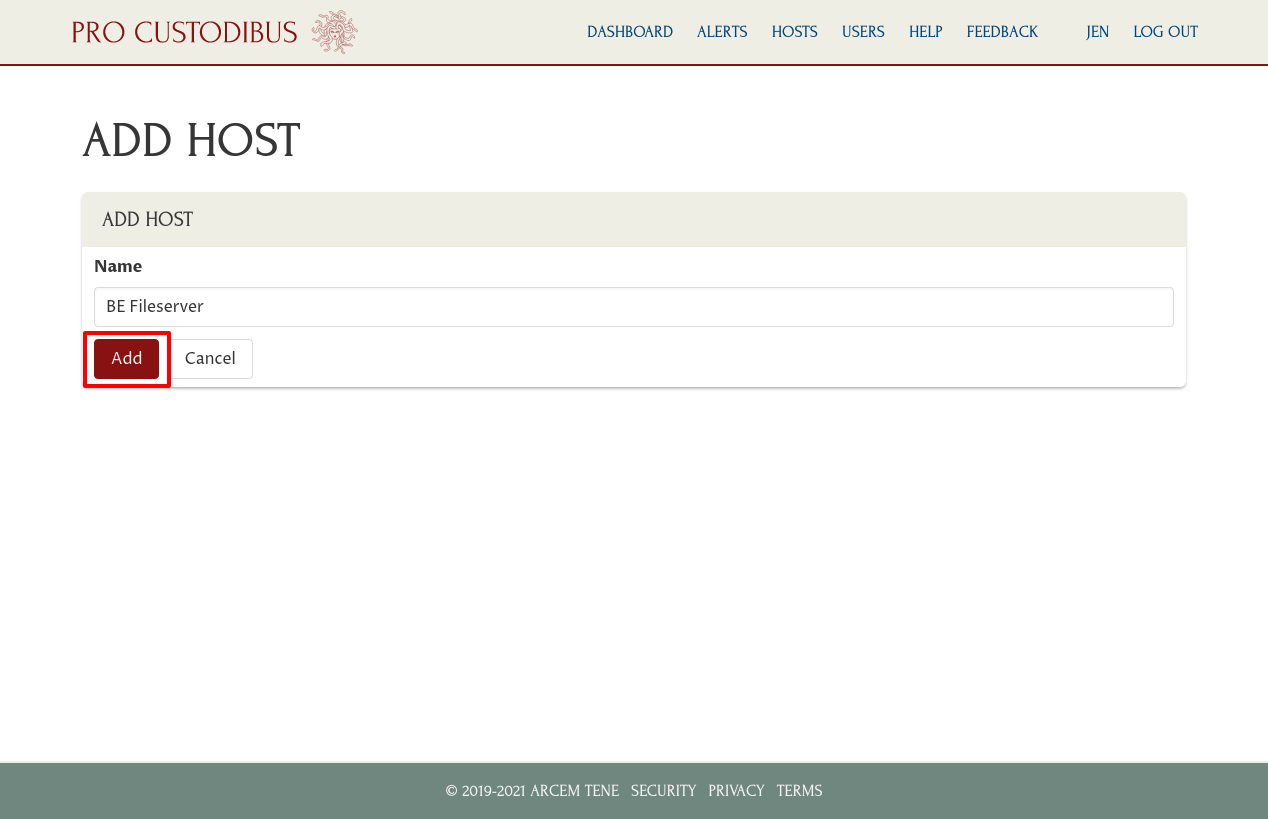
Then enter a name for the host, like “BE Fileserver” (you can change it later), into the Name field; and click the Add button:
Next, download these files from the set-up page:
-
procustodibus.conf
-
procustodibus-setup.conf
-
Pro Custodibus Agent (procustodibus-agent-latest.tar.gz)
-
PGP Signature (procustodibus-agent-latest.tar.gz.sig)
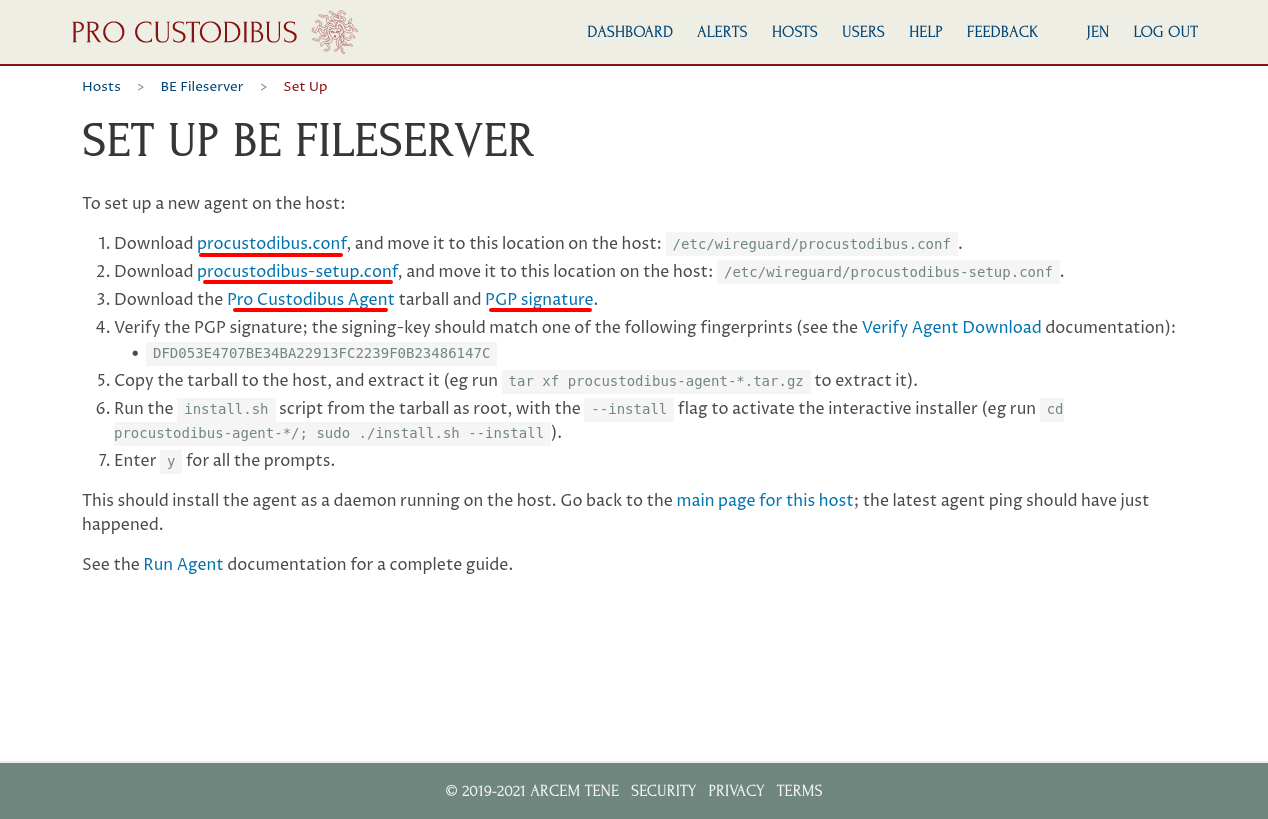
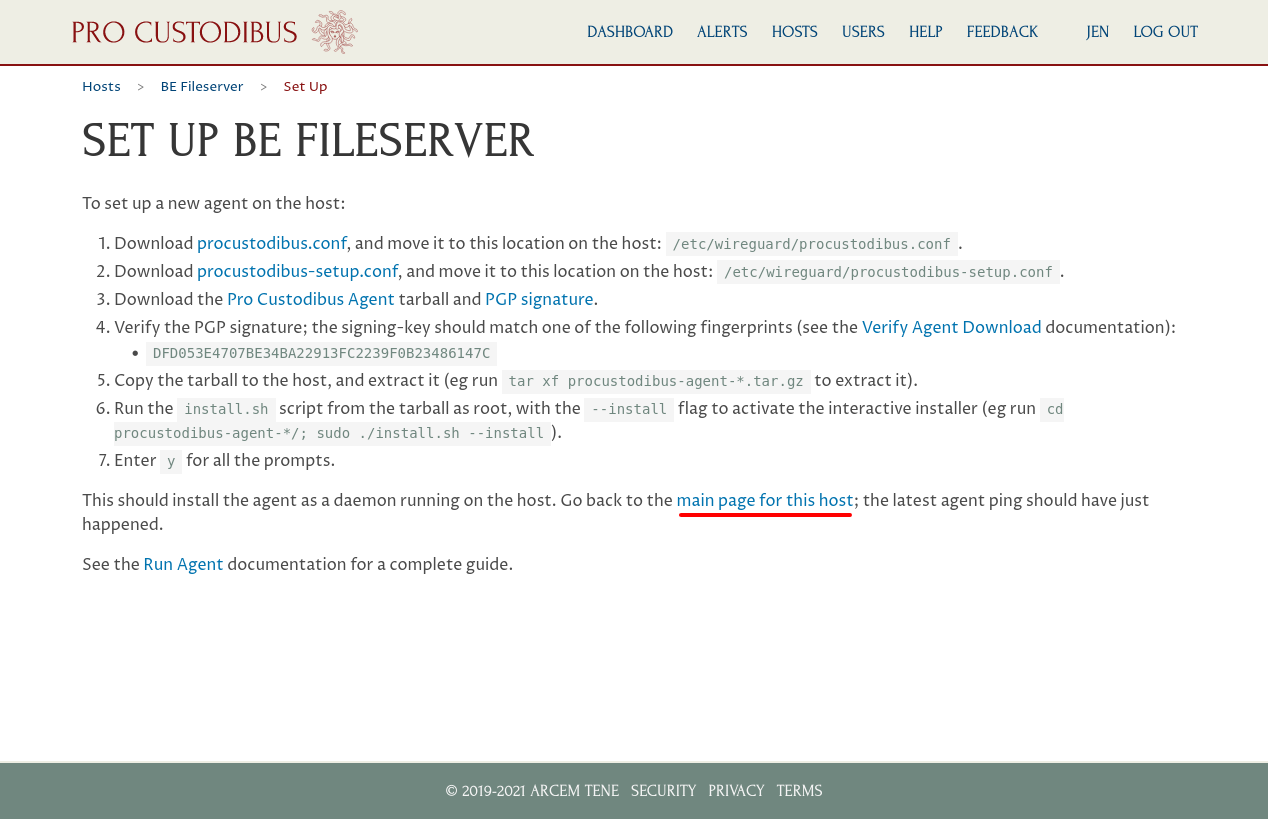
Follow the instructions on this page to install the agent on the new host (see the Download the Agent and Install the Agent docs for more info).
The TLDR is that you copy the procustodibus.conf and procustodibus-setup.conf files into the /etc/wireguard directory on the new host (make sure you’ve also installed WireGuard on the host as well); verify and untar the procustodibus-agent-latest.tar.gz on the new host; and run the install.sh script from the untared procustodibus-agent-*/ directory.
Add a WireGuard Interface on the New Host
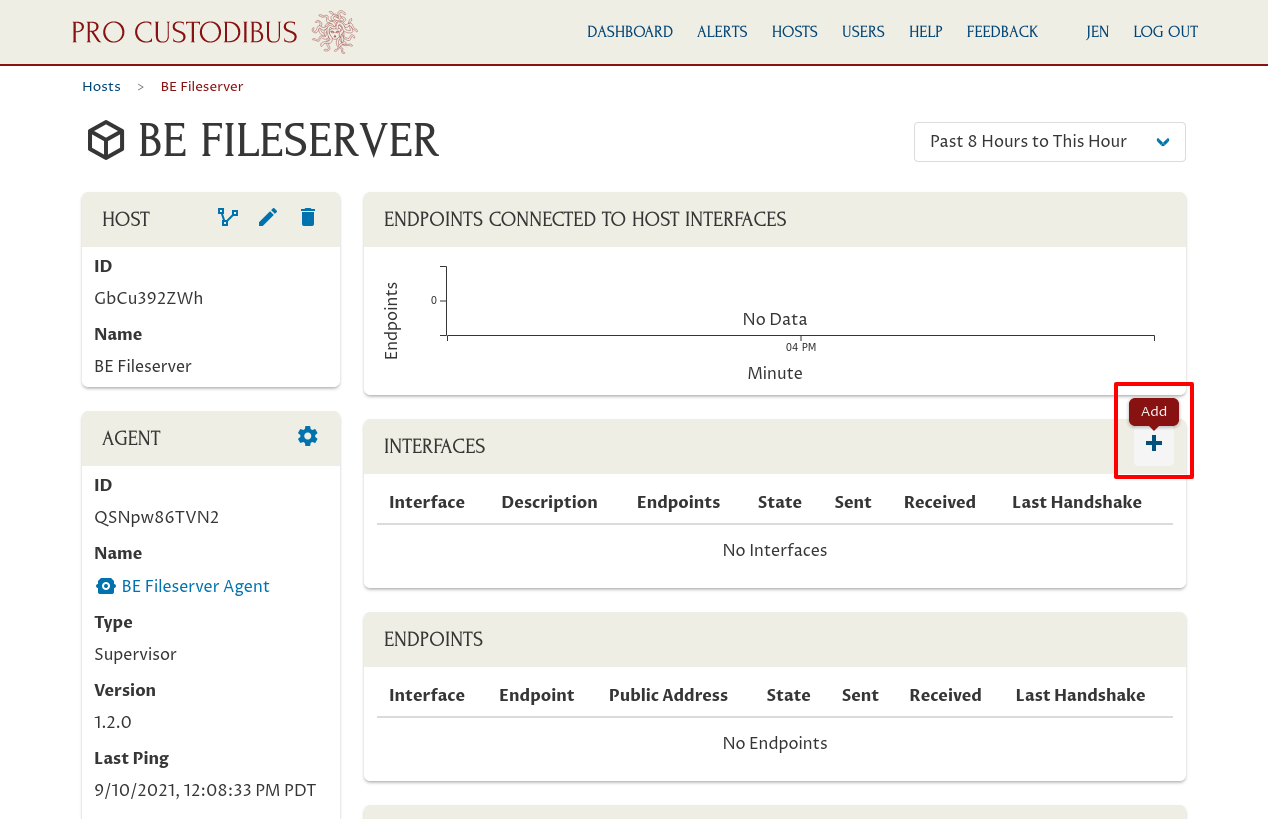
Once the agent is installed and running on the new host, return to the Pro Custodibus GUI and navigate to the main page for the new host:
Click the Add icon in the Interfaces panel to add a new WireGuard interface to the host:
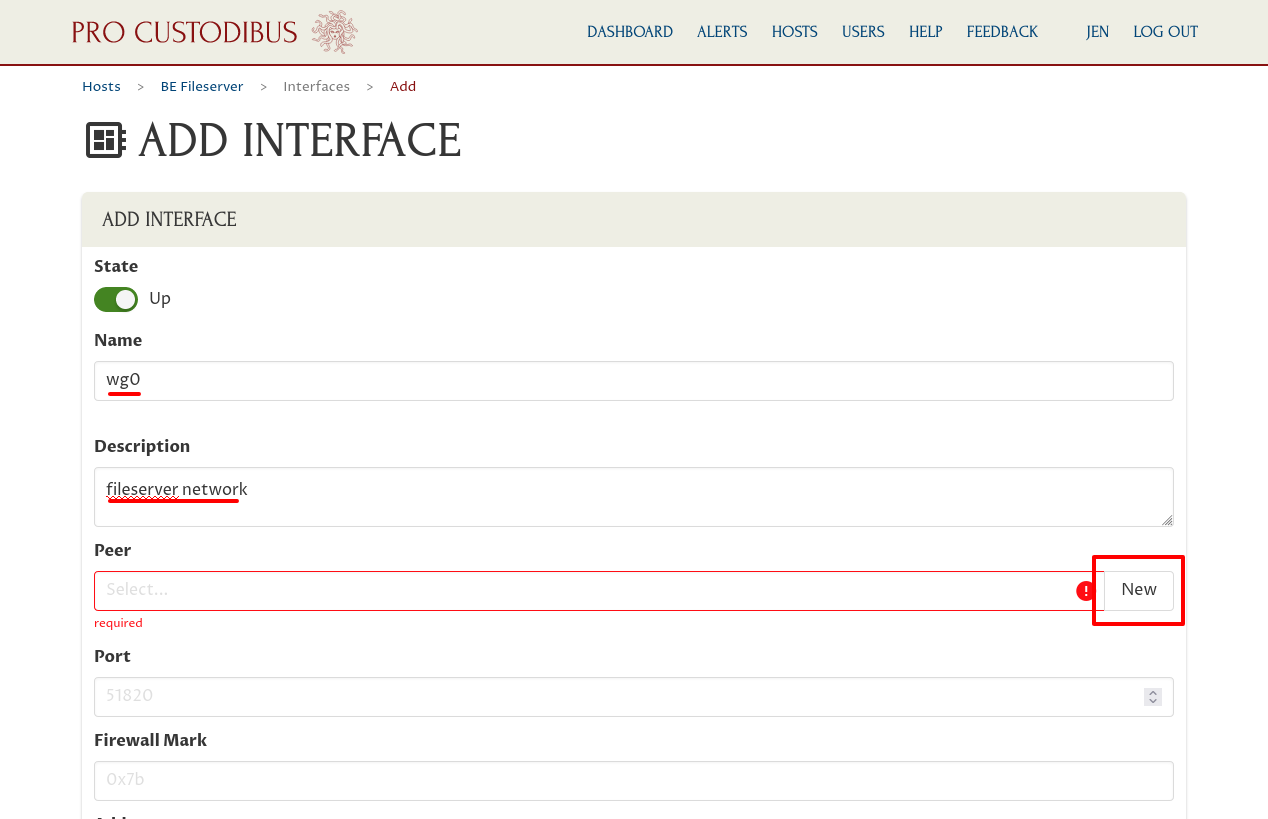
On the “Add Interface” page, enter a basic interface name like “wg0” into the Name field; and optionally enter a description like “fileserver network” into the Description field.
|
Important
|
The WireGuard interface name is used internally by the host’s operating system as an identifier for the interface, so it should be short and sweet (and usually you don’t ever want to rename it). The description is for your own use, however, so it can be whatever you like, and you can change it later. |
If you already created a peer identity for the new host, select that identity in the Peer field. Otherwise, click the New button adjoining the Peer field:
This peer is for the identity of the interface itself. Other peers will use this peer’s public key to identify it as a peer with which they can connect; and this interface will use the private key to prove that it does in fact represent the peer.
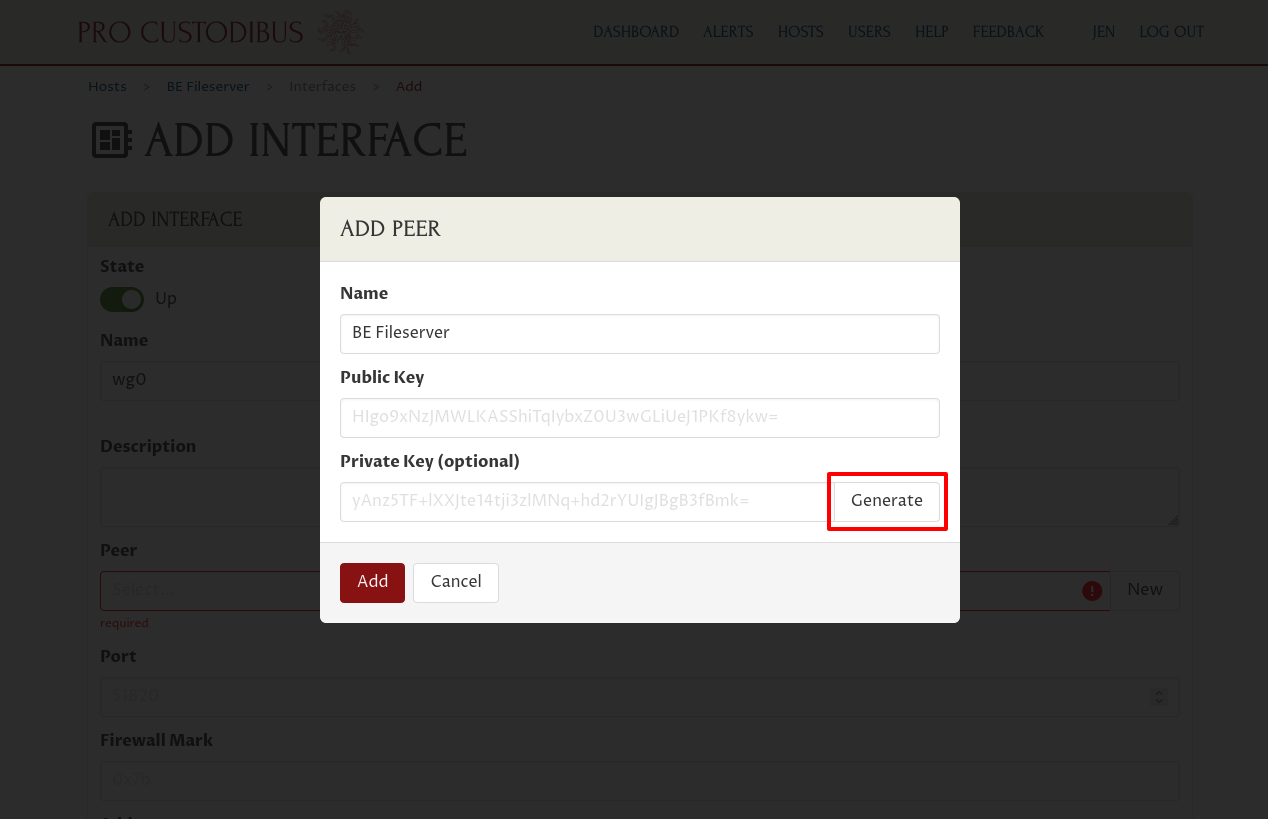
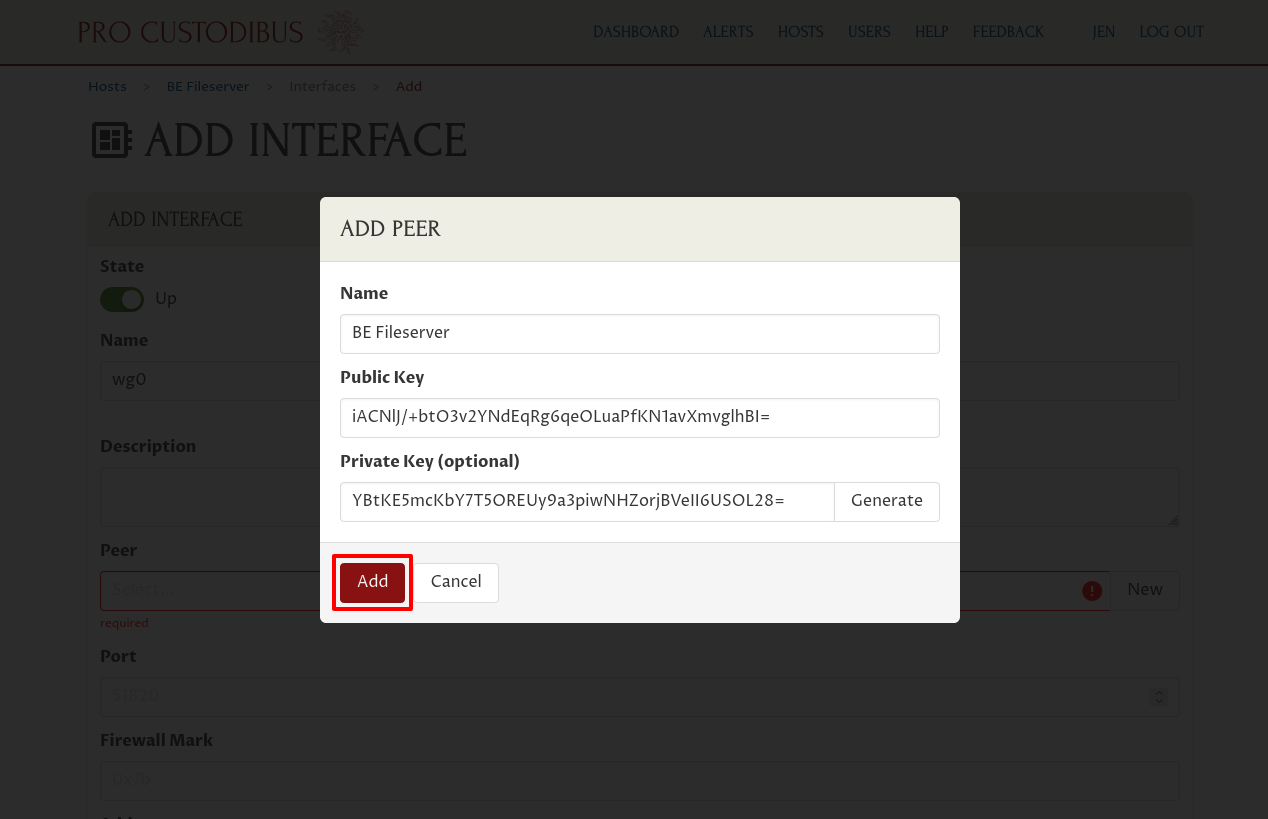
So enter “BE Fileserver” (or some other descriptive name) into the Name field of the “Add Peer” dialog. Then click the Generate button adjoining the Private Key field to generate a new random public-key pair:
|
Note
|
The Private Key field is optional. However, Pro Custodibus will not be able to create this interface for you if you do not supply the private key — you’ll first have to create the interface on the host manually. Once created, you can use the Pro Custodibus GUI to manage the interface. See the docs for the Private Key Field form for more information. |
Then click the Add button at the bottom of the dialog:
Next, enter the private IP address that the interface will use within the WireGuard network into the Addresses field. In this example, we’re going to use “10.0.0.4” for it:
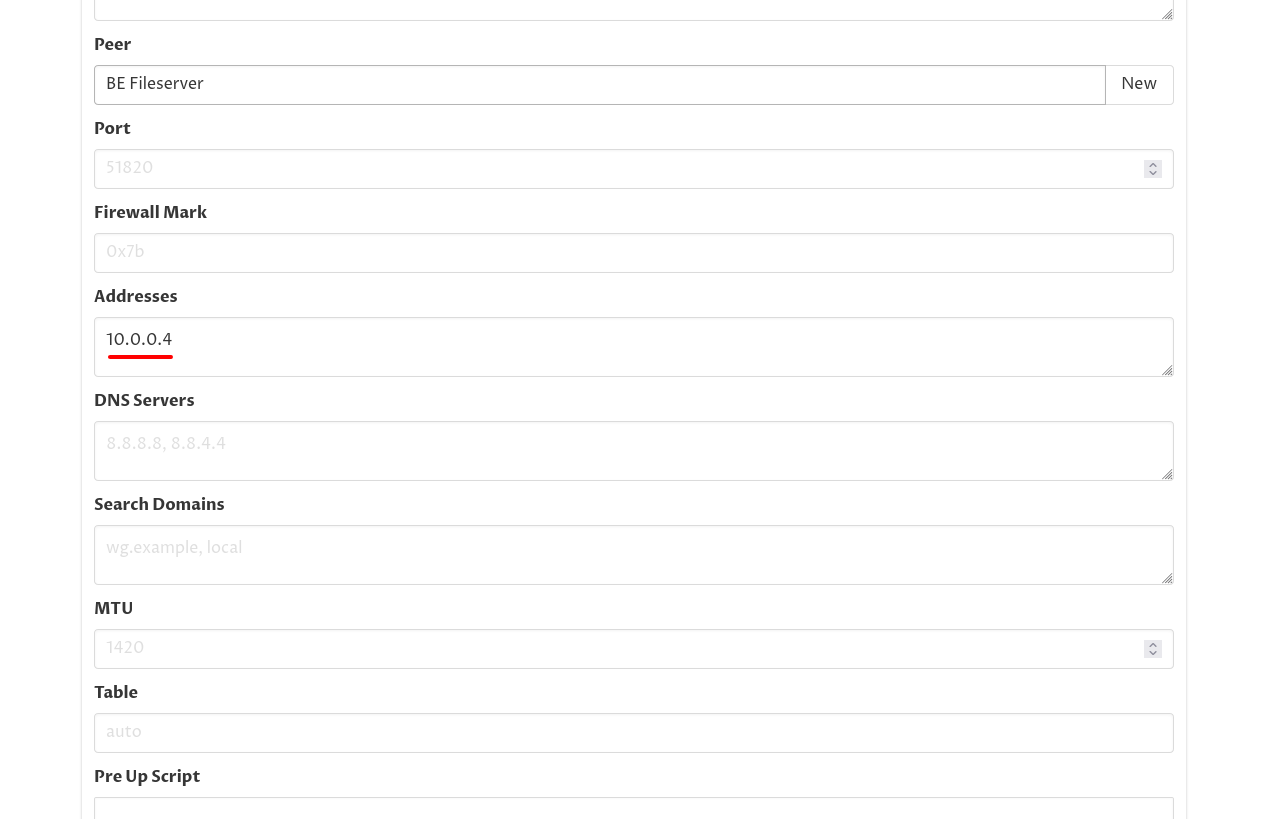
|
Note
|
The other fields in this form are only needed for advanced use, so we can ignore them for this example. |
Finally, scroll down to the bottom of the page and click the Add button:
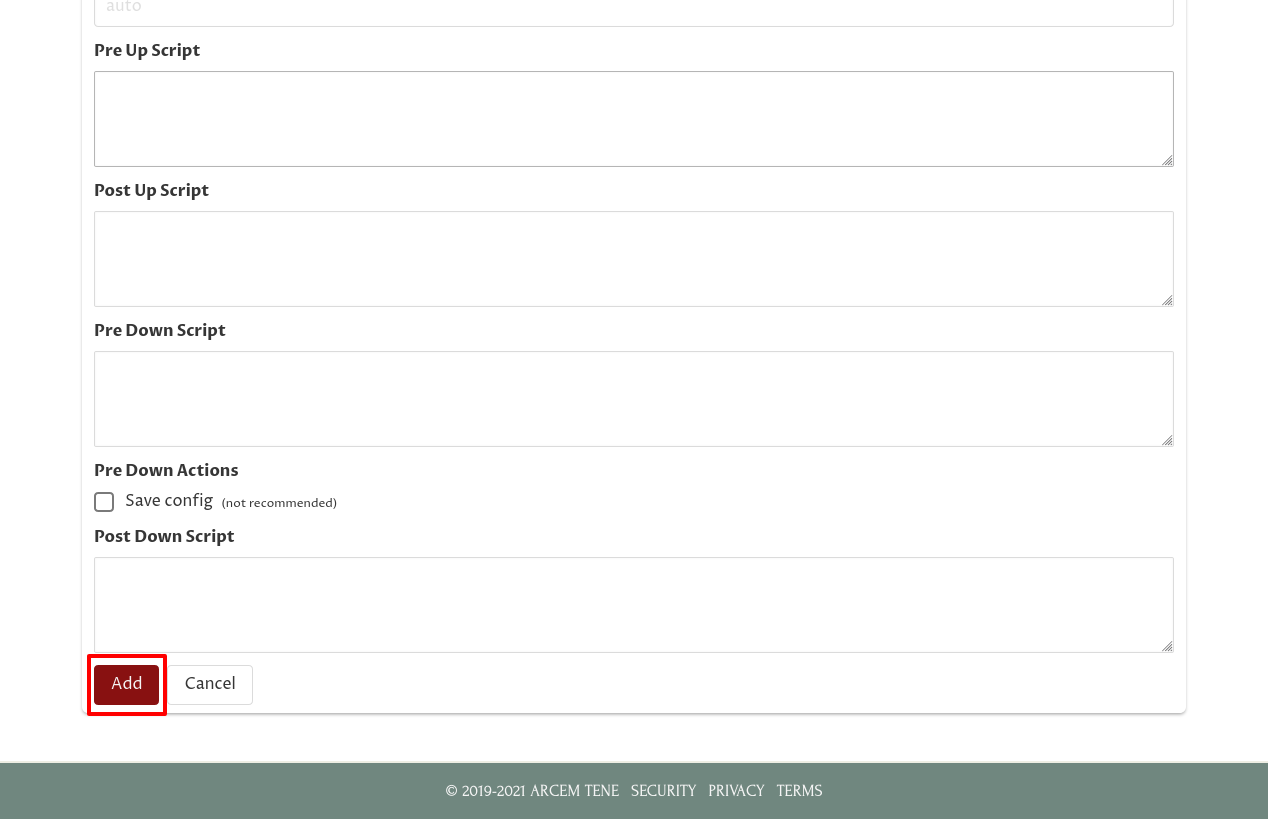
This will queue the new WireGuard interface for creation. In a minute or two, the agent we set up in the Register the New Host section will pull this queued update and create the new interface on the host.
For more details about the “Add Interface” form, see the Add an Interface docs.
Add an Endpoint From the New Host to the Hub
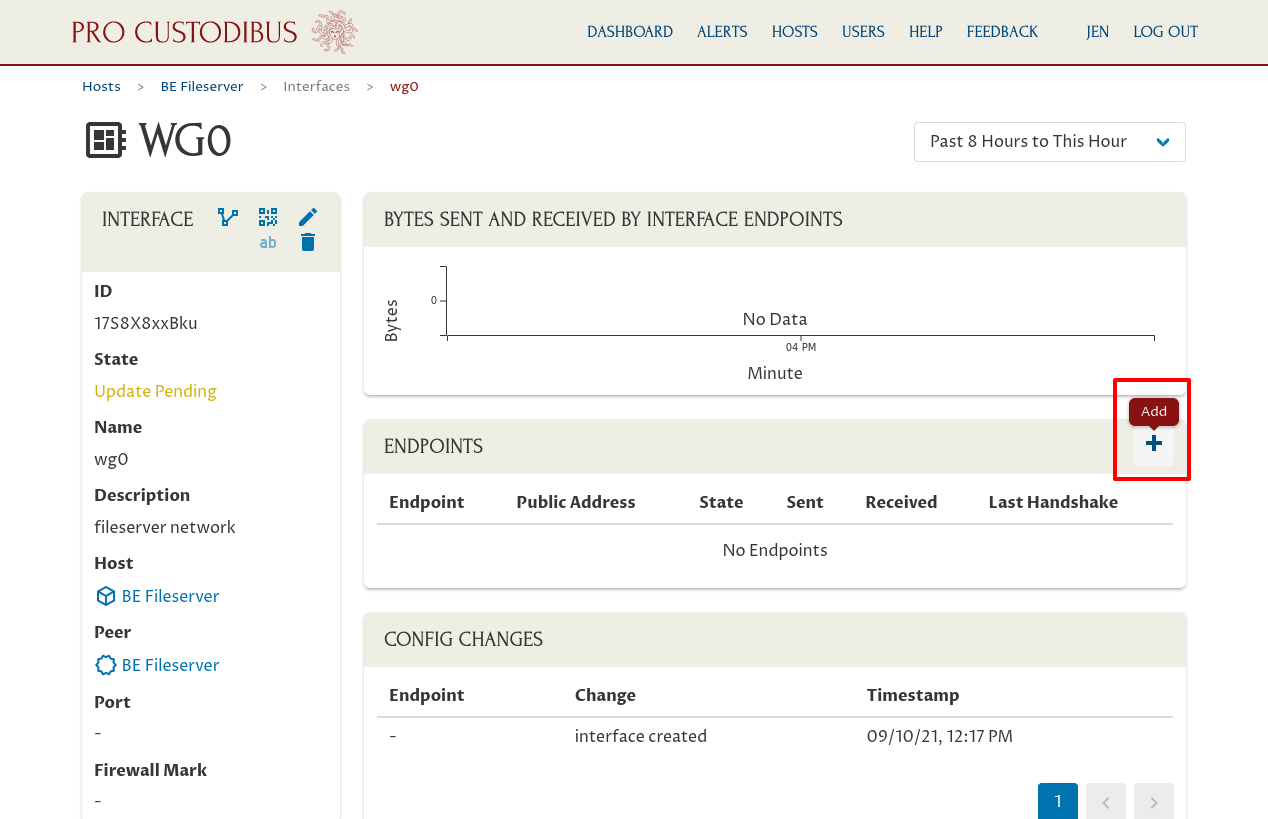
Now we’ll configure the WireGuard interface on our new host to allow it to connect to the VPN Hub. To do so, from the interface’s main page, click the Add icon in the Endpoints panel:
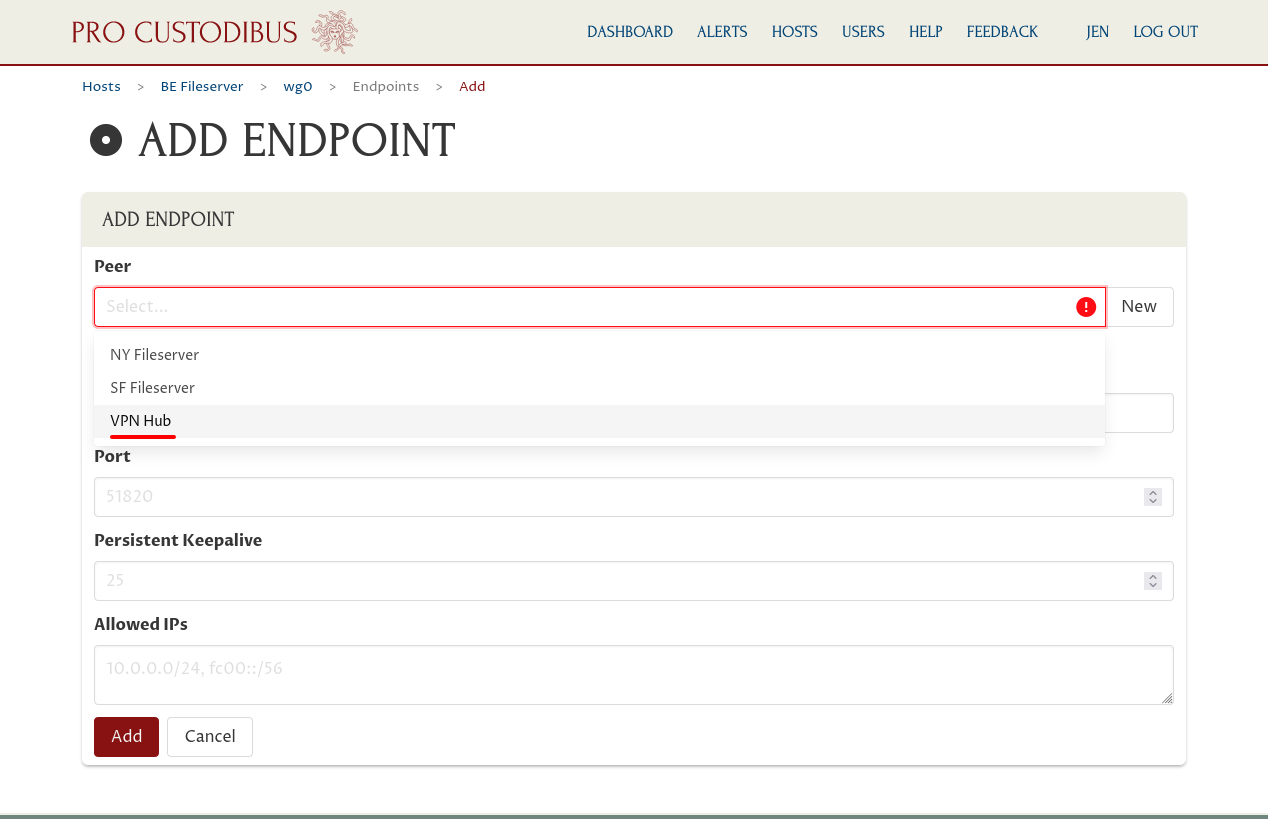
For the Peer field, select the peer identity used by the VPN Hub:
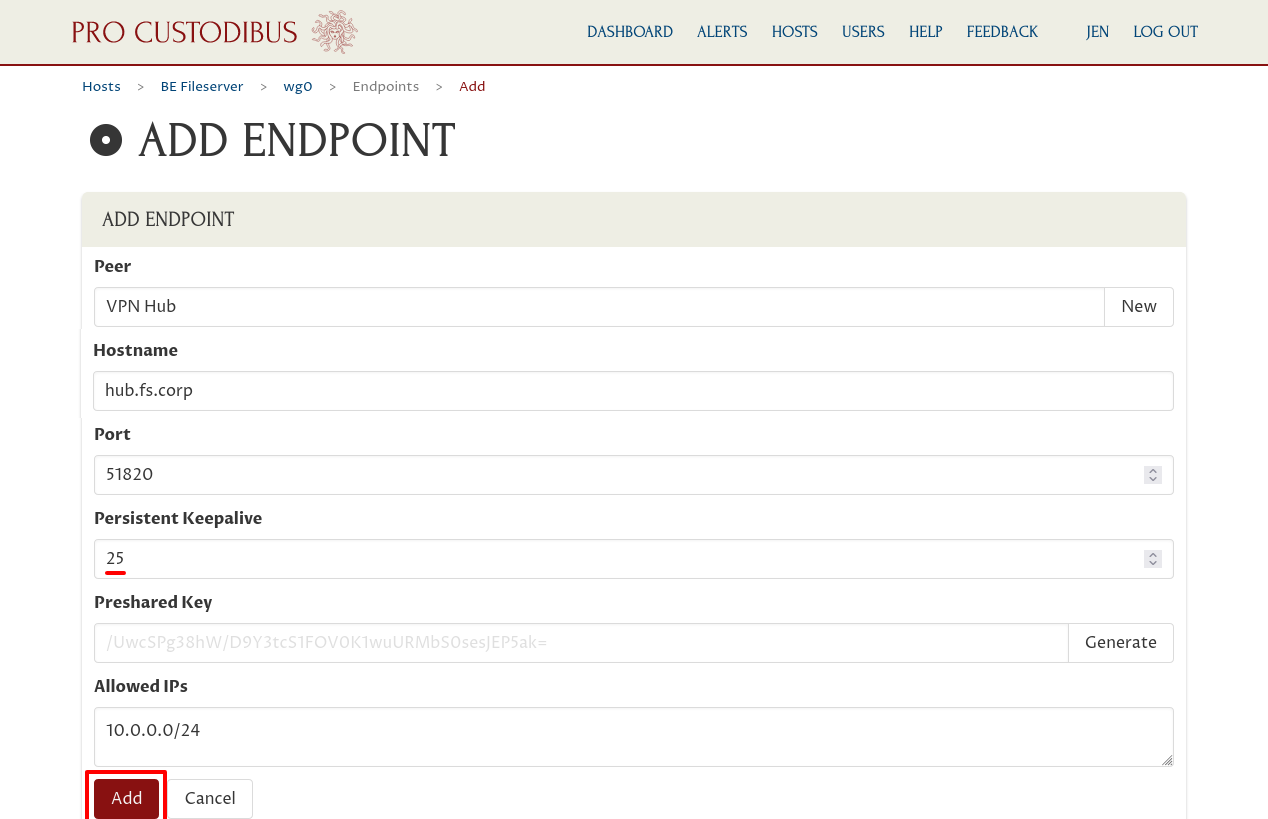
Pro Custodibus will automatically fill in the Hostname, Port, and Allowed IPs fields using the settings from the last endpoint created for the same peer (such as the endpoints from the NY Fileserver and SF Fileserver to the VPN Hub). All these settings should be what you need in this case, so you shouldn’t need to adjust any of the pre-filled settings.
The Hostname field should already contain the public IP address (or DNS name) at which the hub is listening for WireGuard connections (an internal DNS name of “hub.fs.corp” in this example), and the Port field should contain the port on which its listening (“51820”). The Allowed IPs field should contain the CIDR used by the WireGuard VPN for its internal addresses (“10.0.0.0/24” in our example).
But because our new host is behind NAT, and we want the other WireGuard peers to be able to initiate connections to it, we also need to configure the Persistent Keepalive field — set it to a value of “25” (which will cause the host to send a keepalive packet to the hub every 25 seconds, which should keep the connection through the new host’s NAT firewall open, allowing the hub to forward packets from other fileservers through the firewall).
Then click the Add button at the bottom of the form:
This will queue the new endpoint to be added to the WireGuard interface.
For more details about the “Add Endpoint” form, see the Add an Endpoint docs.
Add an Endpoint From the Hub to the New Host
The last thing we need to configure is the corresponding endpoint from the VPN Hub to our new host. In the previous section, we configured the new host to allow it to connect to the hub; in this section, we’ll configure the hub to allow it to connect to the new host.
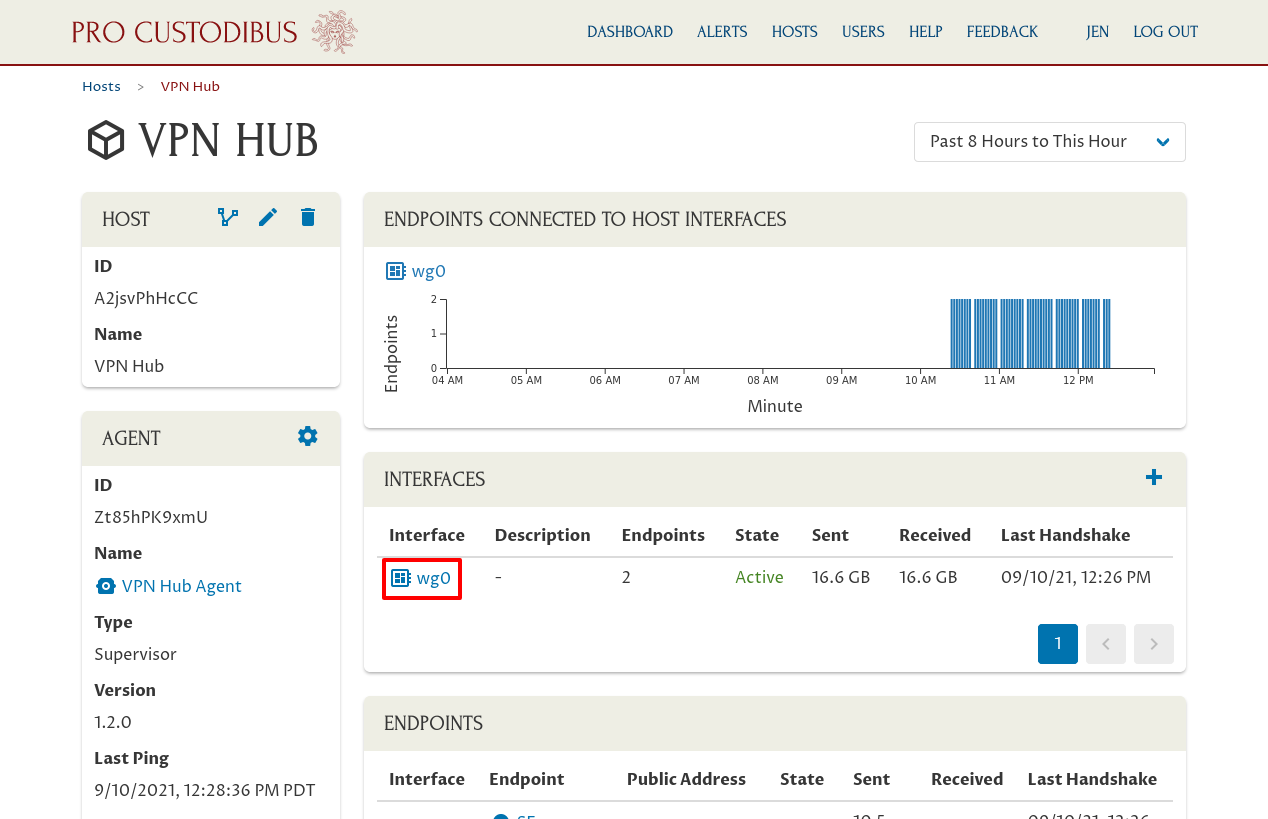
So we need to navigate over to the main interface page for the VPN Hub. Click the Hosts link in the navigation bar at the top of the page to view the main hosts list:
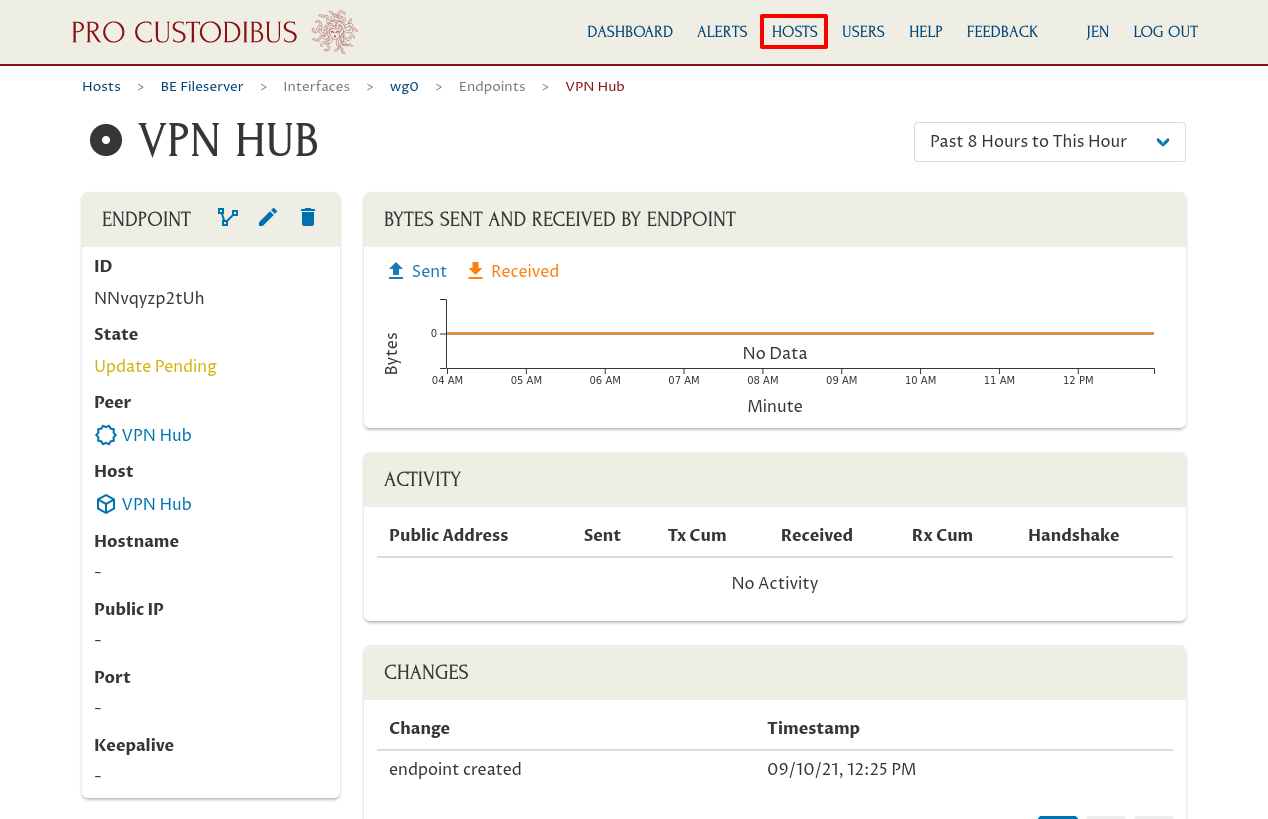
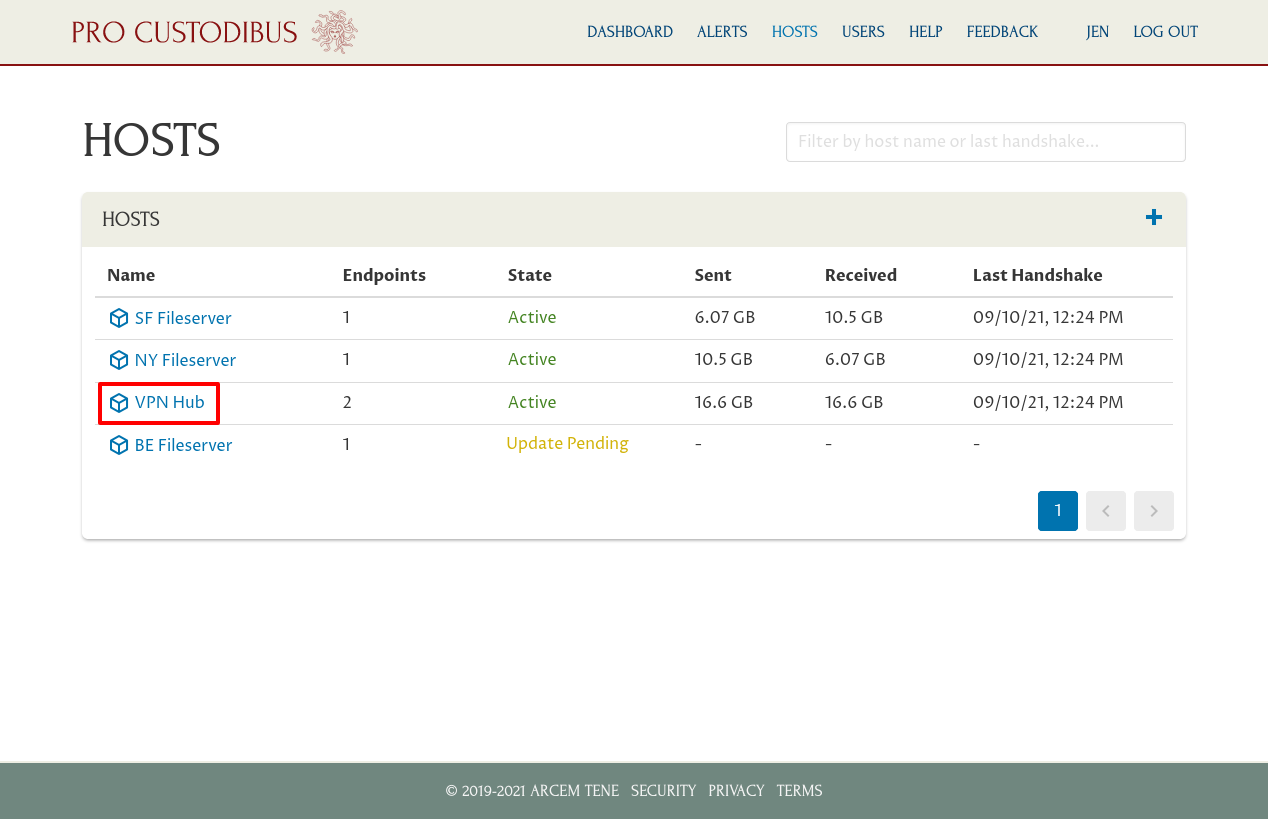
Then click the link to the VPN Hub in the hosts list:
And click the interface on the VPN Hub to which the fileservers are connected (wg0 in this case):
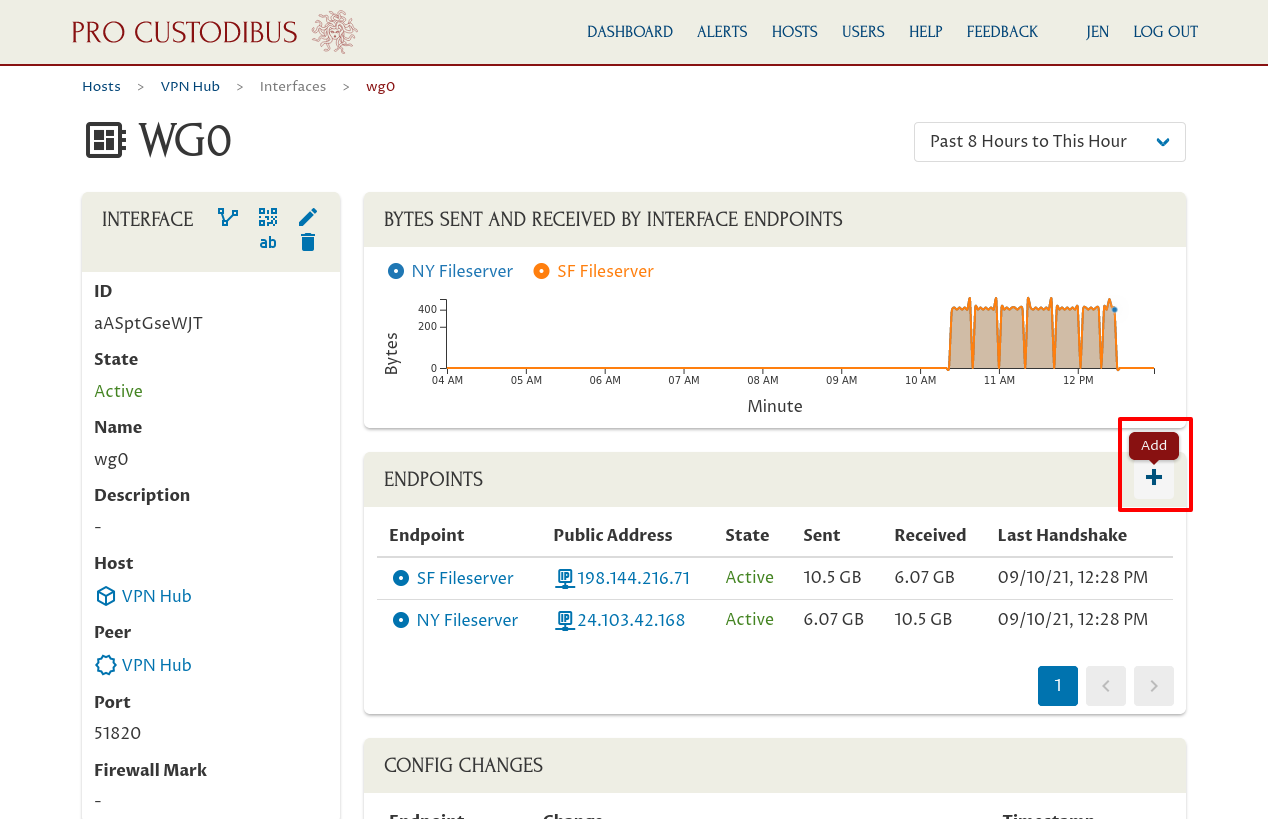
Now click the Add icon in the Endpoints panel:
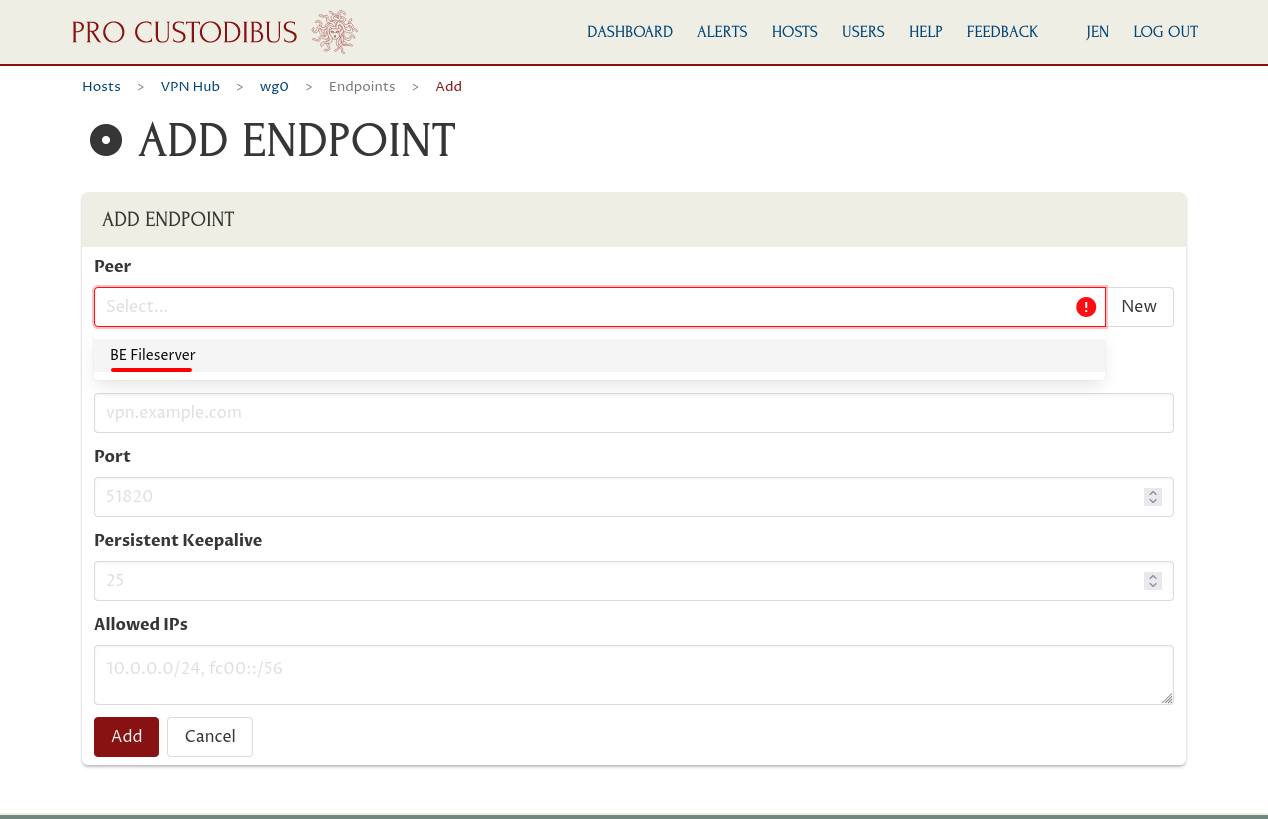
For the Peer field, select the peer identity we created in the Add a WireGuard Interface on the New Host section:
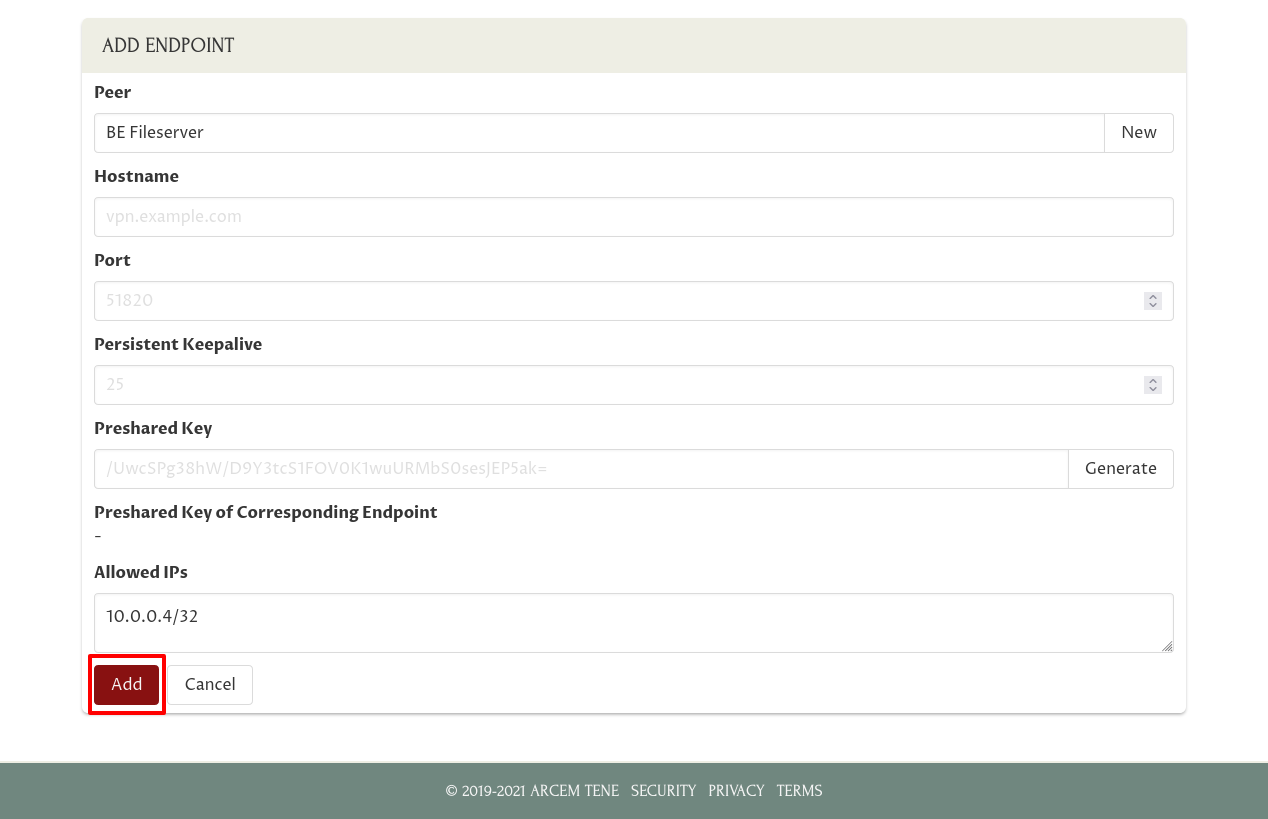
Since we haven’t set up any other endpoints to this new peer yet, Pro Custodibus will guess what its Hostname, Port, and Allowed IPs fields should be. It should guess correctly that we can leave Hostname blank; if it guesses something for Port, clear the Port field (we don’t need either here because we configured a hostname and port on the other side of the connection in the previous section).
It also should have guessed that Allowed IPs should be just the IP address we configured as the WireGuard interface address on the new host — “10.0.0.4/32”, the value of the Address field in the Add a WireGuard Interface on the New Host section (/32 is the default subnet mask if you specify an IPv4 address without a subnet mask, indicating a subnet containing just one IPv4 address).
So all you should have to do is just click the Add button at the bottom of the form:
This will queue the new endpoint to be added to the WireGuard interface on the VPN Hub.
For more details about the “Add Endpoint” form, see the Add an Endpoint docs.
Test It Out
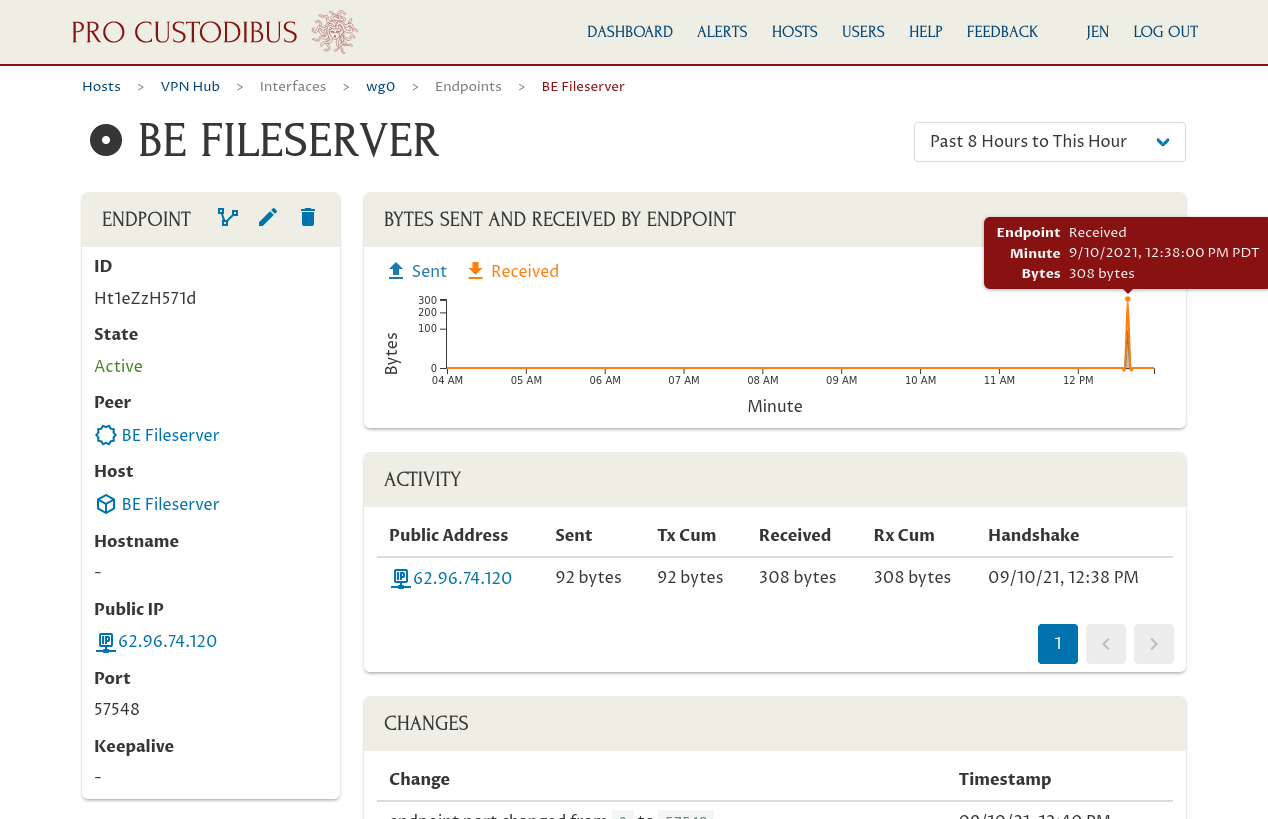
In a minute or two, the agent running on the VPN Hub and the agent running on the new host will download the configuration changes you just made and apply them. At this point, the WireGuard connection to the hub and the new host should be active, and you should start to see a little activity from the keepalive messages sent from the new host to the hub:
And you should be able to ping the other spokes from the new host; like ping the NY Fileserver (10.0.0.2) from the new BE Fileserver (10.0.0.4):
$ ping -nc1 10.0.0.2
PING 10.0.0.2 (10.0.0.2) 56(84) bytes of data.
64 bytes from 10.0.0.2: icmp_seq=1 ttl=63 time=110.5 ms

--- 10.0.0.2 ping statistics ---
1 packets transmitted, 1 received, 0% packet loss, time 0ms
rtt min/avg/max/mdev = 110.543/110.543/110.543/0.000 ms
And vice versa; like ping the BE Fileserver from the NY Fileserver:
$ ping -nc1 10.0.0.4
PING 10.0.0.2 (10.0.0.4) 56(84) bytes of data.
64 bytes from 10.0.0.4: icmp_seq=1 ttl=63 time=106.8 ms

--- 10.0.0.4 ping statistics ---
1 packets transmitted, 1 received, 0% packet loss, time 0ms
rtt min/avg/max/mdev = 106.770/106.770/106.770/0.000 ms