Point to Cloud WireGuard With AWS Private Subnets
This article will walk through how to set up WireGuard to enable remote client access to an internal web application, where the internal application is in an AWS (Amazon Web Services) private subnet. This is a common scenario, described in detail by the VPC With Public and Private Subnets (NAT) article in the AWS user guide.
In this article, we’ll first build an example AWS VPC (Virtual Private Cloud), and then we’ll launch an AWS EC2 (Elastic Compute Cloud) WireGuard server instance into it (as well as an example EC2 web-app instance). Through the WireGuard server, we’ll connect from our local workstation to an example internal application, running in a private subnet of the VPC. The following diagram illustrates this scenario:

The WireGuard server in this scenario, located in the public subnet of Availability Zone (AZ) B in the above diagram, allows your local workstation to access the private subnets in the VPC as if your workstation was physically located within the VPC itself. The WireGuard server acts as a bastion host (also known as a relay server or jump box) for the VPC, providing similar functionality as the bastion host in the Linux Bastion Hosts on the AWS Cloud reference architecture.
The advantage of using a WireGuard server instead of a generic Linux host for your bastion, however, is that you can easily connect to the bastion from any client device that can run WireGuard (such as a Windows computer or a mobile phone) — and you’re not just limited to SSH — you can easily connect to any network application running on the internal servers in your VPC. Furthermore, you can use AWS security groups to limit access from the bastion host to specific applications within the VPC, as well as use the internal firewall on the WireGuard server itself to customize access per user.
We’ll set up the WireGuard network in this article with a Point to Site Topology, where the WireGuard server (with an IP address of 10.0.0.2 in the above diagram) provides NAT (Network Address Translation) to the VPC for the other peers in the network (like your workstation, with an IP address of 10.0.0.1 in the above diagram). This is the easiest way to enable access to a VPC, requiring no routing changes to the VPC itself. You can grant more clients access to the WireGuard VPN (Virtual Private Network) by adding additional peers to the WireGuard server’s configuration.
Since the example VPC that we’ll create for this article is just a standard multi-AZ AWS VPC with public and private subnets, if you’ve already set up a similar VPC, you can skip the first five sections, and start with the Create Security Groups section:
- Create VPC
- Create Public and Private Subnets
- Create Internet Gateway
- Create NAT Gateways
- Create Route Tables
- Create Security Groups
- Register SSH Key Pair
- Launch WireGuard Server Instance
- Configure WireGuard Server
- Configure WireGuard Client
- Launch Web Application Instance
- Connect Through WireGuard
- Troubleshoot WireGuard Tunnel
- Troubleshoot VPC Network
And if you’ve already registered an SSH key pair for the AWS region in which the VPC is located, you can skip the Register SSH Key Pair section; and if you’re already running an internal application in the VPC, you can skip the Launch Web Application Instance section.
Also note that if your internal applications don’t require AWS NAT gateways, you won’t need them to use WireGuard, either — if that’s the case, you can skip the Create NAT Gateways step, as well. I’ve included it only because it’s part of the AWS reference architecture (allowing your internal applications access to arbitrary services on the public Internet, such as the hypothetical “Rando API” in the above diagram).
Create VPC
Log into the AWS console, and navigate to the VPC service (type VPC into the AWS search bar and click the “VPC” result under “Services”). Use the region dropdown menu in the top right of the page to select the region in which you will create the VPC. In this example, I will use the “Ohio” region (aka us-east-2).
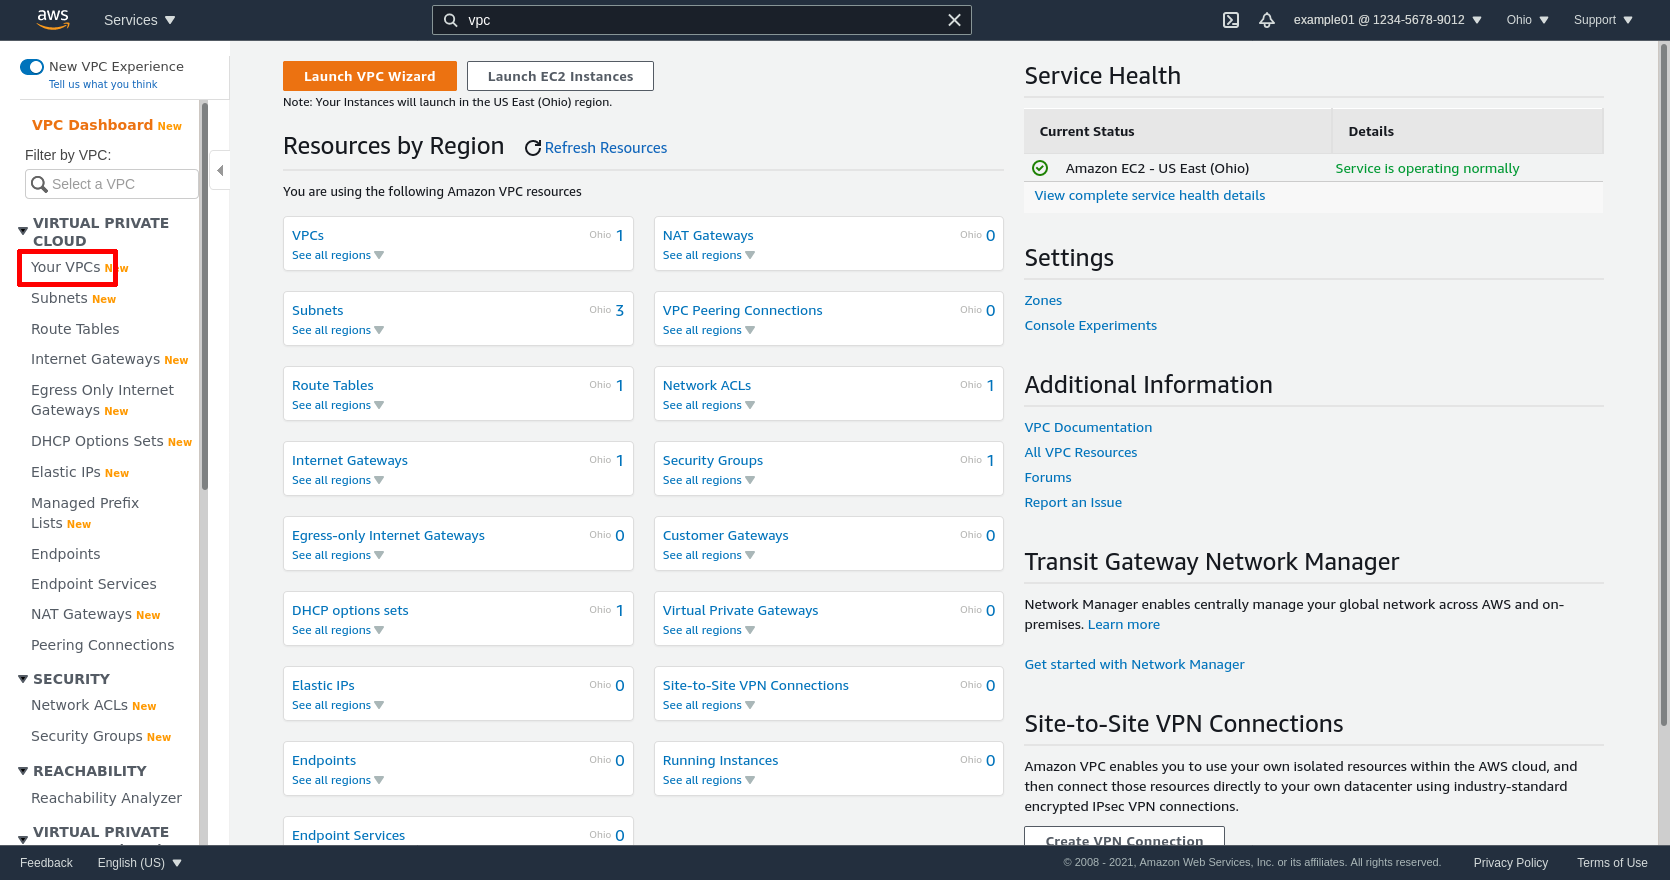
In the leftnav, click the Your VPCs link:
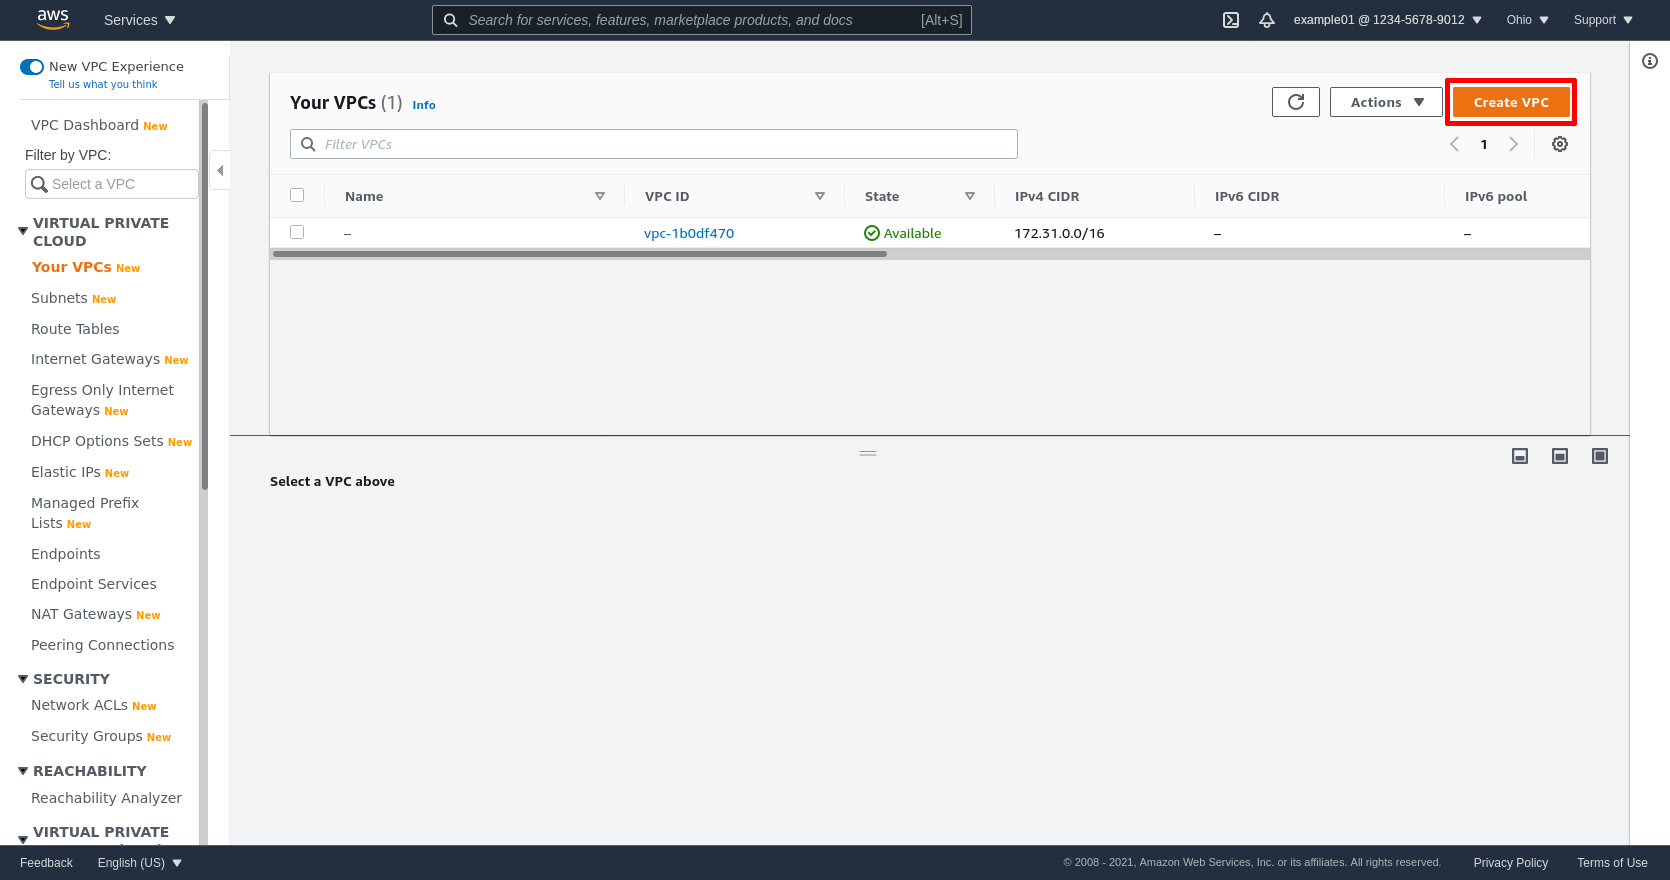
Then click the Create VPC button:
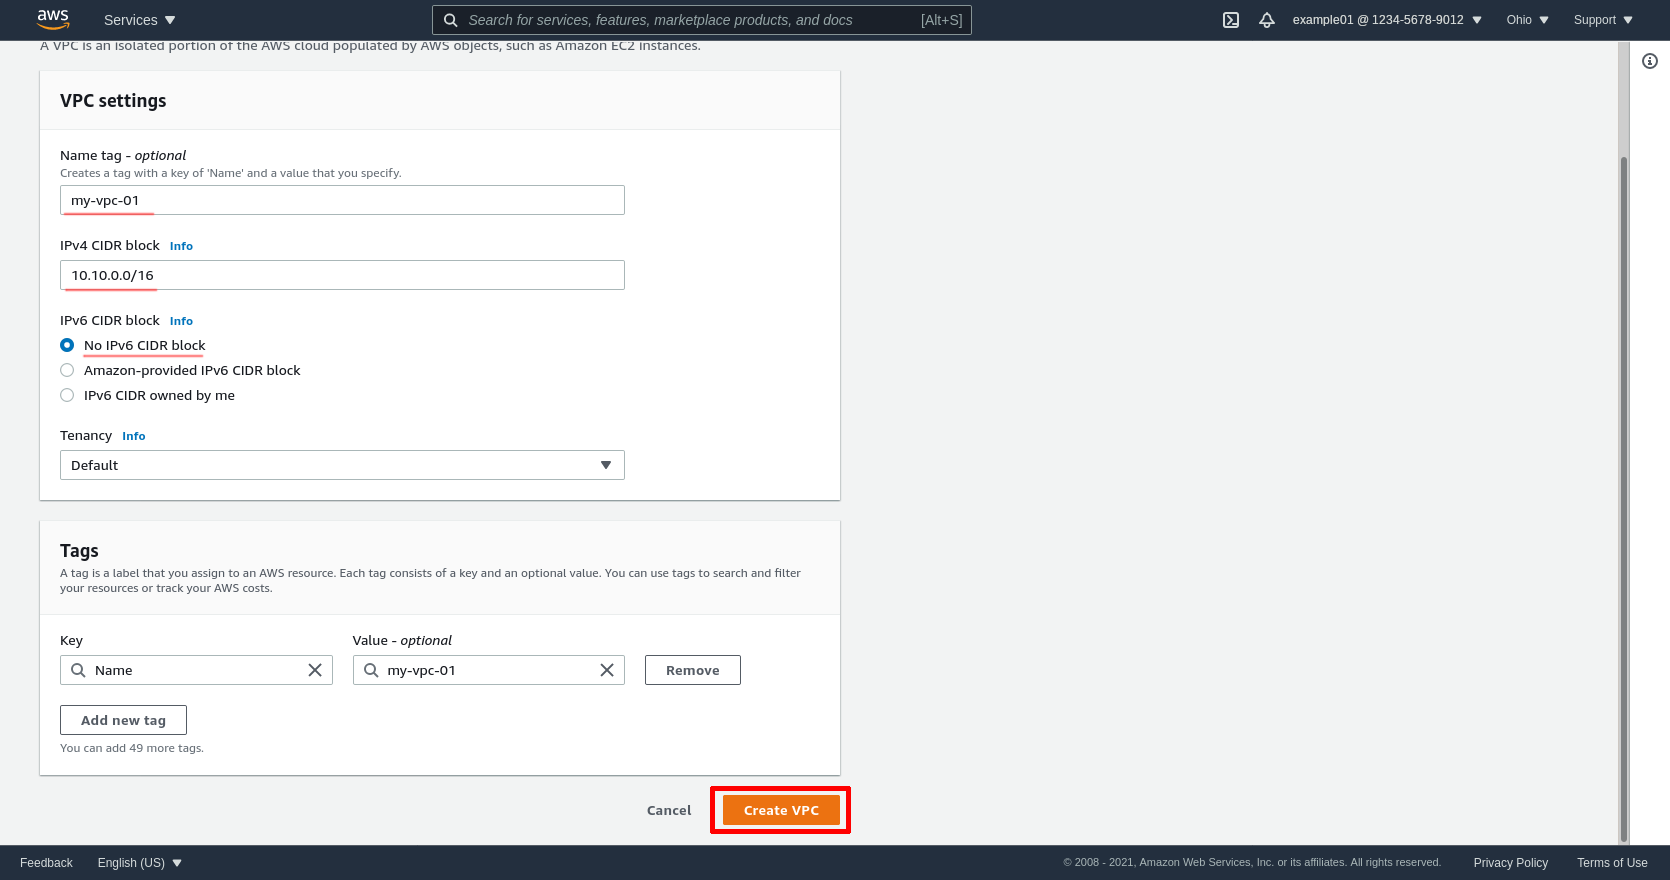
Enter a Name tag; I’ll call mine my-vpc-01. Enter an IPv4 CIDR block; I’ll use 10.10.0.0/16 for this example. For IPv6 CIDR block, if you intend to use IPv6 addresses internally, select “Amazon-provided IPv6 CIDR block”; otherwise select “No IPv6 CIDR block” (I won’t use IPv6 for this example).
All the compute instances you intend to run in the VPC (including both the EC2 instances you create and manage, as well as any instances created and managed automatically by AWS as part of its services, like for databases, load balancers, gateways, etc) will be assigned an internal IP address from the IPv4 block, so make sure you choose a block that will have enough IP addresses available for all the services you want to run (usually something between a /24 block, with 256 potential addresses, and a /16 block, with 65536 potential addresses, is the right size).
Also make sure that the IPv4 block you choose does not collide with any other IPv4 blocks you use internally — and in particular, make sure it does not collide with the IPv4 addresses you will use for your WireGuard VPN (in this example, I’m going to use the 10.0.0.0/24 block for my WireGuard VPN). See RFC 6890 for all the available “Private Use” IPv4 blocks.
Click the Create VPC button once you’ve settled on your IP address blocks:
Create Public and Private Subnets
For my example VPC, I want to use two availability zones, us-east-2a and us-east-2b. Therefore, I’ll create 4 subnets: a public subnet for my A zone, a private subnet for my A zone, a public subnet for my B zone, and private subnet for my B zone. I’ll assign a /24 IPv4 block to each subnet, and tag them with names like so:
| Name | Type | Availability Zone | IPv4 CIDR Block |
|---|---|---|---|
| public-a-my-vpc-01 | public | A | 10.10.10.0/24 |
| private-a-my-vpc-01 | private | A | 10.10.11.0/24 |
| public-b-my-vpc-01 | public | B | 10.10.20.0/24 |
| private-b-my-vpc-01 | private | B | 10.10.21.0/24 |
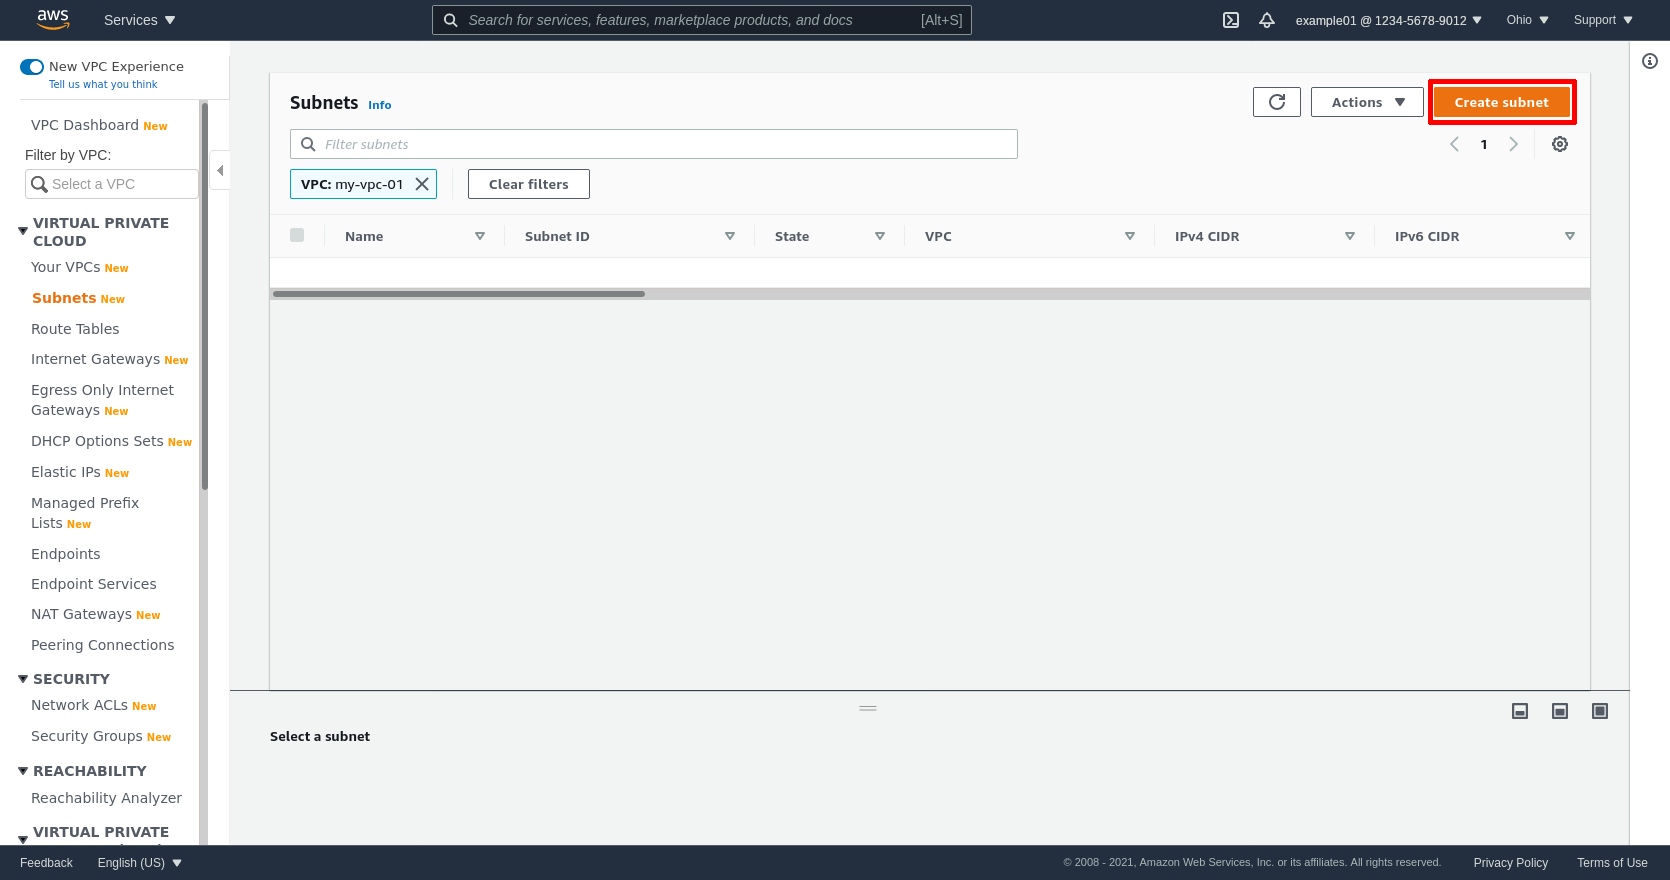
To start creating these subnets, in the leftnav of the AWS console, click the Subnets link:

Then click the Create subnet button:
Select the VPC ID of the VPC you just created; mine is vpc-066dcccf4d8026199:
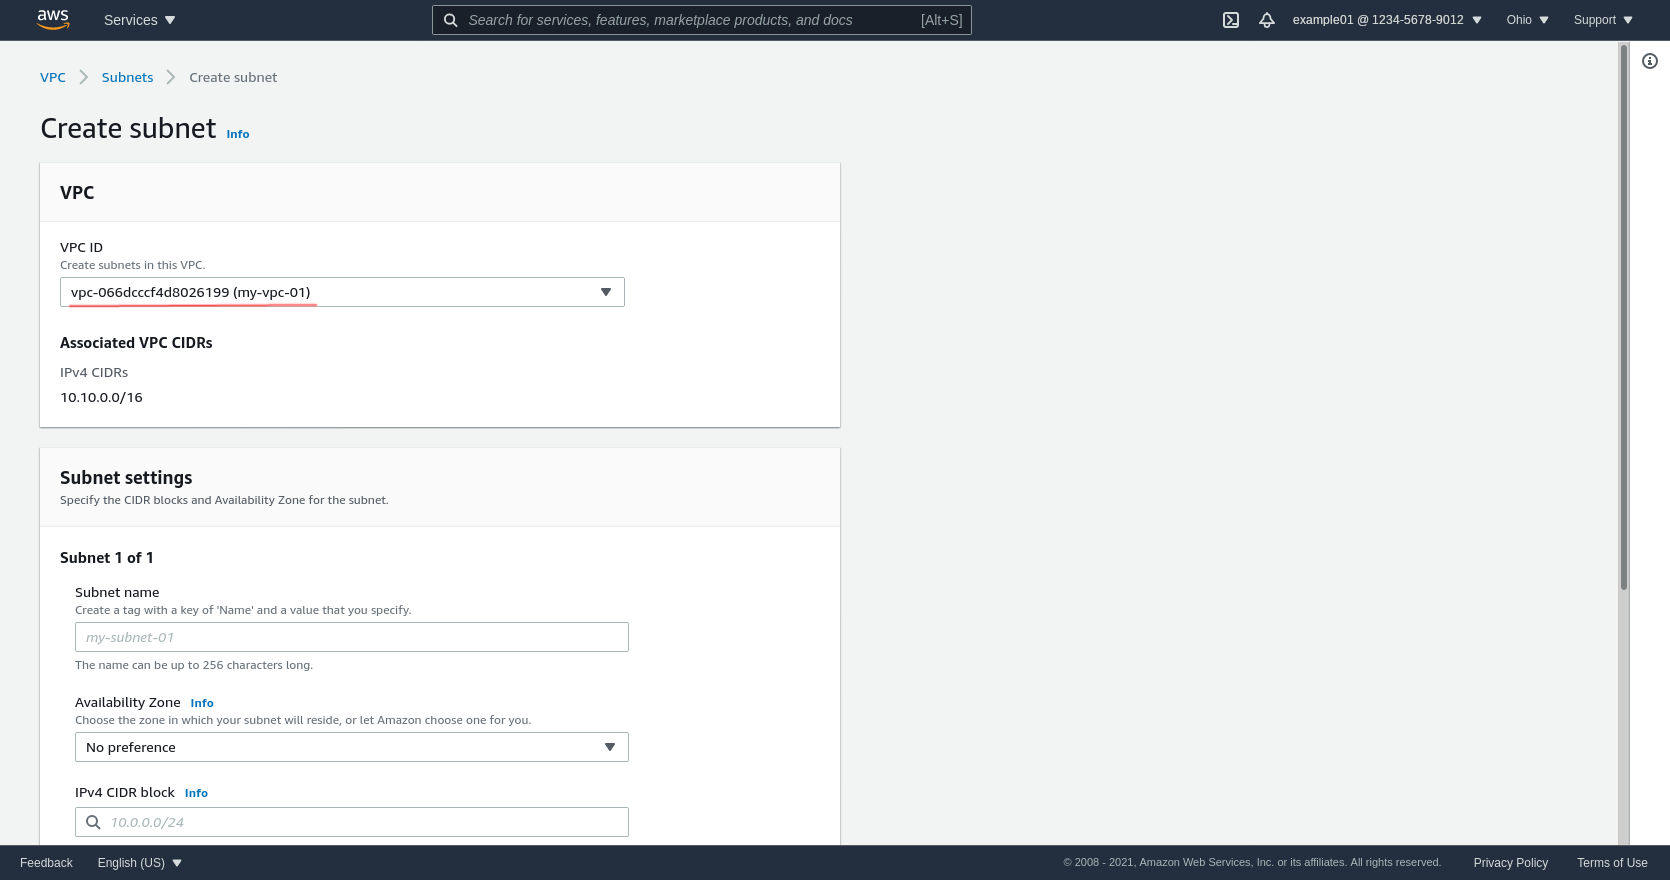
Then enter a Subnet name tag, select an Availability Zone, and choose a IPv4 CIDR block. Click the Create Subnet button to create the subnet:
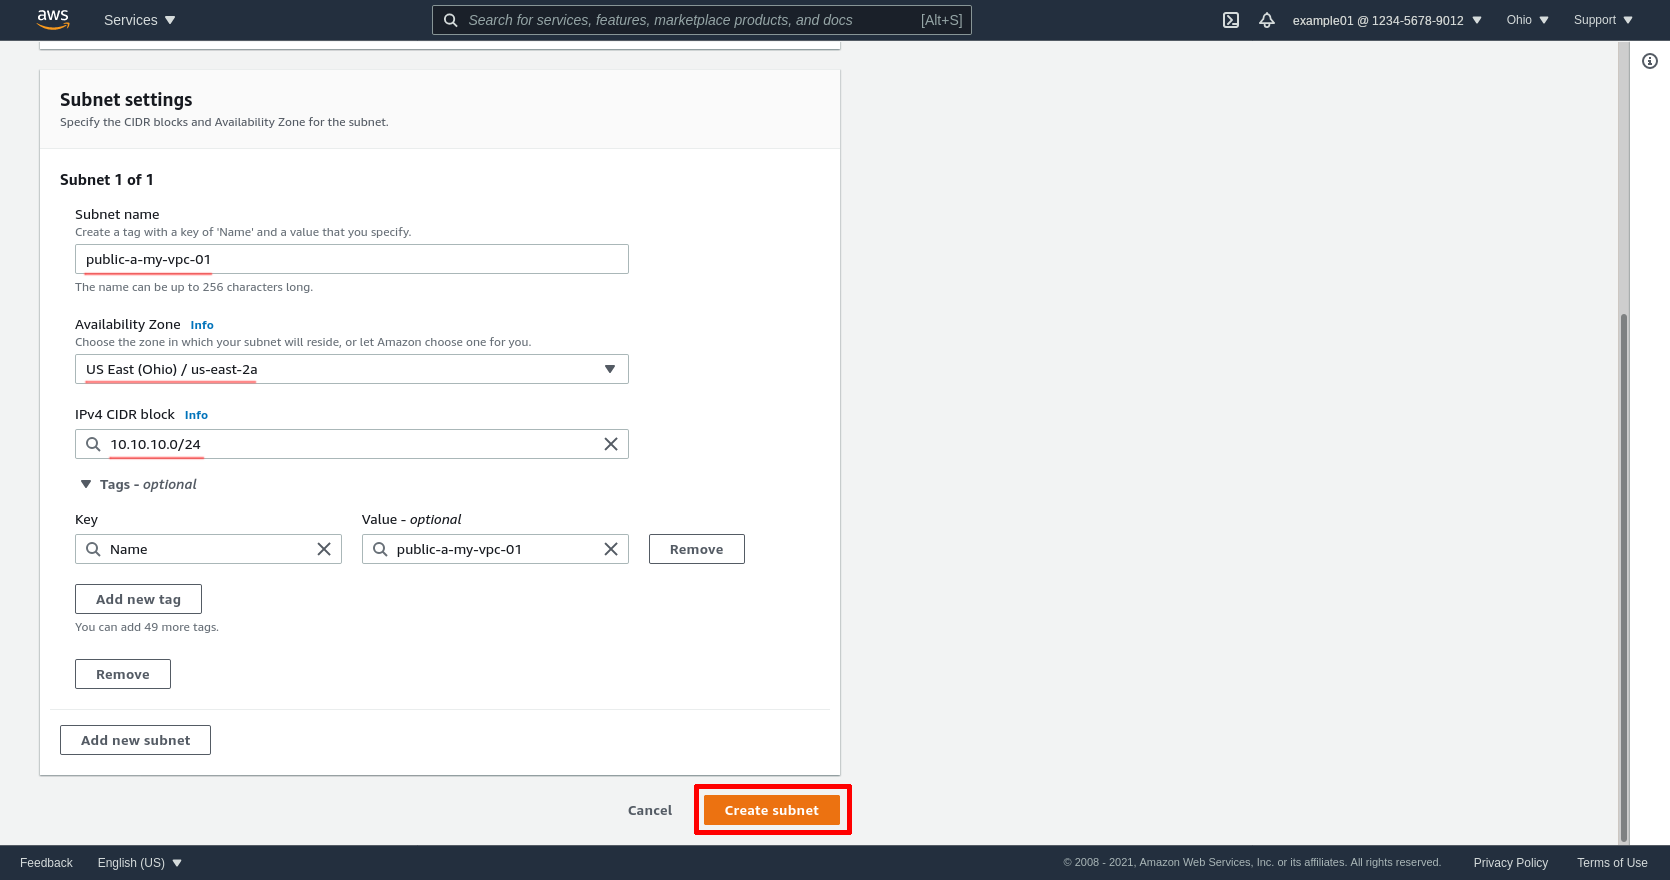
Repeat for each subnet.
Create Internet Gateway
In AWS, what makes public subnets “public” is that their Internet access is routed through an AWS Internet Gateway (IGW), which allows new inbound connections to the EC2 instances in the subnet from the Internet. All subnets in a VPC can share the same IGW (but separate VPCs can’t share the same IGW), so I’ll create one IGW for my example VPC.
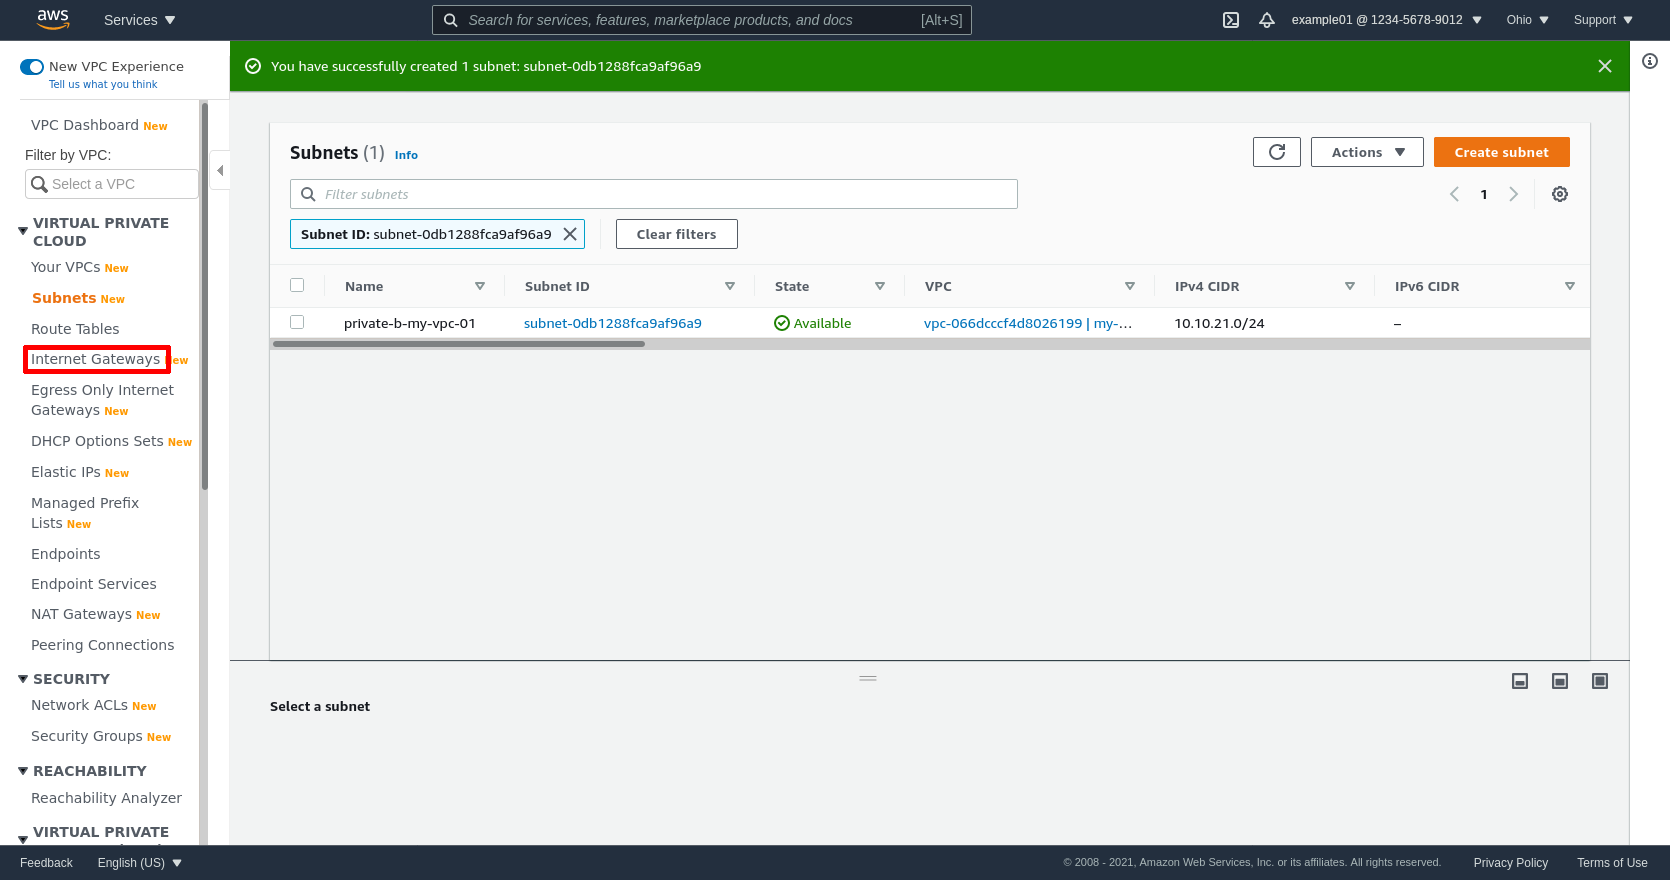
In the leftnav of the AWS console, click the Internet Gateways link:
Then click the Create internet gateway button:
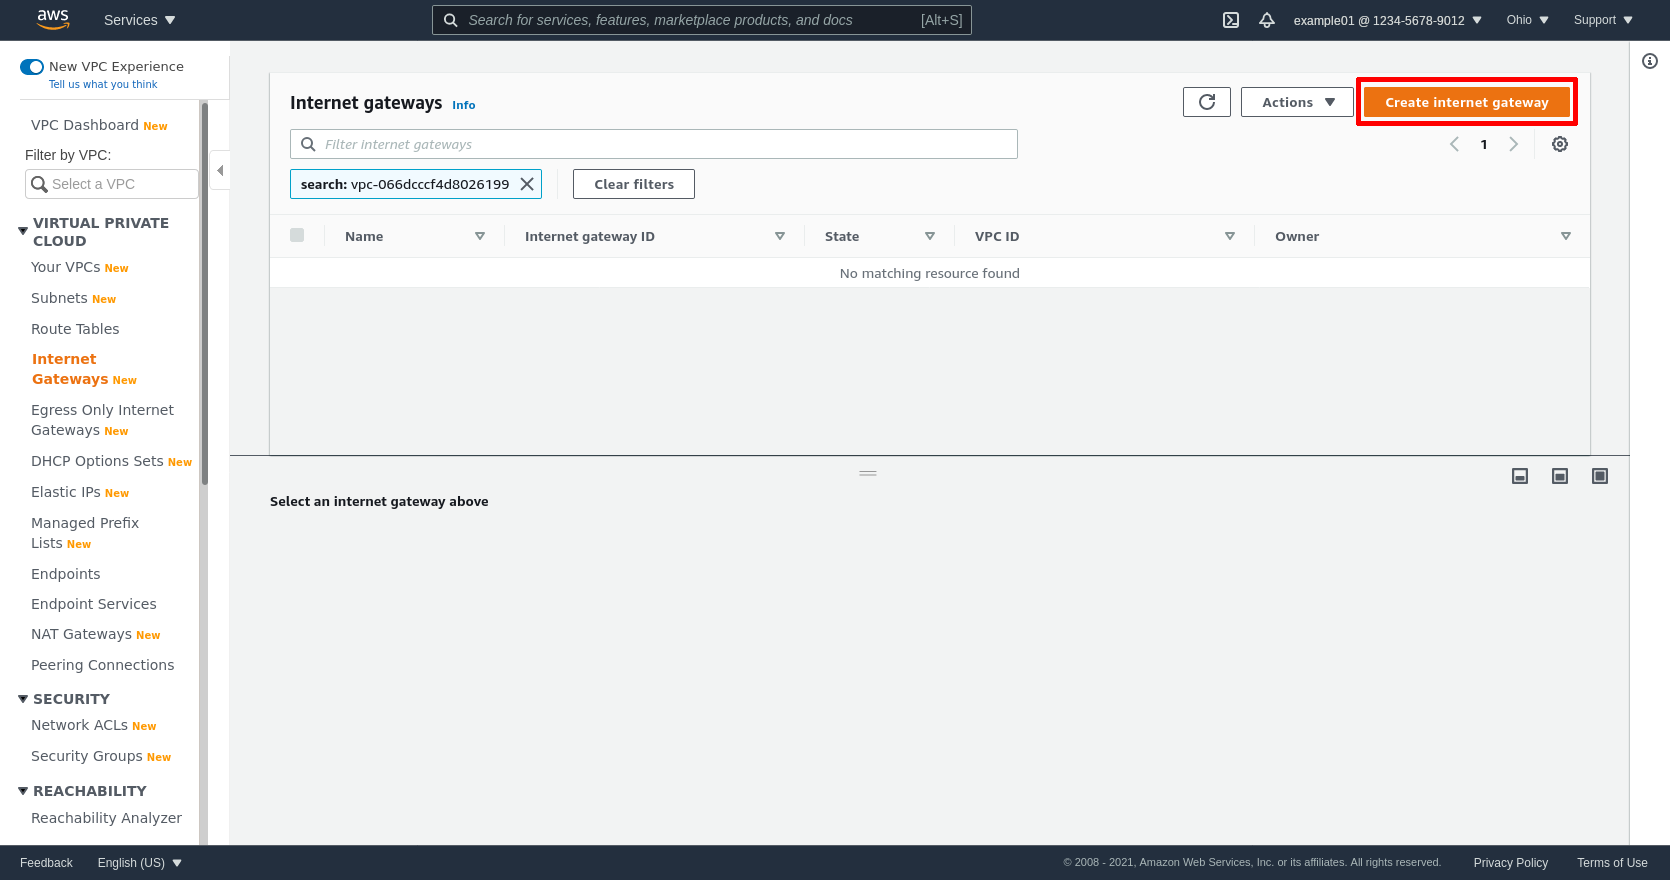
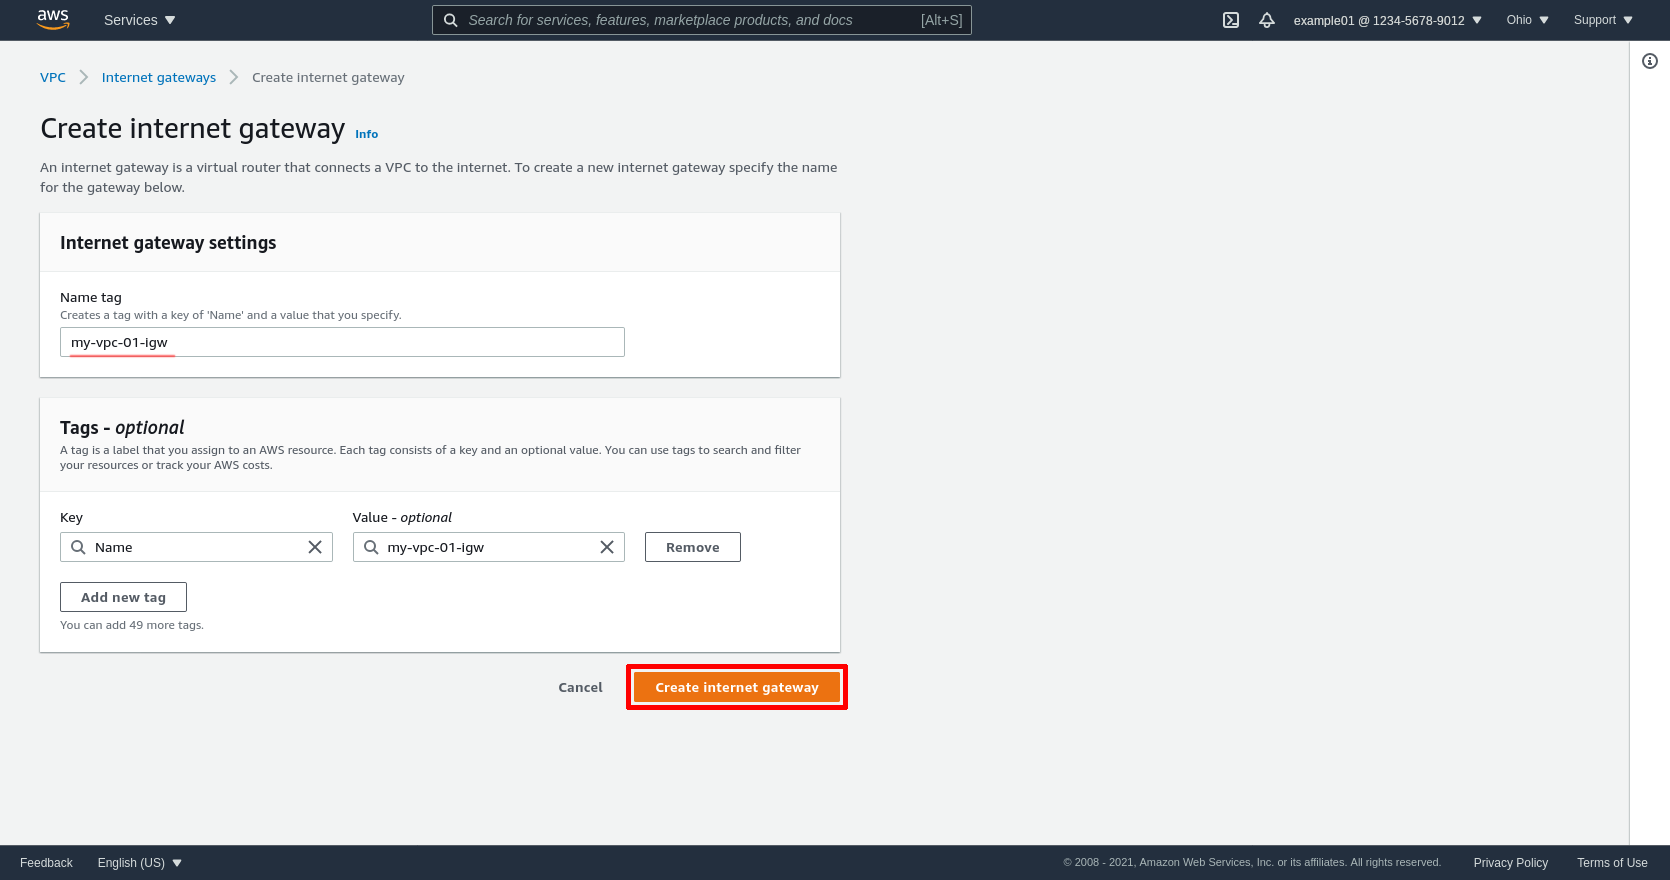
Enter a Name tag; I called mine my-vpc-01-igw. Click the Create internet gateway button to create it:
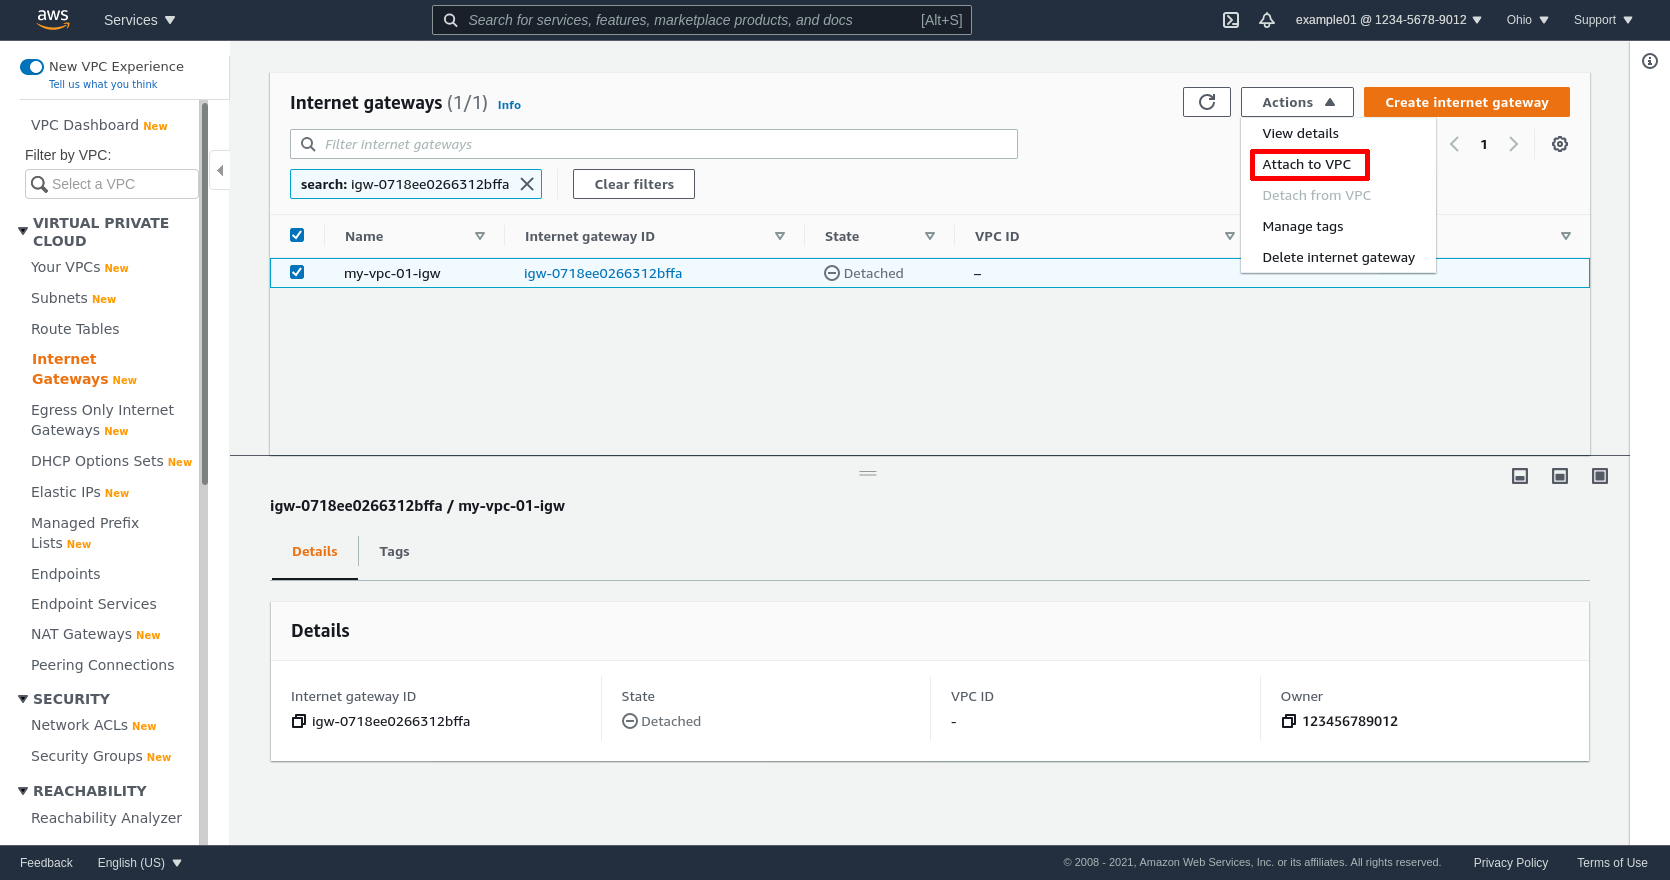
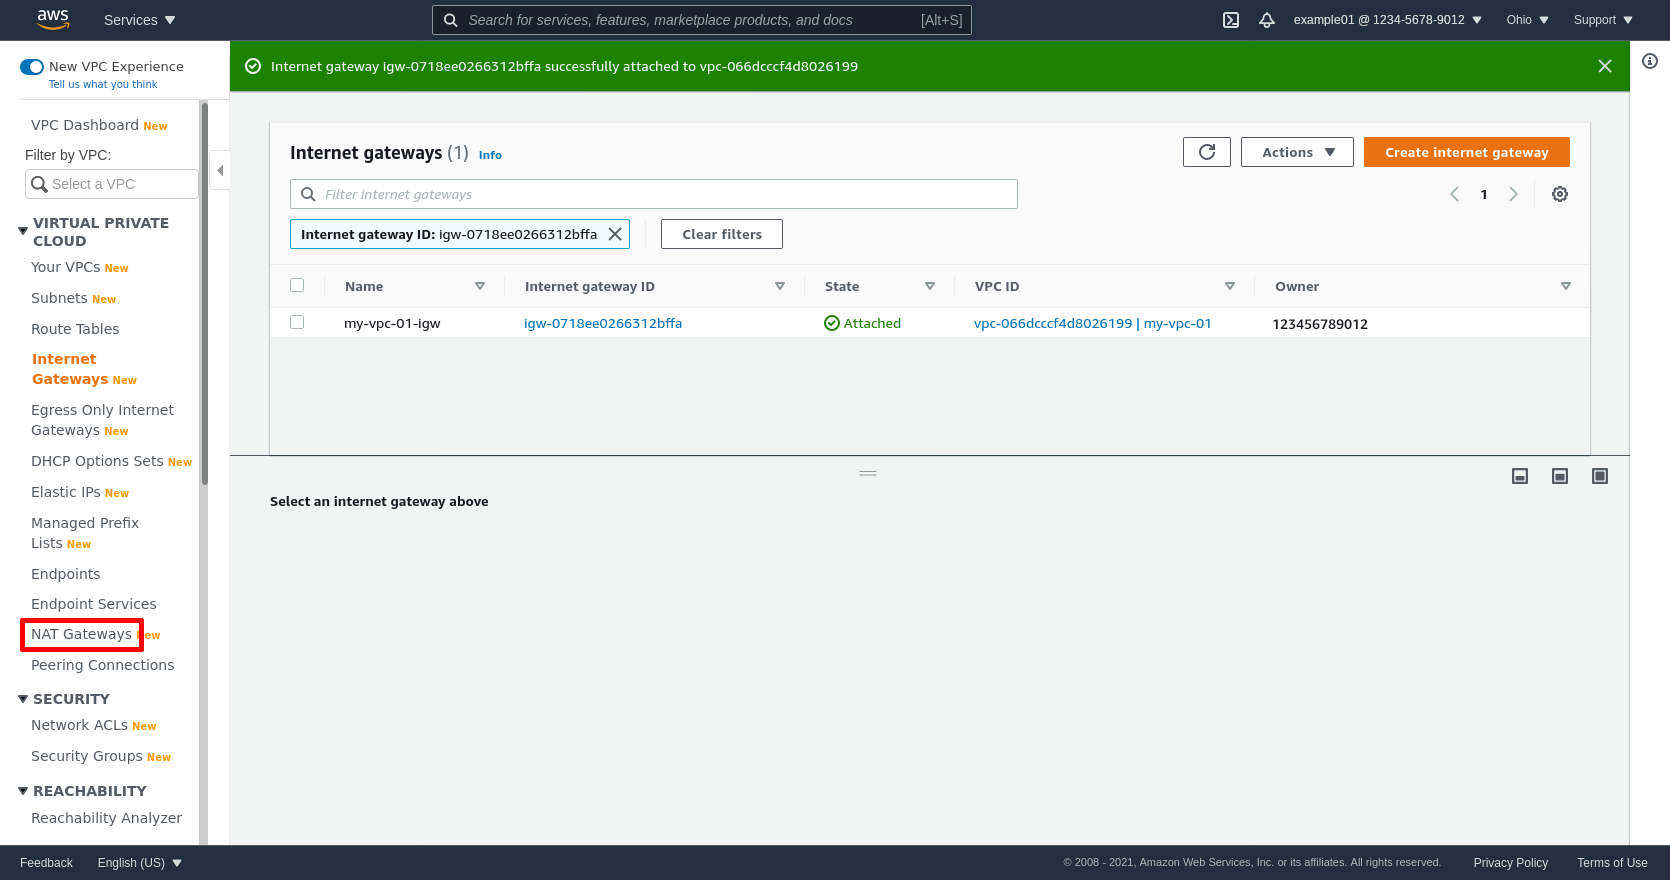
Go back to the main Internet Gateways page, select the IGW (in this example, igw-0718ee0266312bffa), and select the Attach to VPC action:
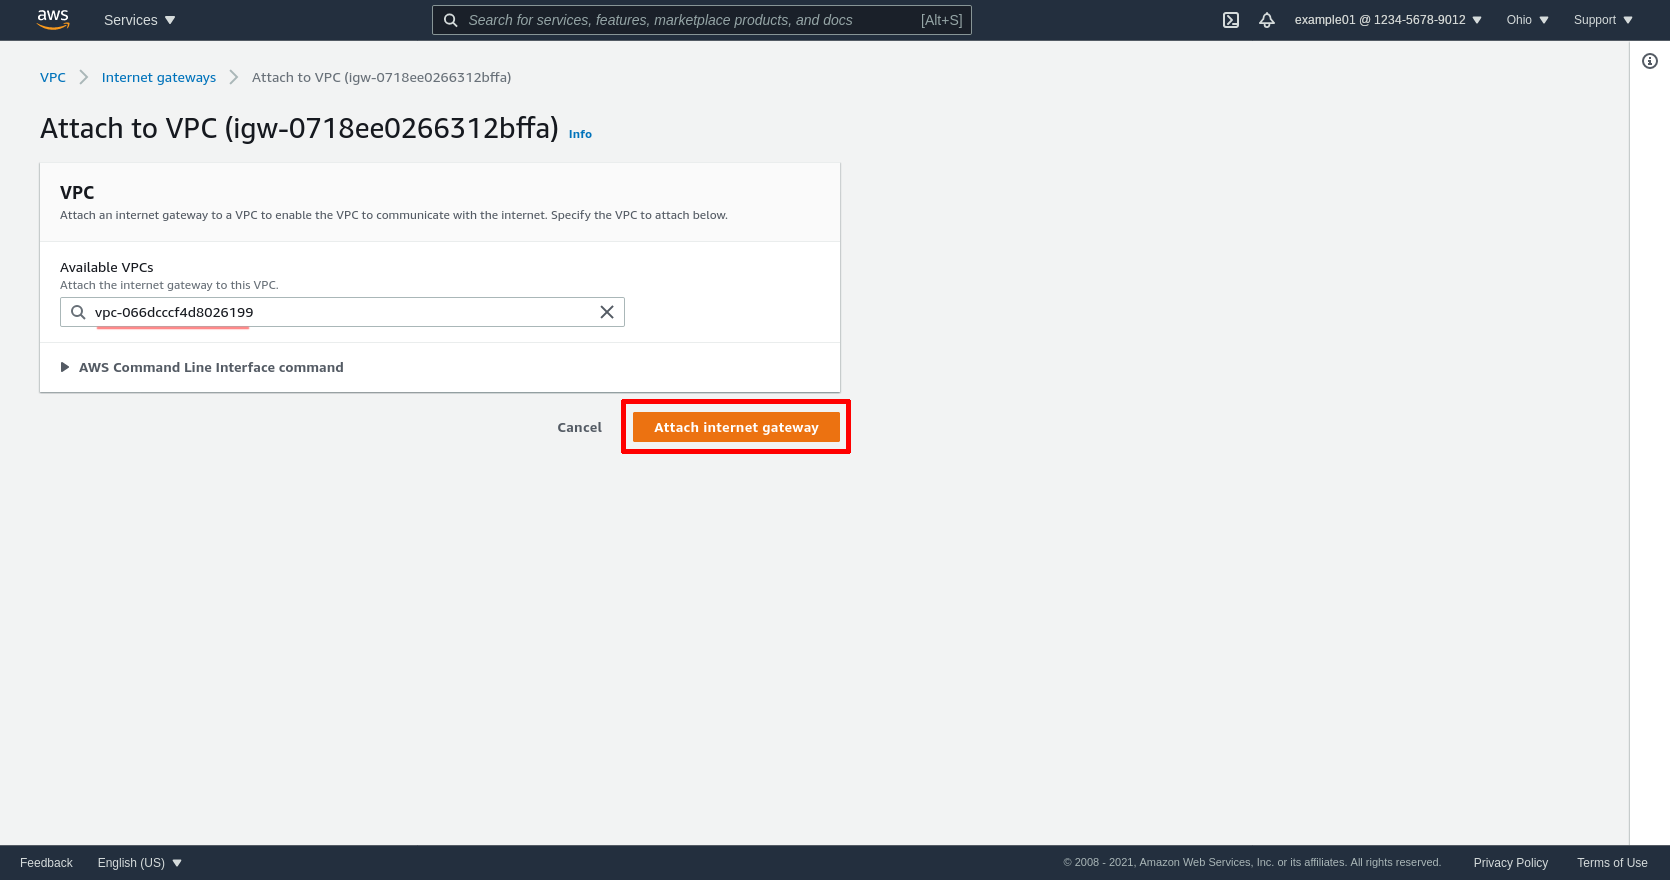
Select the VPC (in this example, vpc-066dcccf4d8026199), and click the Attach internet gateway button:
Create NAT Gateways
For private subnets that require outbound Internet access (for example, to allow software to be installed or updated from public Internet repositories), you have to either:
- Set up an AWS NAT Gateway for the subnet (IPv4-only)
- Set up a custom NAT Instance for the subnet or VPC
- Set up an AWS Egress-only Internet Gateway for the VPC (IPv6-only)
For this example, I’ll create a NAT Gateway (NGW) for each of my private subnets. Note that with current AWS VPC pricing, 2 NAT gateways in the Ohio region will cost you $65/month (plus $0.05/GB for all data transferred through them).
Note, however, that this step is completely optional — if none of the EC2 instances in your private subnets need outbound Internet access, you won’t need any NAT Gateways (and you won’t need them for WireGuard, either).
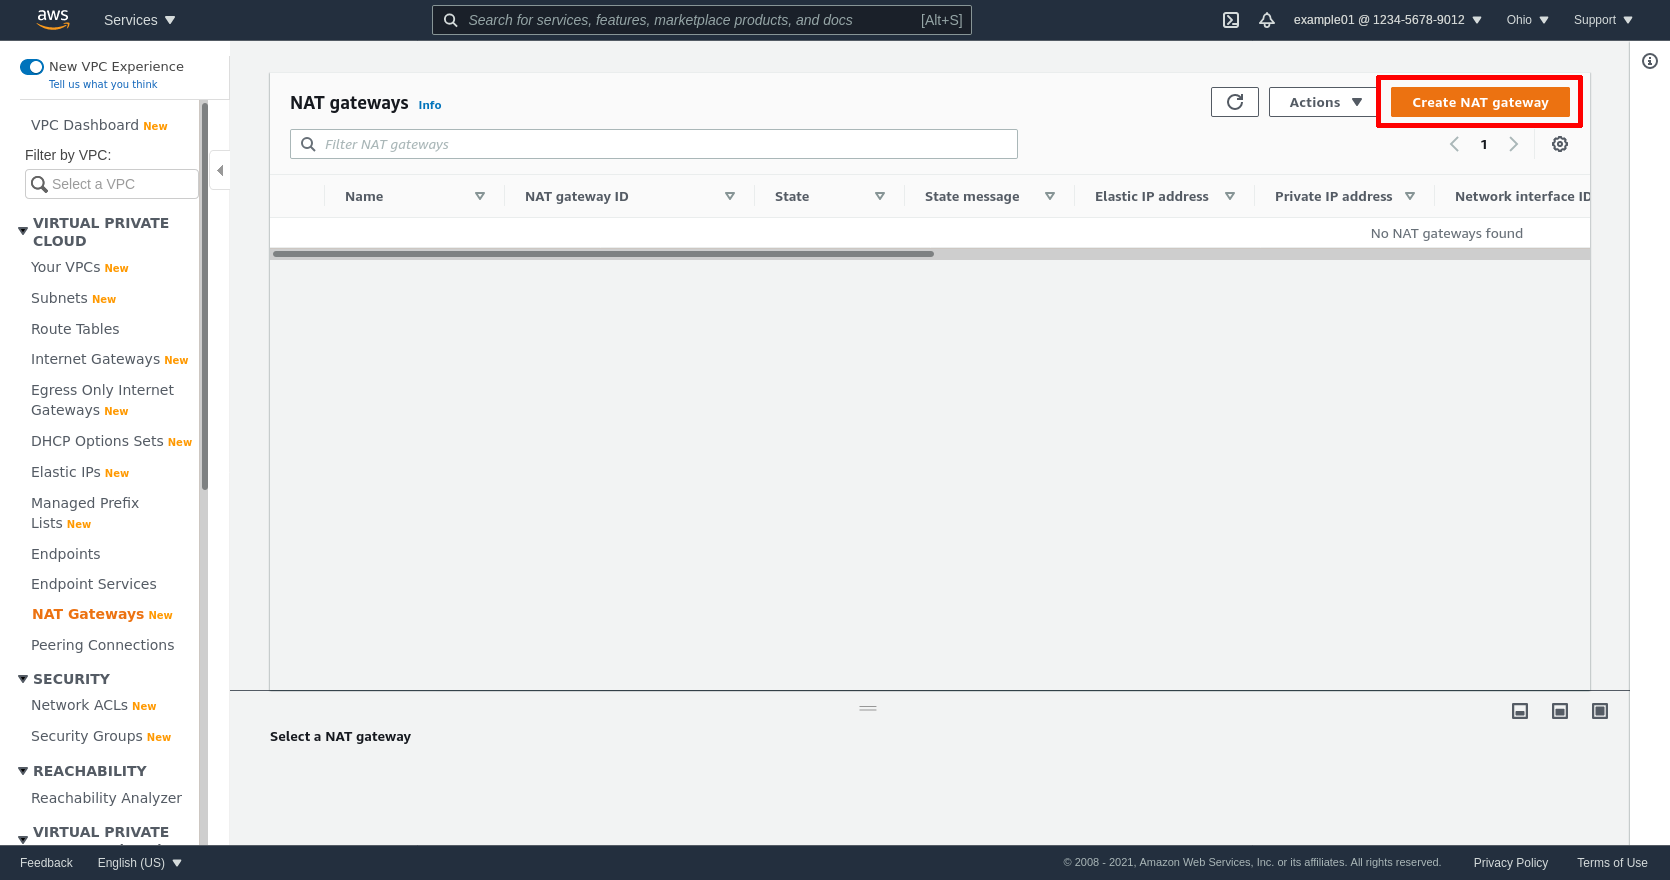
In the leftnav of the AWS console, click the NAT Gateways link:
Then click the Create NAT gateway button:
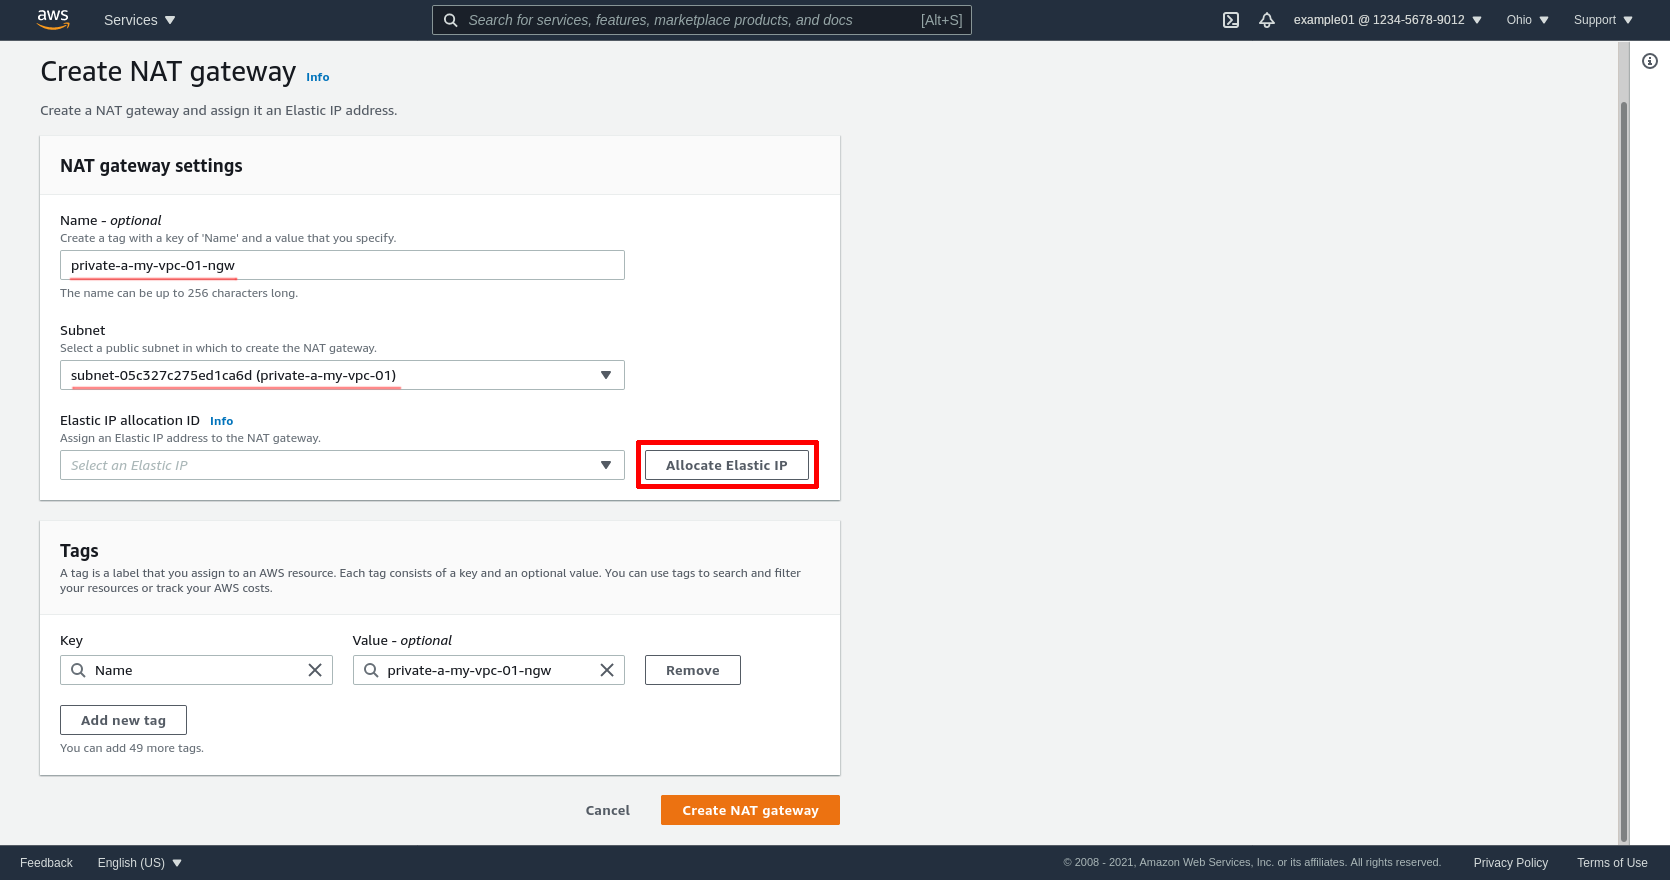
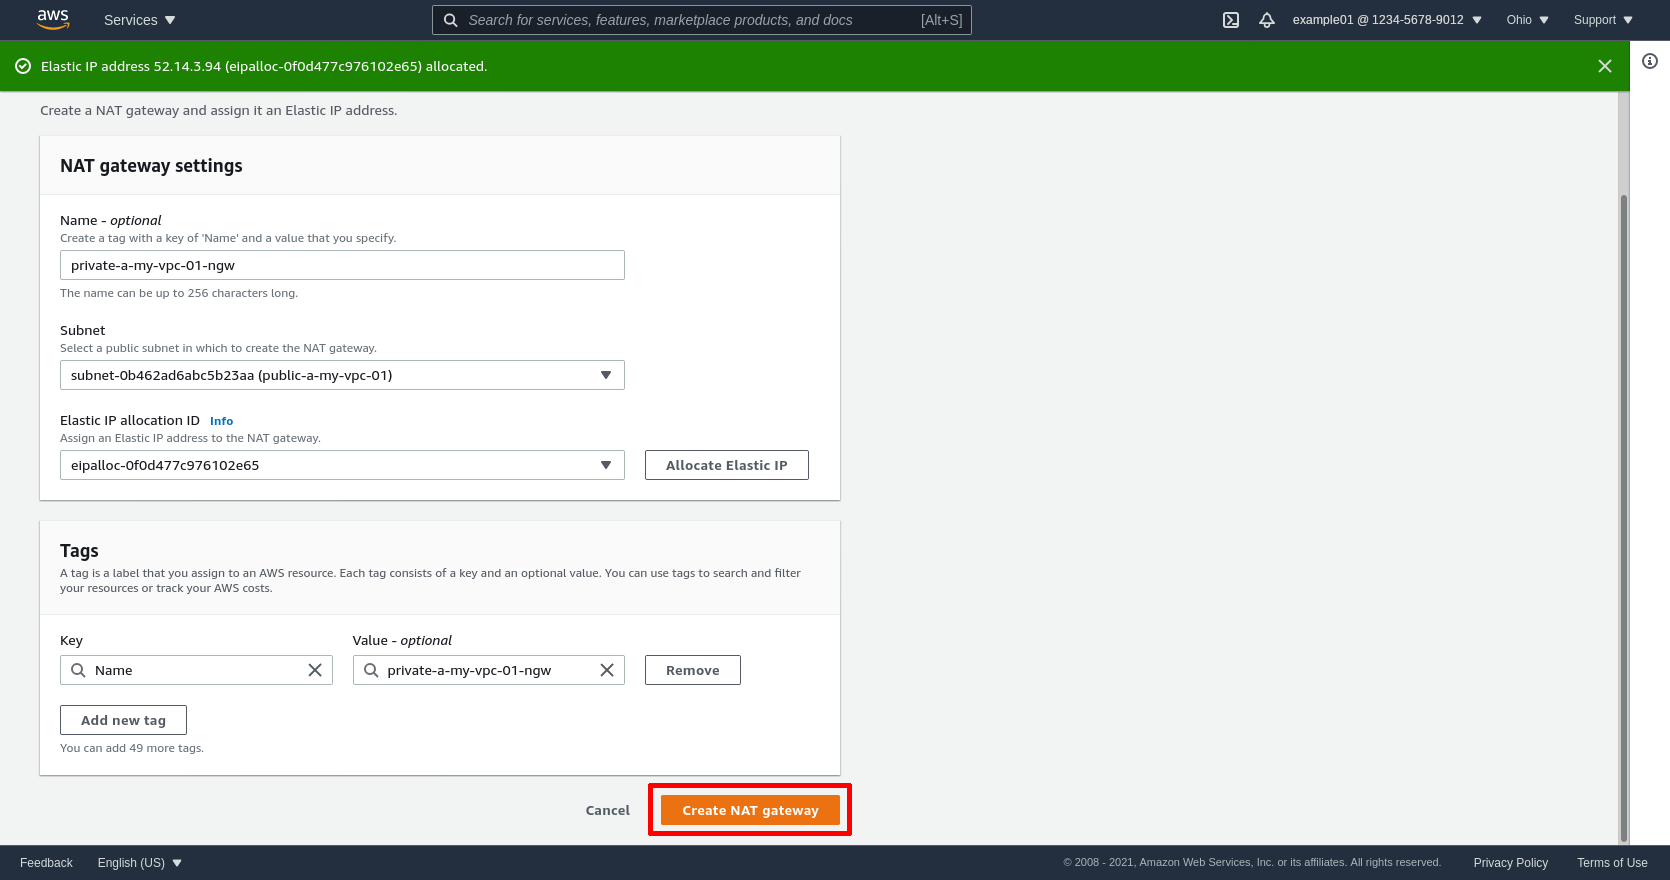
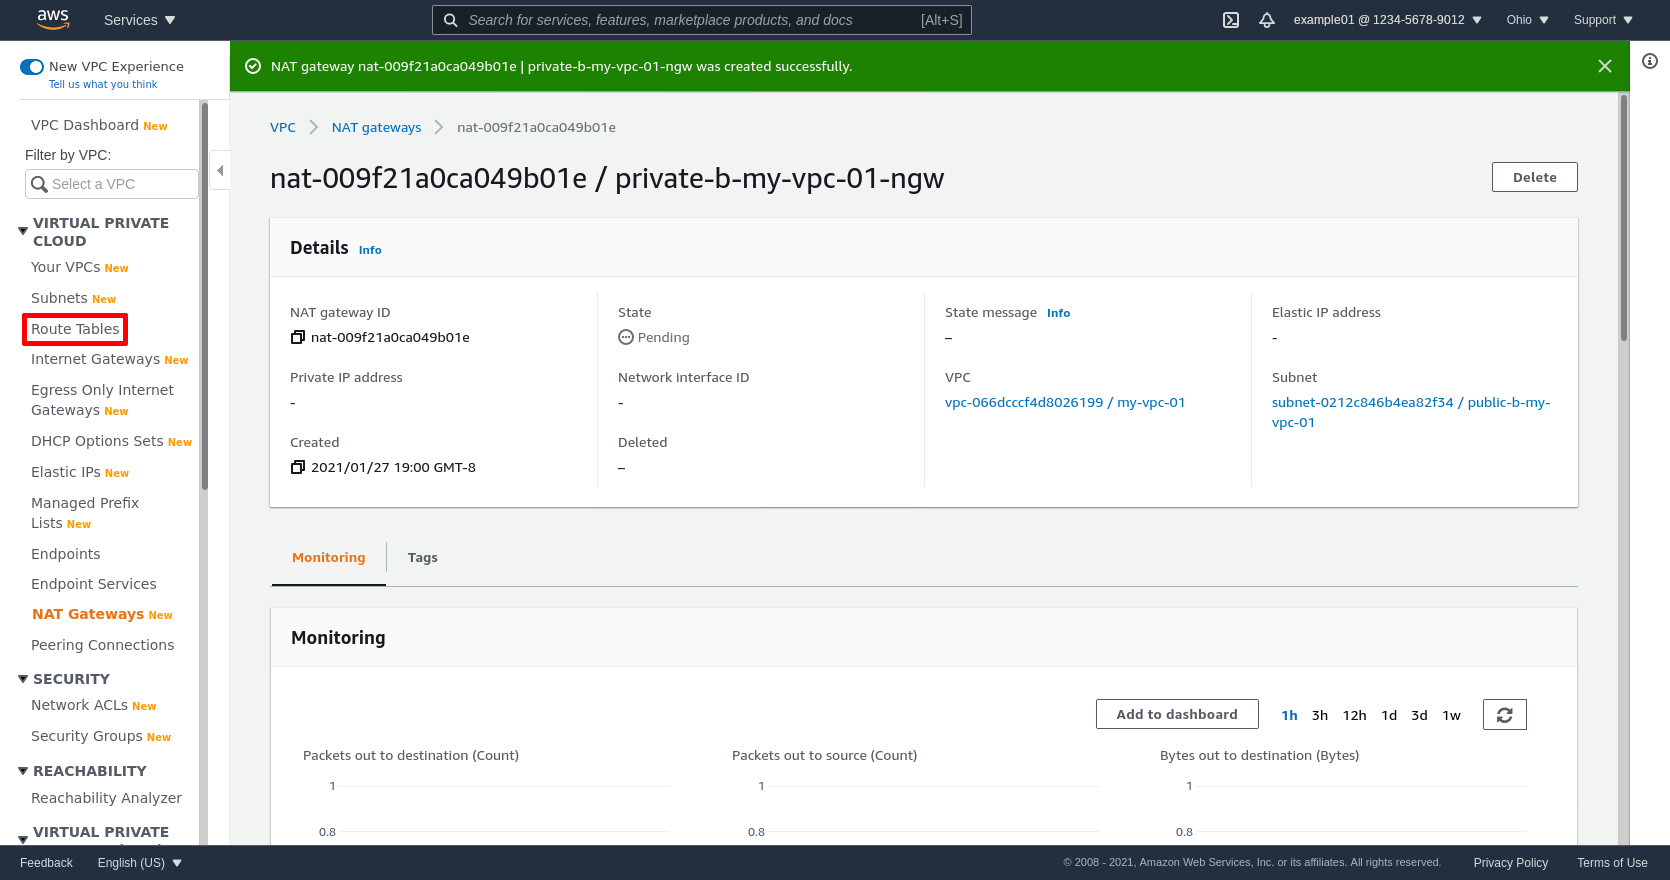
Enter a Name for the NGW; I named the gateway for my private subnet in zone A private-a-my-vpc-01-ngw, and the gateway for my private subnet in zone B private-b-my-vpc-01-ngw. For Subnet, select the public subnet for the availability zone — for example, if I want a NGW to use for the private subnet of my A zone, I should actually create the NGW in the public subnet of zone A (the gateway itself needs to be routable to the public Internet). Once you’ve selected the correct subnet, click the Allocate Elastic IP button (which will allocate a fixed public IP address for the NGW to use):
The click the Create NAT gateway button:
Repeat this process for the rest of your private subnets.
Create Route Tables
Now we’ll route access to the Internet through the IGW we just created for the public subnets, and the NGWs we just created for the private subnets. We’ll create one route table for both public subnets combined, and one route table for each of the private subnets individually, like so:
| Name | Subnets | Gateway |
|---|---|---|
| public-routes-my-vpc-01 | public-a-my-vpc-01, public-b-my-vpc-01 | my-vpc-01-igw |
| private-a-routes-my-vpc-01 | private-a-my-vpc-01 | private-a-my-vpc-01-ngw |
| private-b-routes-my-vpc-01 | private-b-my-vpc-01 | private-b-my-vpc-01-ngw |
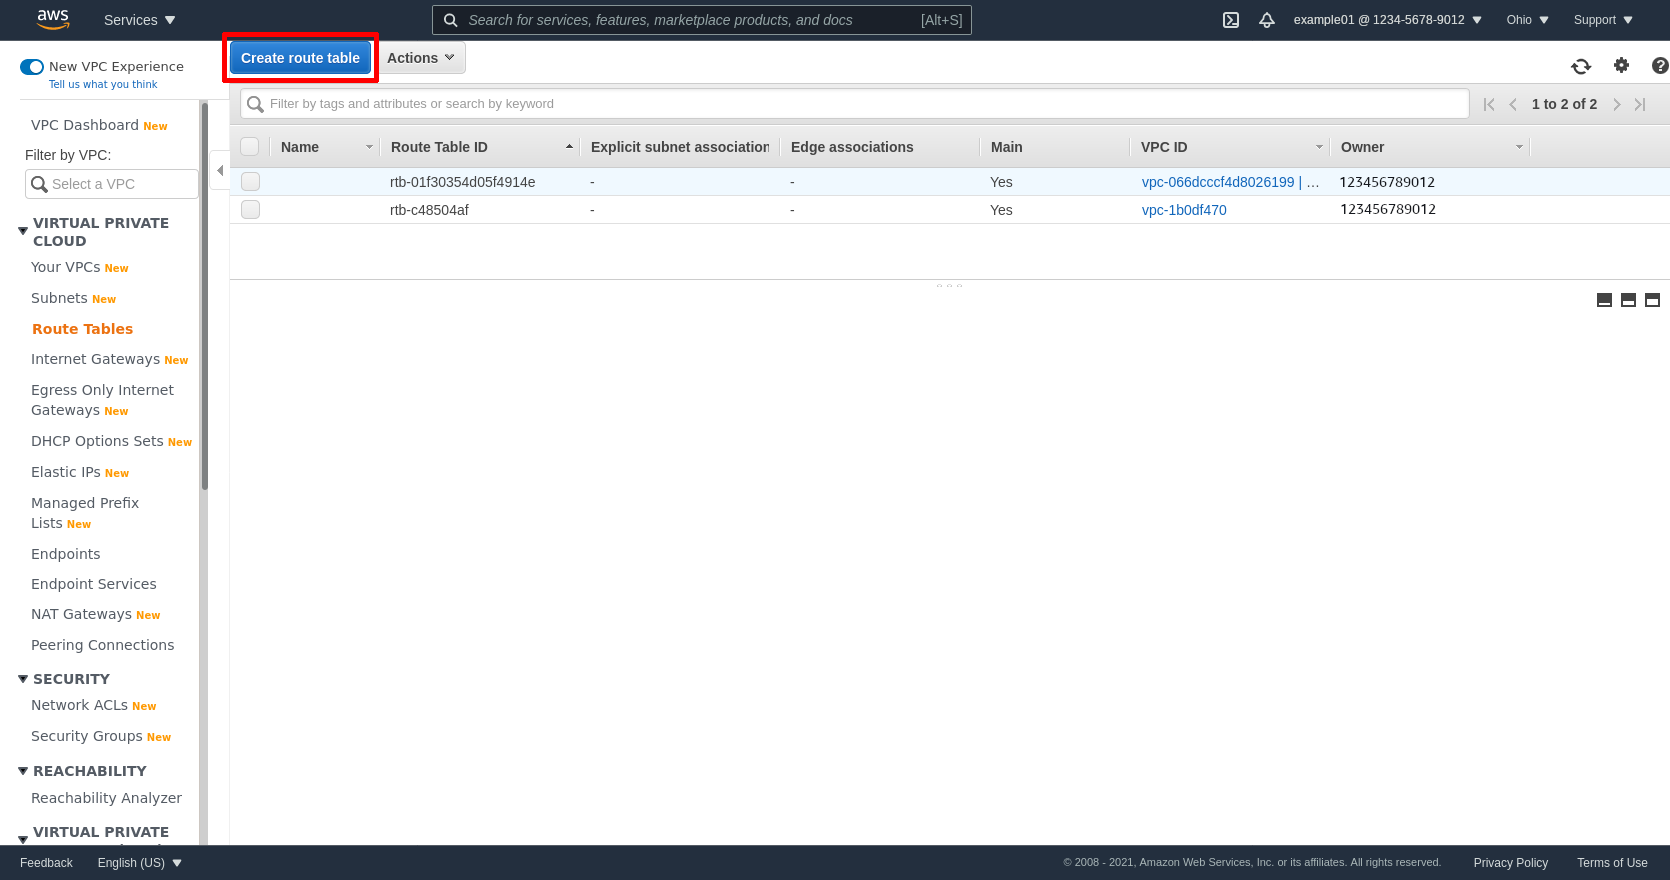
In the leftnav of the AWS console, click the Route Tables link:
Then click the Create route table button:
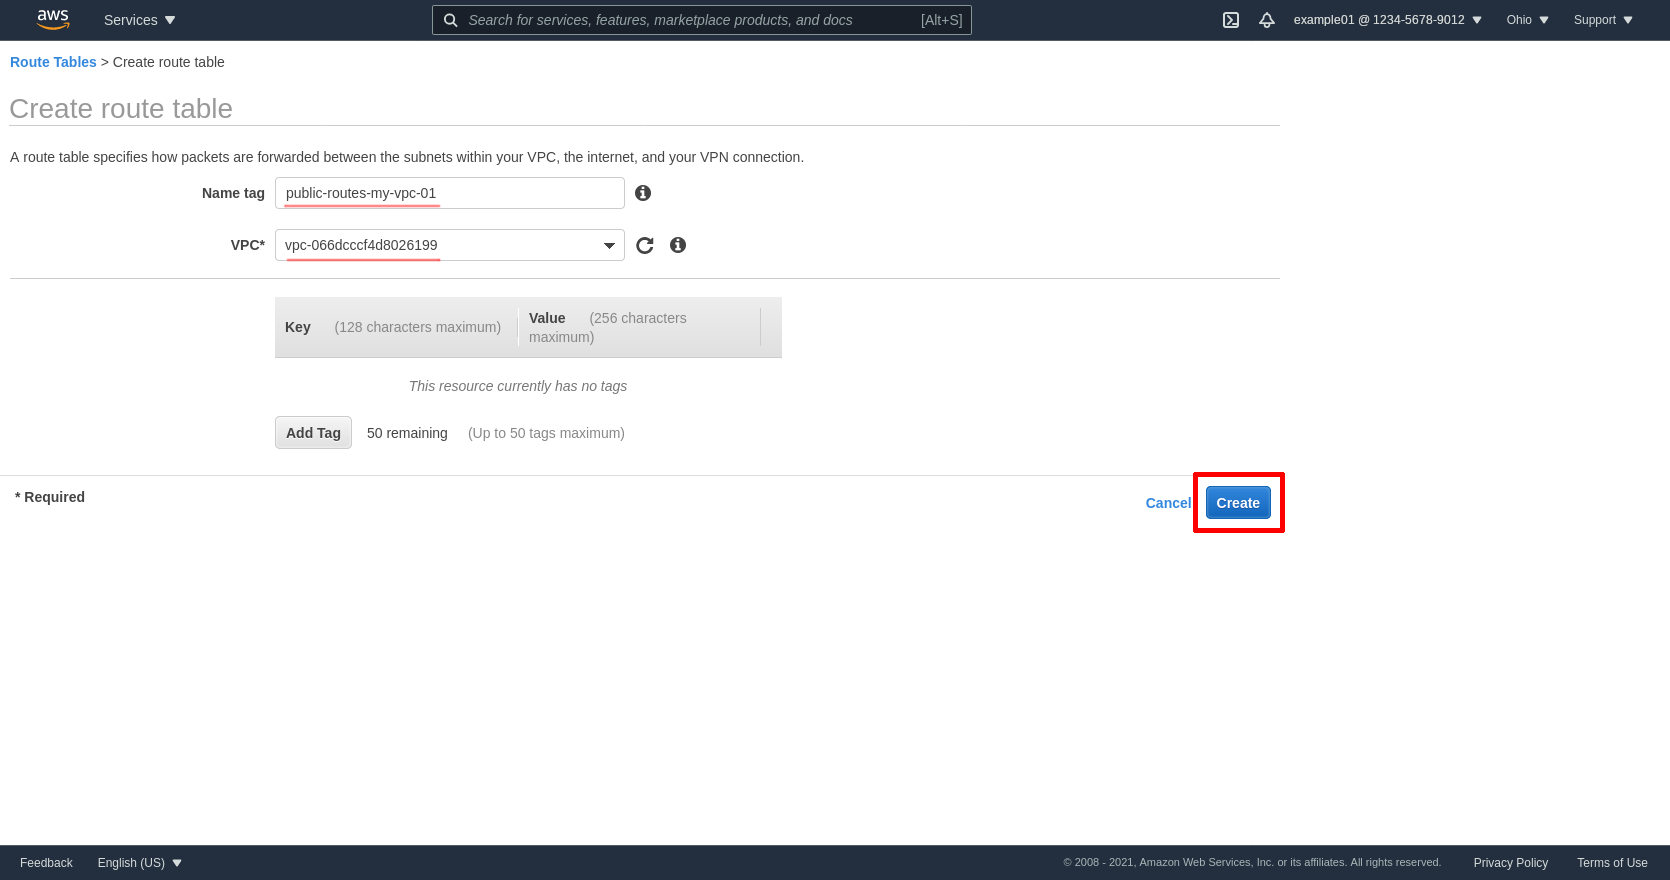
Enter a Name tag, select the VPC, and click the Create button:
Repeat until you have one route table for all the public subnets, and one each for each private subnet.
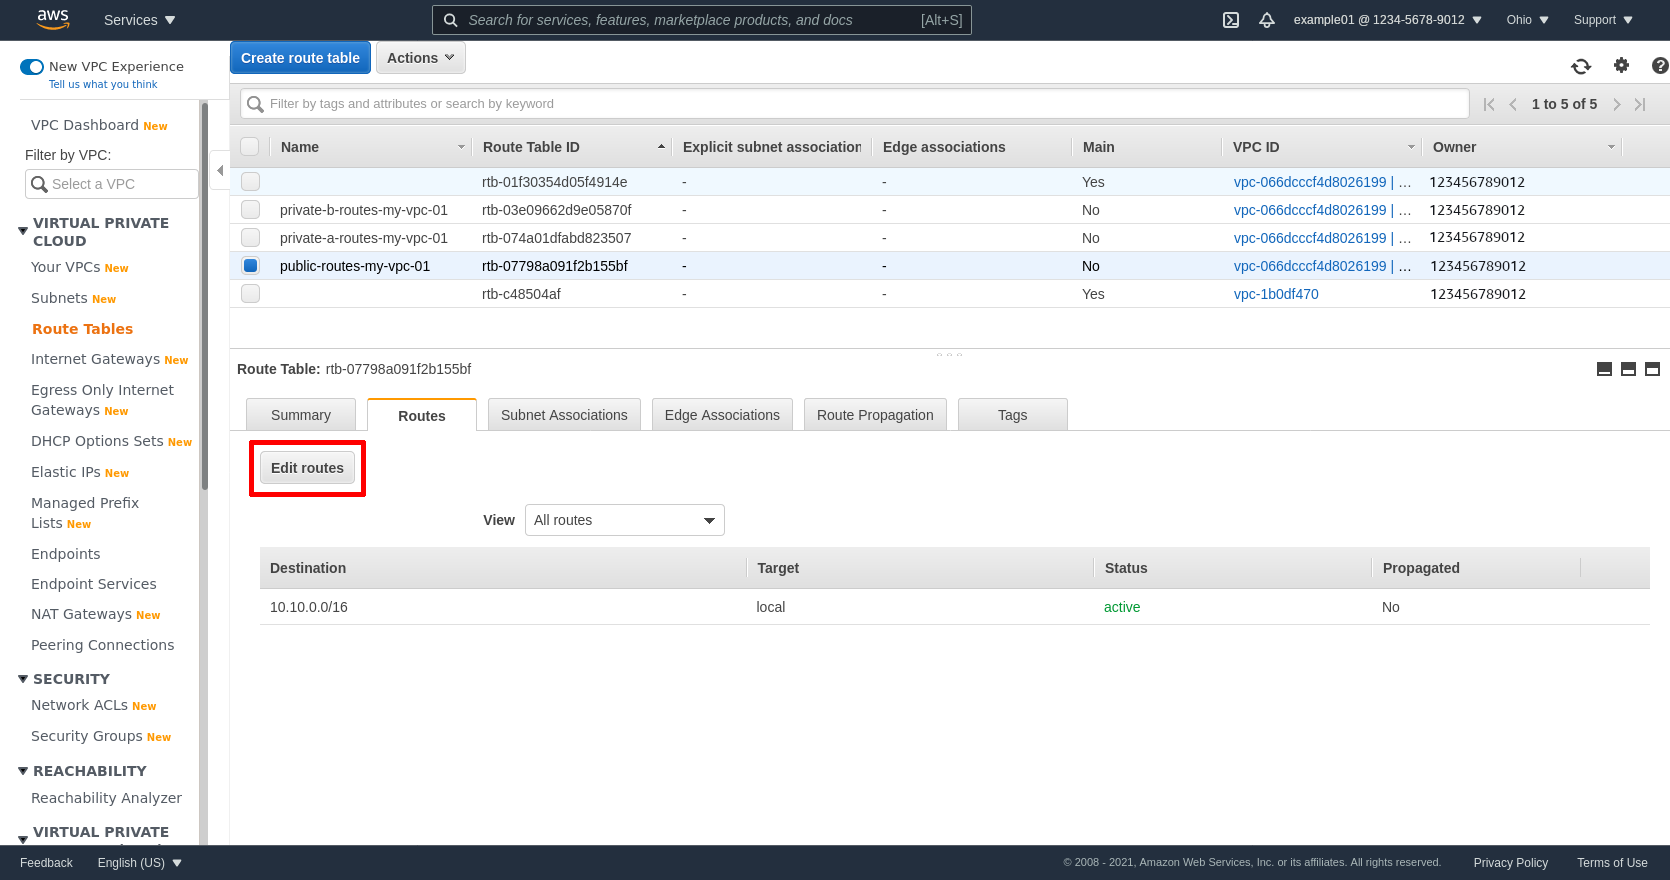
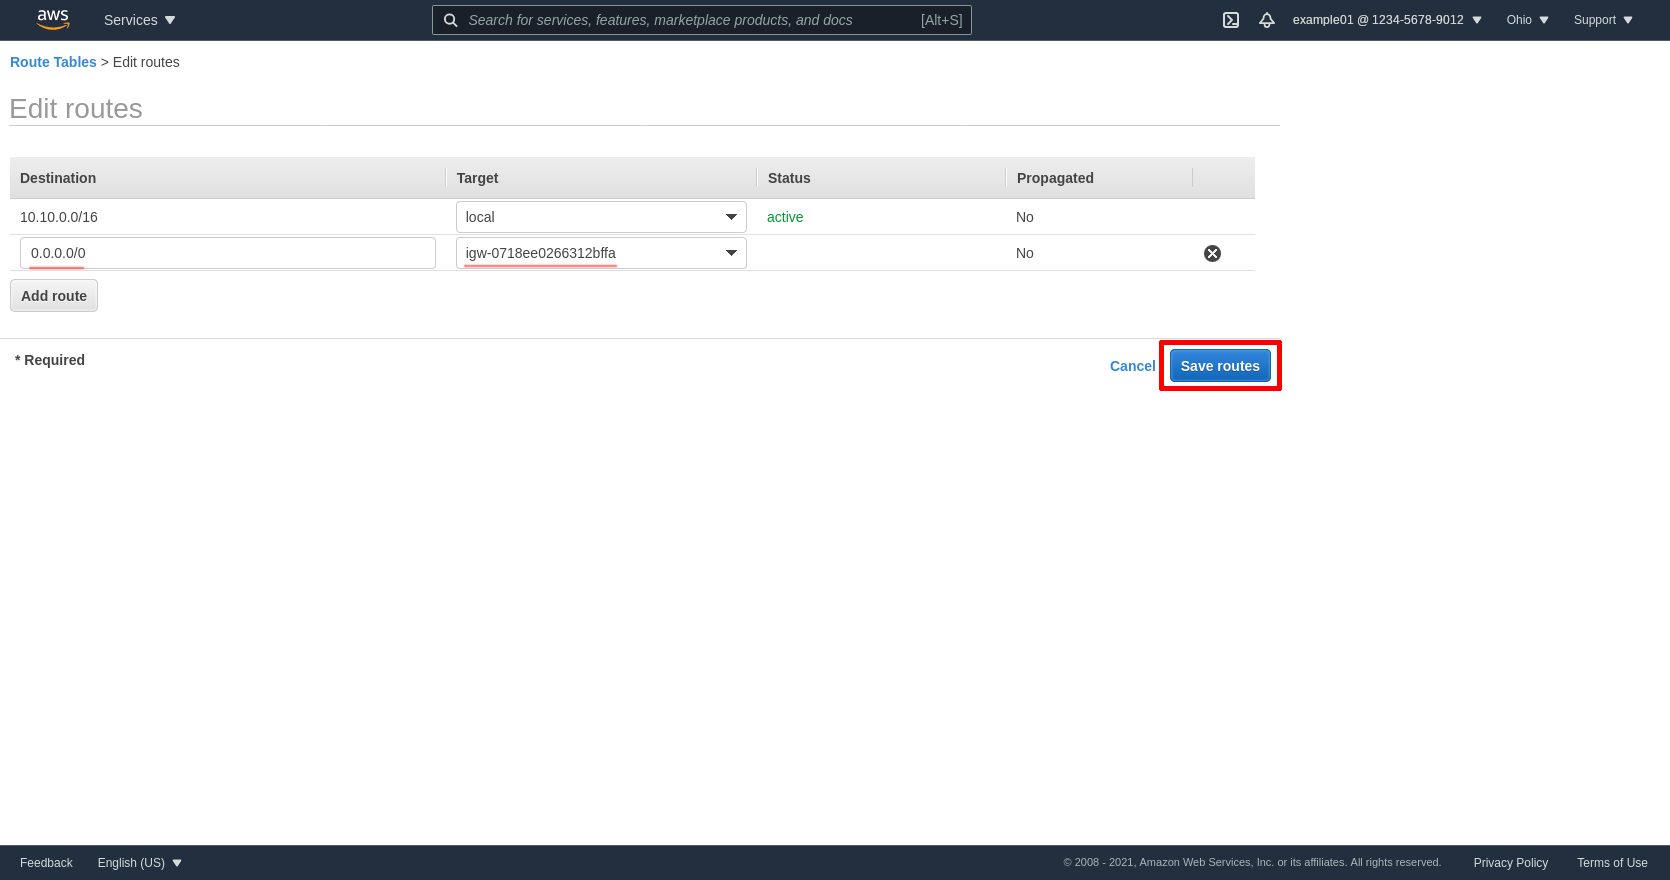
Then go back to the main Route Tables page, select the public route table (public-routes-my-vpc-01 in my example), click the Routes tab, and then click the Edit routes button:
Click the Add route button to add another line. Enter 0.0.0.0/0 in the Destination field, and the ID of the IGW in the Target field (mine is igw-0718ee0266312bffa). Then click the Save routes button:
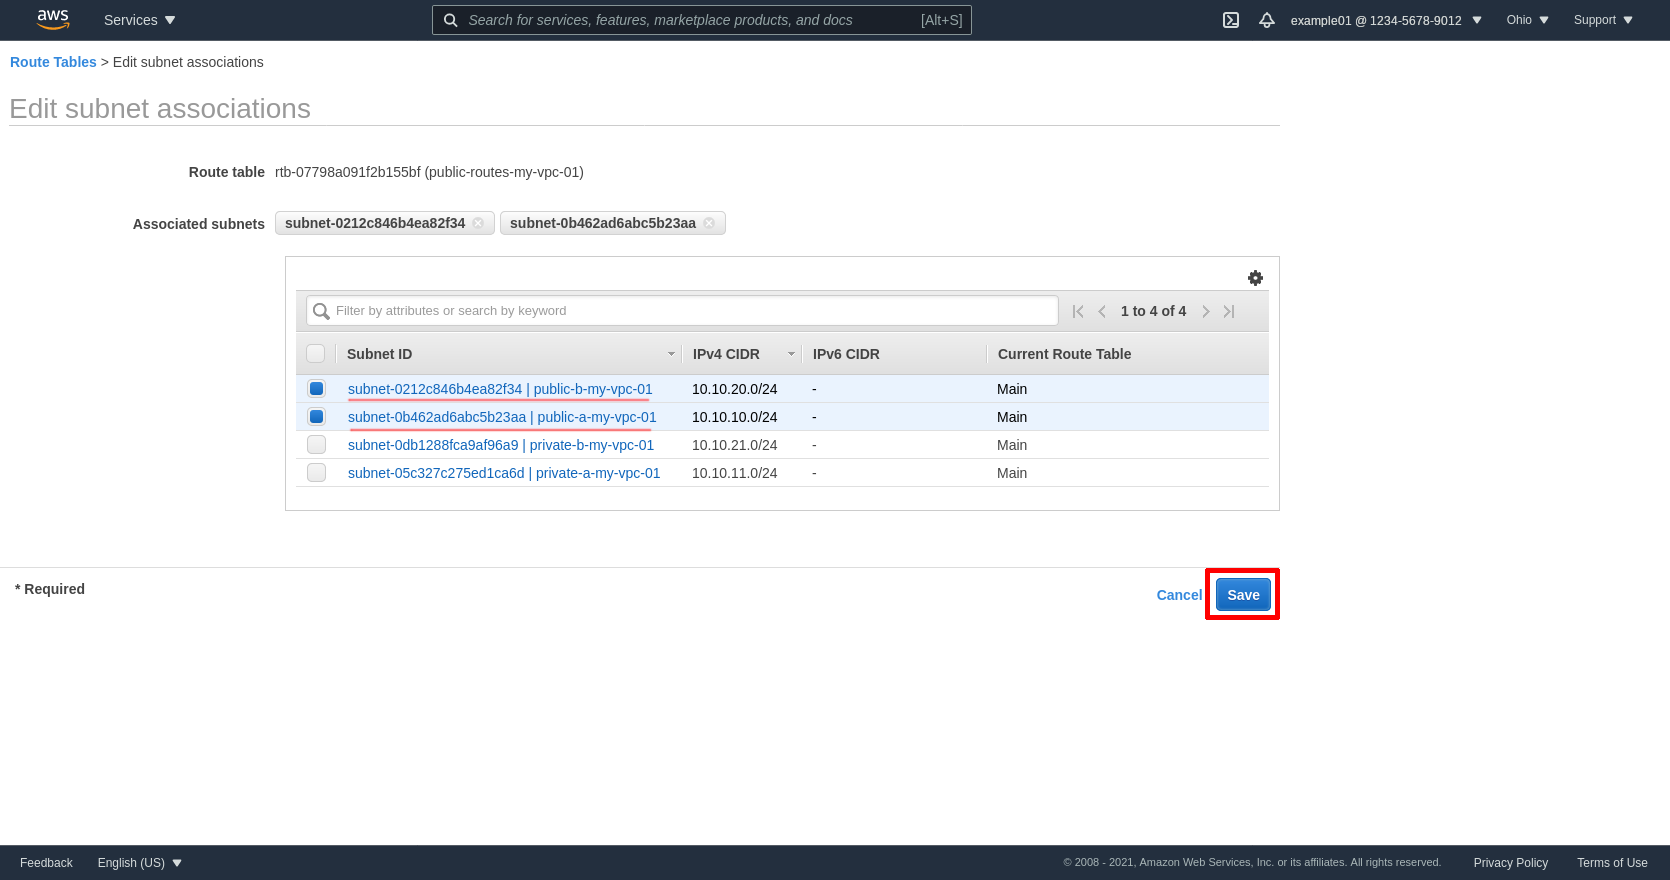
Next click the Subnet Associations tab of the public route table, and click the Edit subnet associations button:
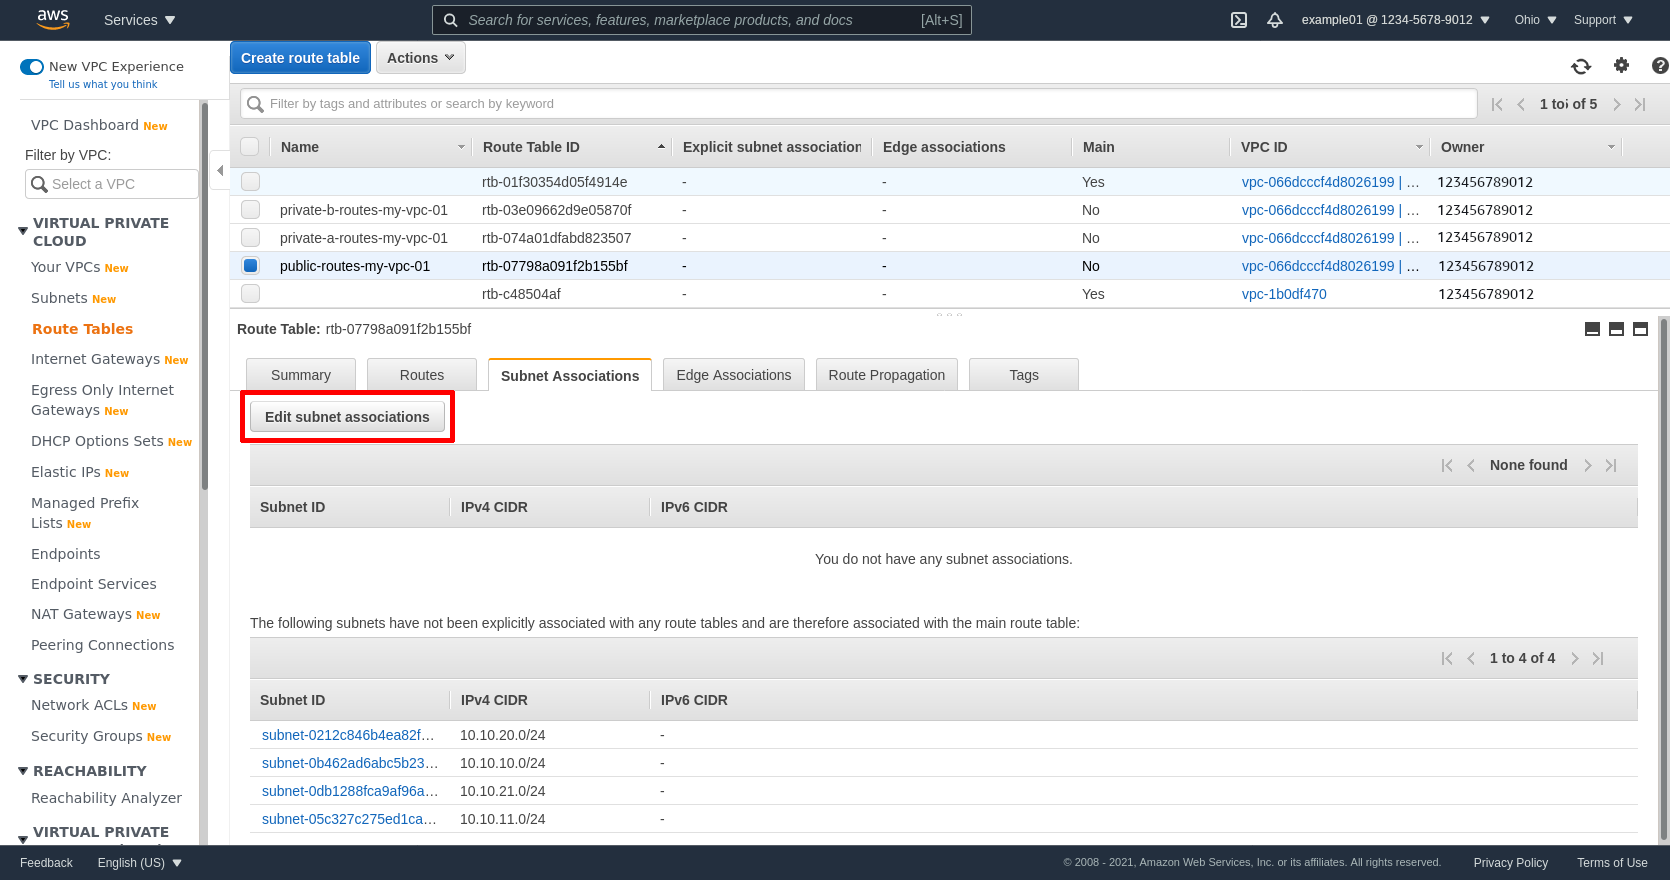
Select the public subnets; in my example, these are public-a-my-vpc-01 and public-b-my-vpc-01. Then click the Save button:
Next select the private route table for zone A (private-a-routes-my-vpc-01 in my example), click the Routes tab, and then click the Edit routes button:
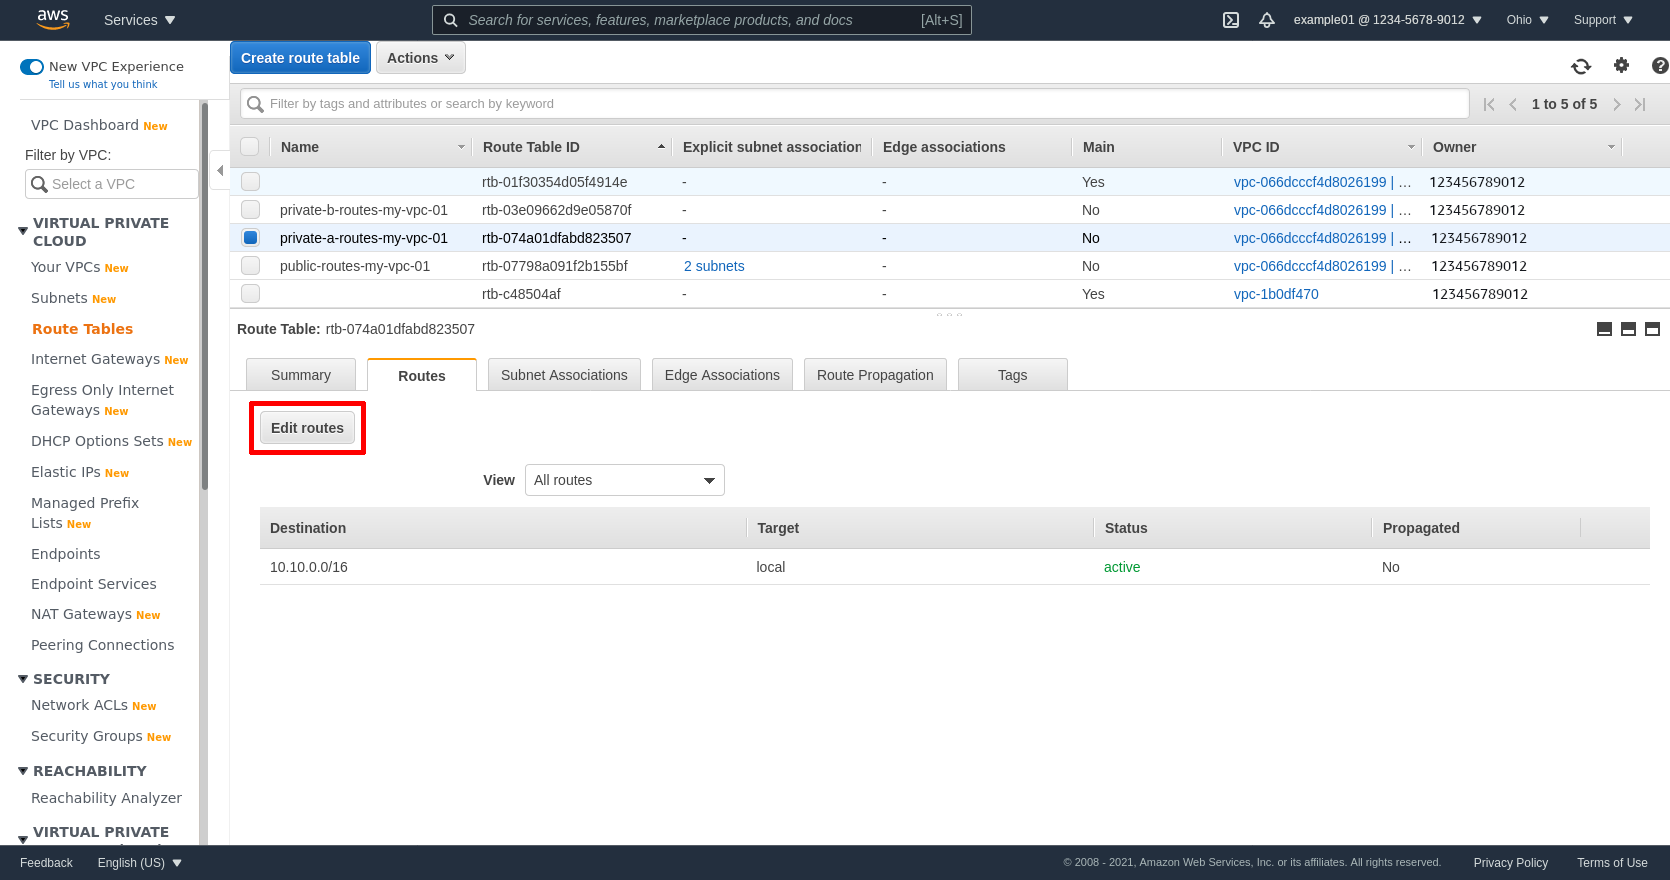
Click the Add route button to add another line. Enter 0.0.0.0/0 in the Destination field, and the ID of the NGW for zone A in the Target field (mine is nat-031f54e5f2013ee25). Then click the Save routes button:

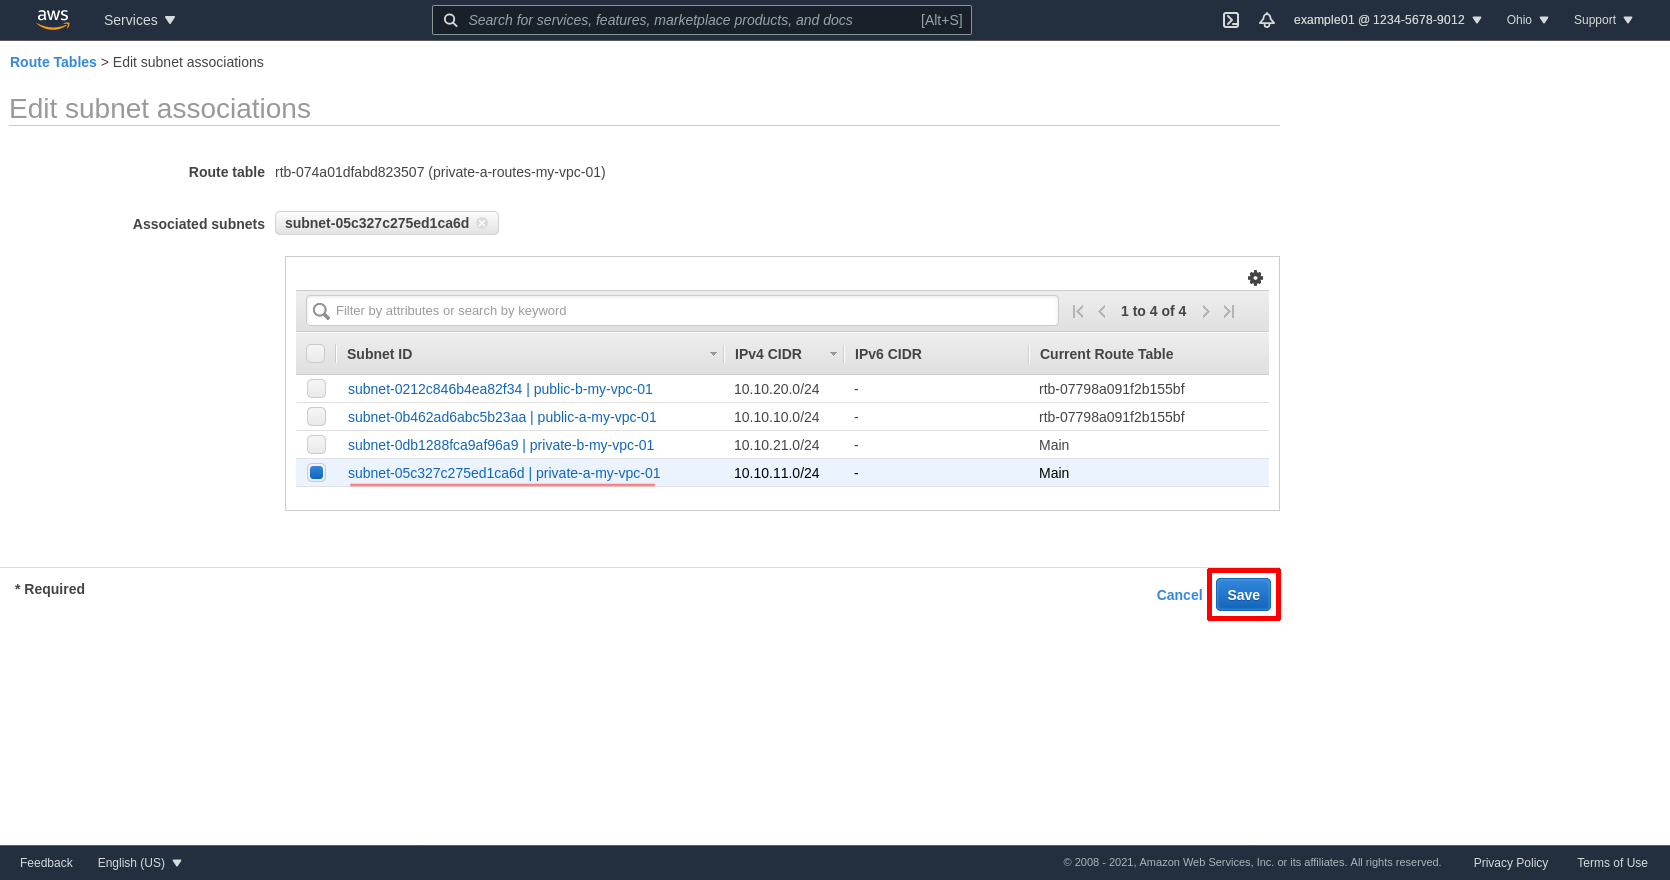
Next click the Subnet Associations tab of the same private route table for zone A, and click the Edit subnet associations button:
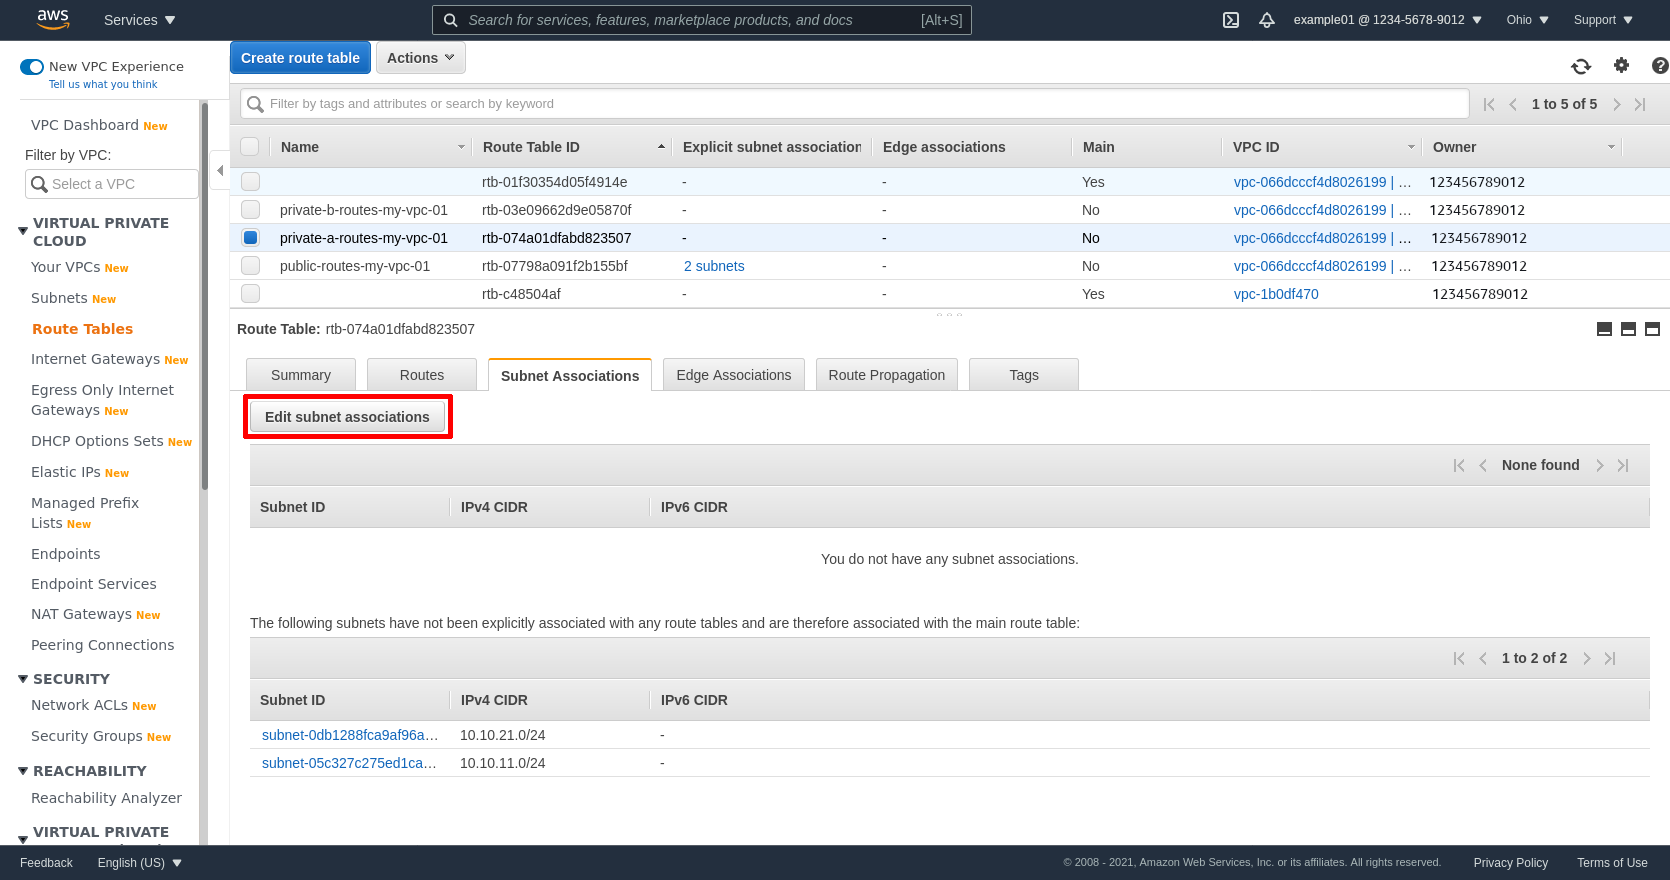
Select the private subnet for zone A; in my example, private-a-my-vpc-01. Then click the Save button:
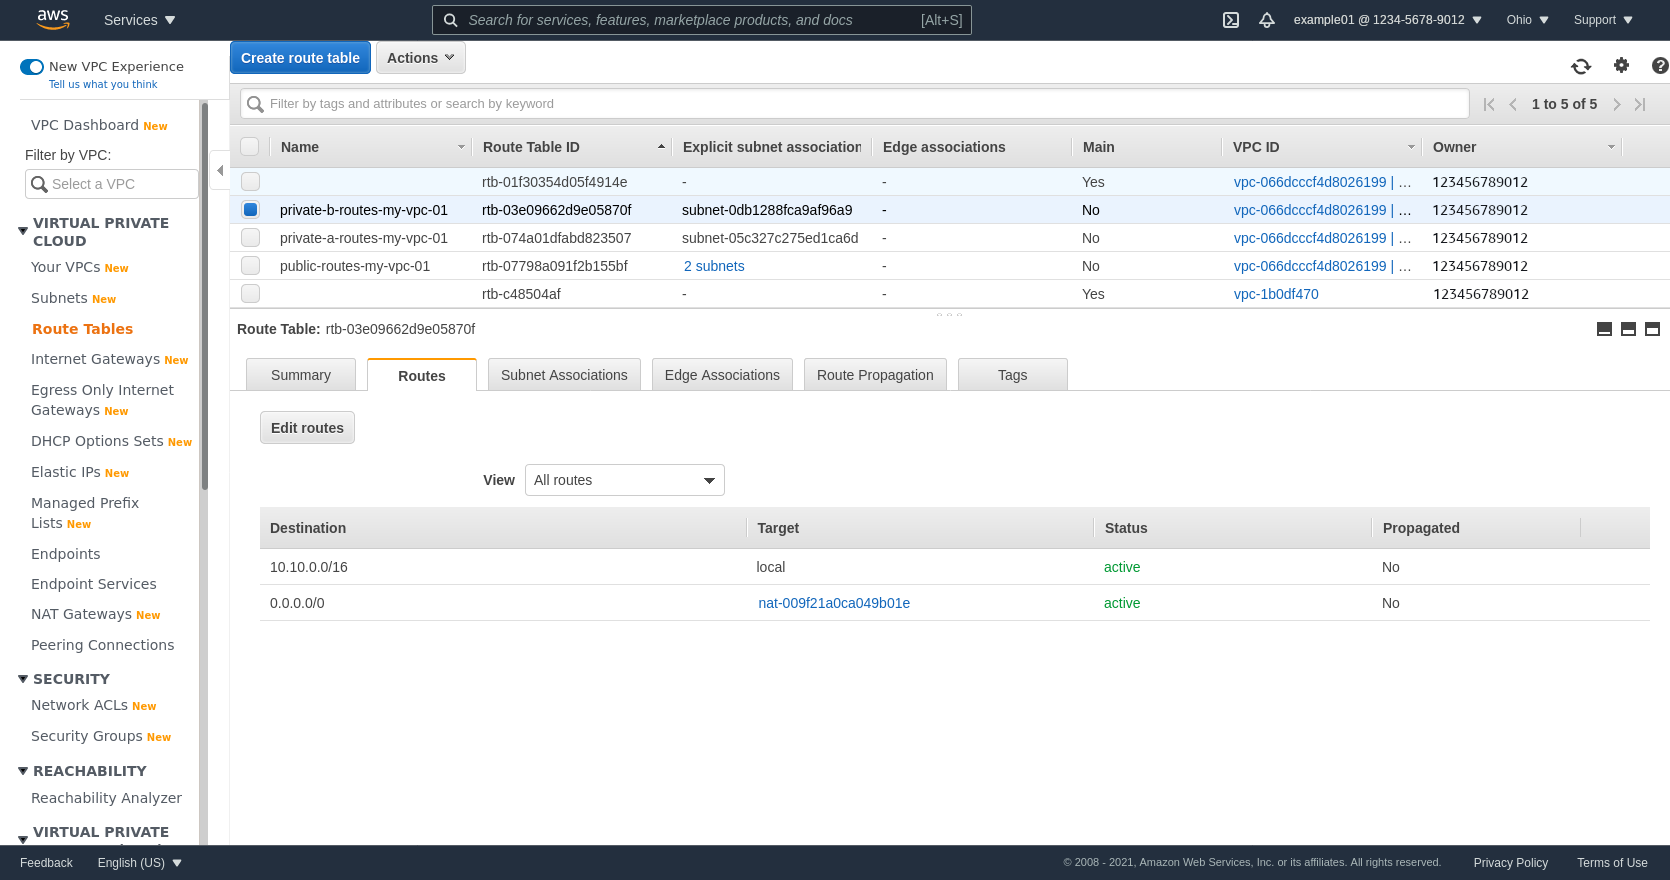
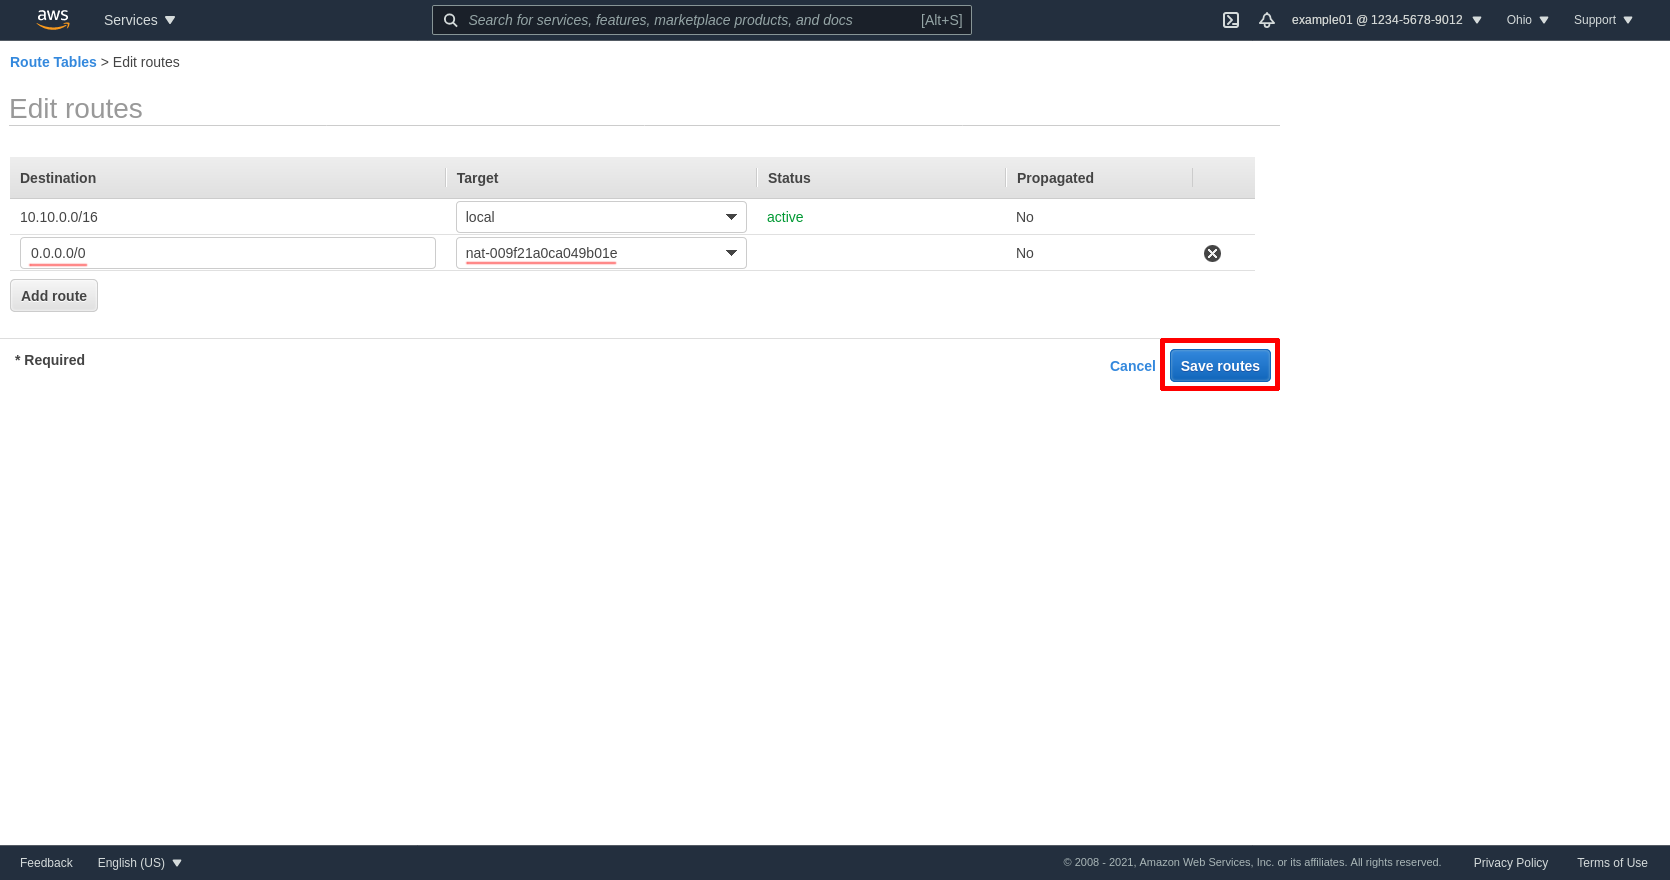
Next select the private route table for zone B (private-b-routes-my-vpc-01 in my example), click the Routes tab, and then click the Edit routes button:
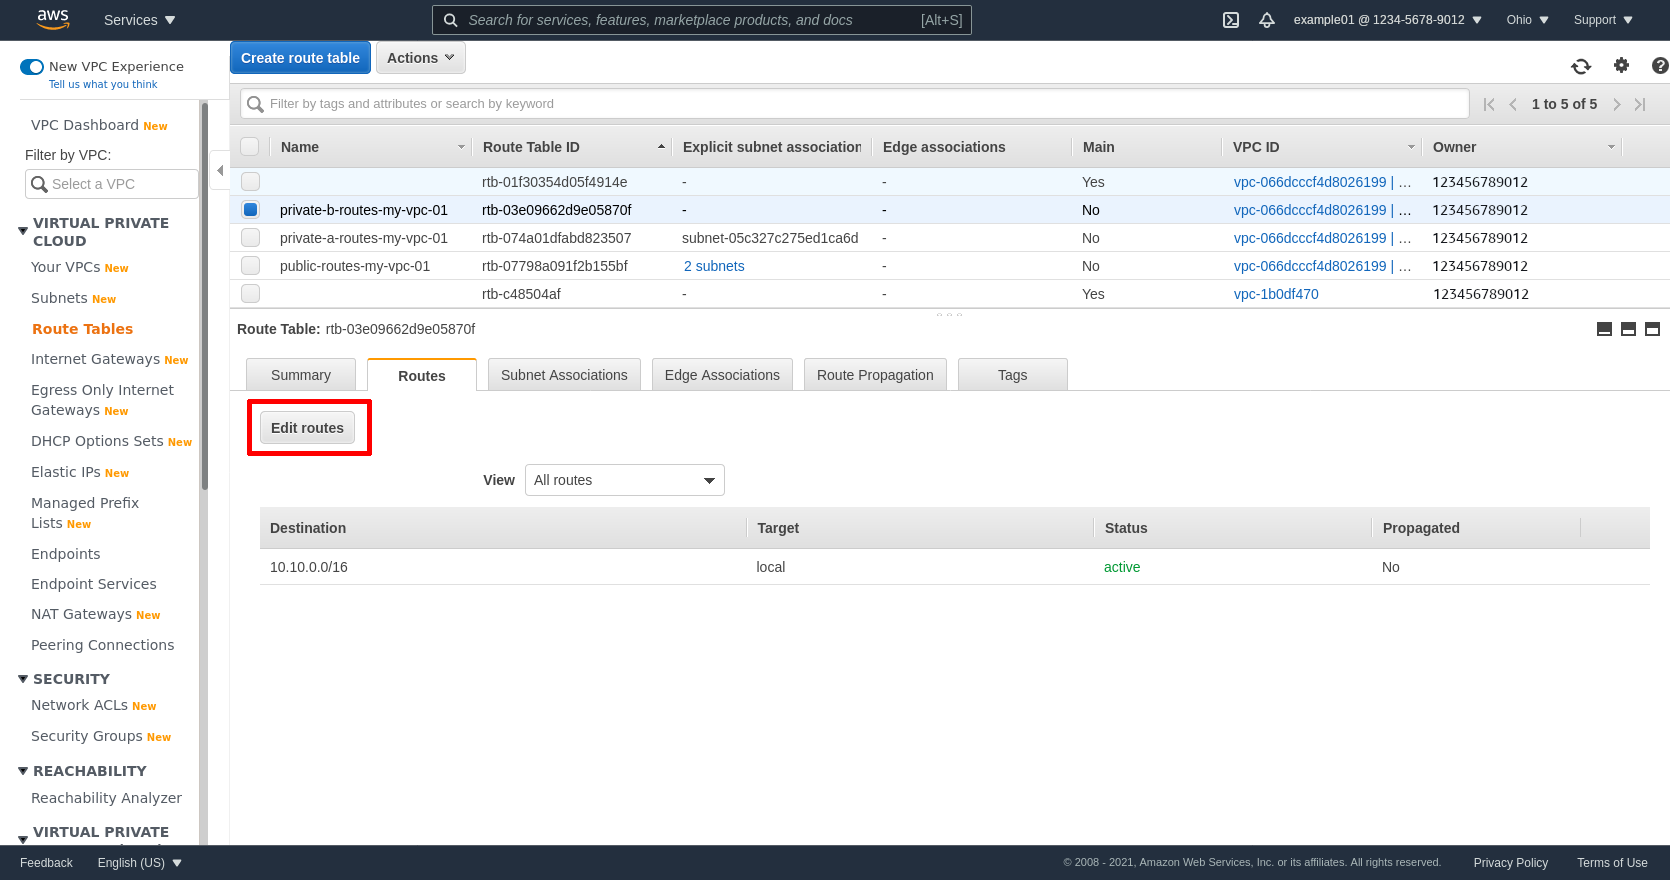
Click the Add route button to add another line. Enter 0.0.0.0/0 in the Destination field, and the ID of the NGW for zone B in the Target field (mine is nat-009f21a0ca049b01e). Then click the Save routes button:
Next click the Subnet Associations tab of the same private route table for zone B, and click the Edit subnet associations button:
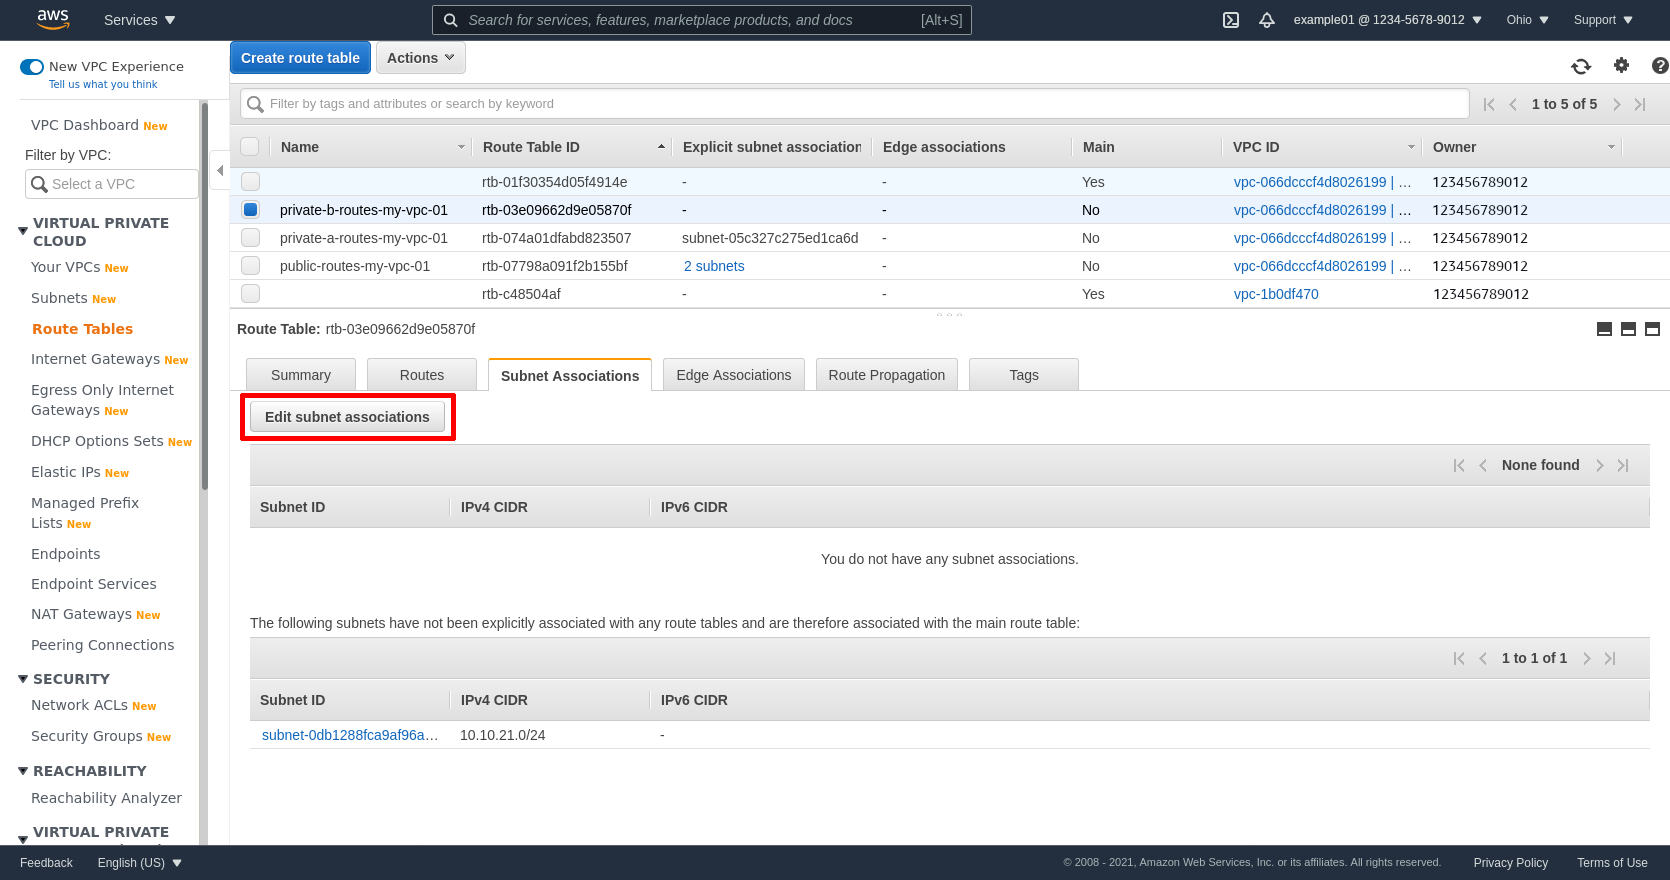
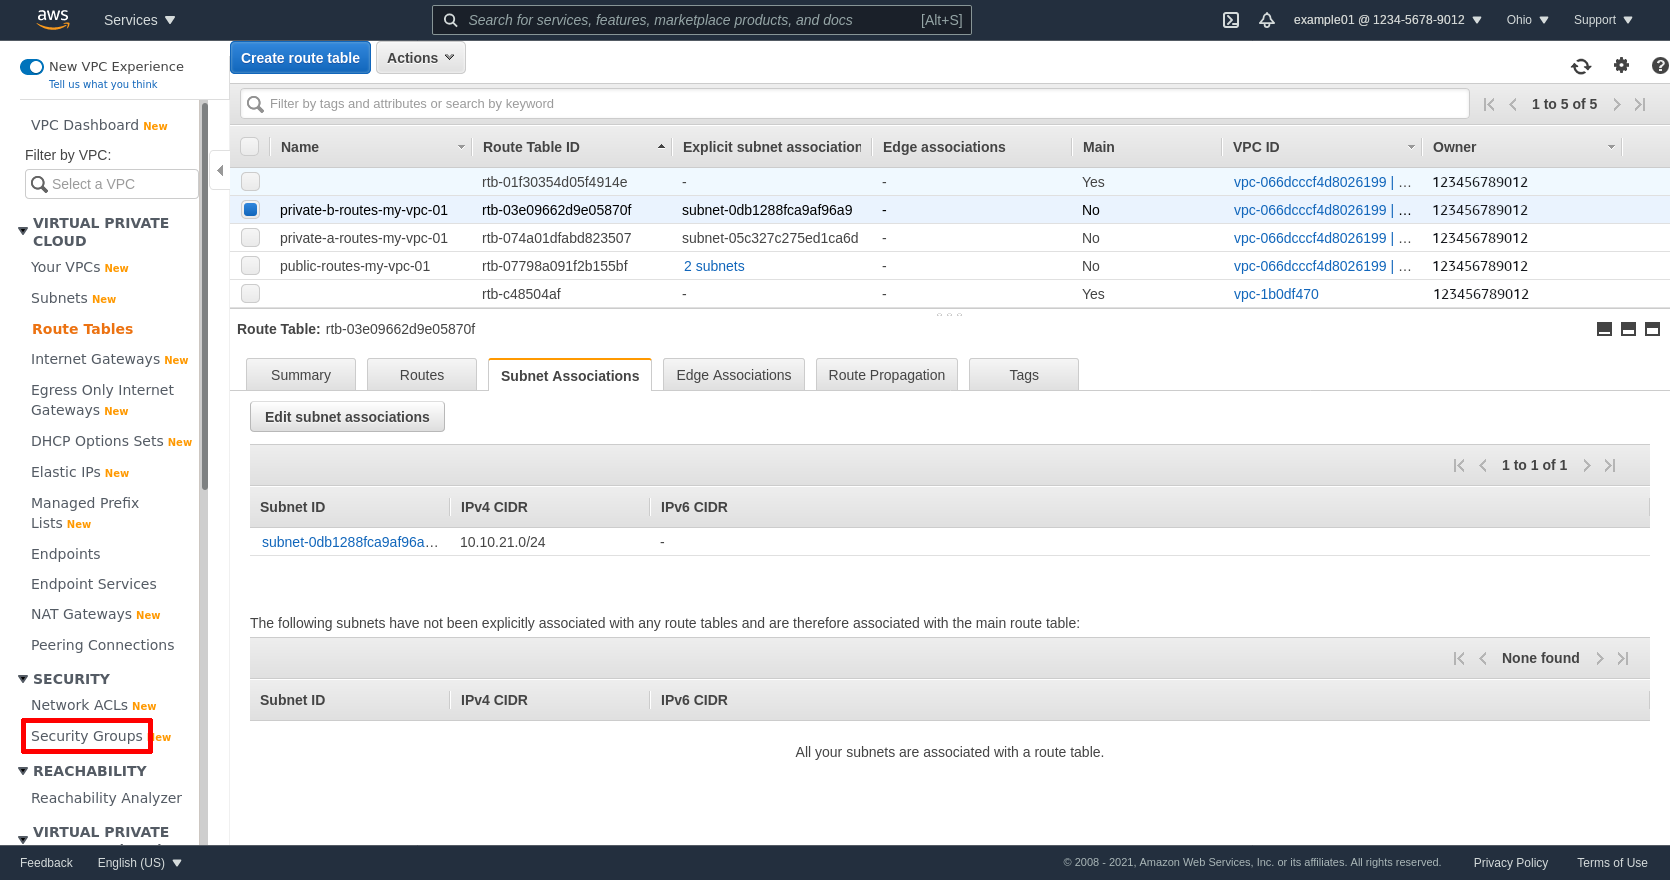
Select the private subnet for zone B; in my example, private-b-my-vpc-01. Then click the Save button:

Create Security Groups
Up to this point, we haven’t done anything WireGuard-specific yet — we’ve just built a standard AWS VPC with public and private subnets. Now we’ll create a custom security group (SG) for the WireGuard server that we’ll launch into one of the public subnets, and a custom security group for the internal application that we’ll launch into one of the private subnets. The first SG will allow access to the WireGuard server from the Internet, and the second SG will allow access to the internal application from the WireGuard server (and block all other access).
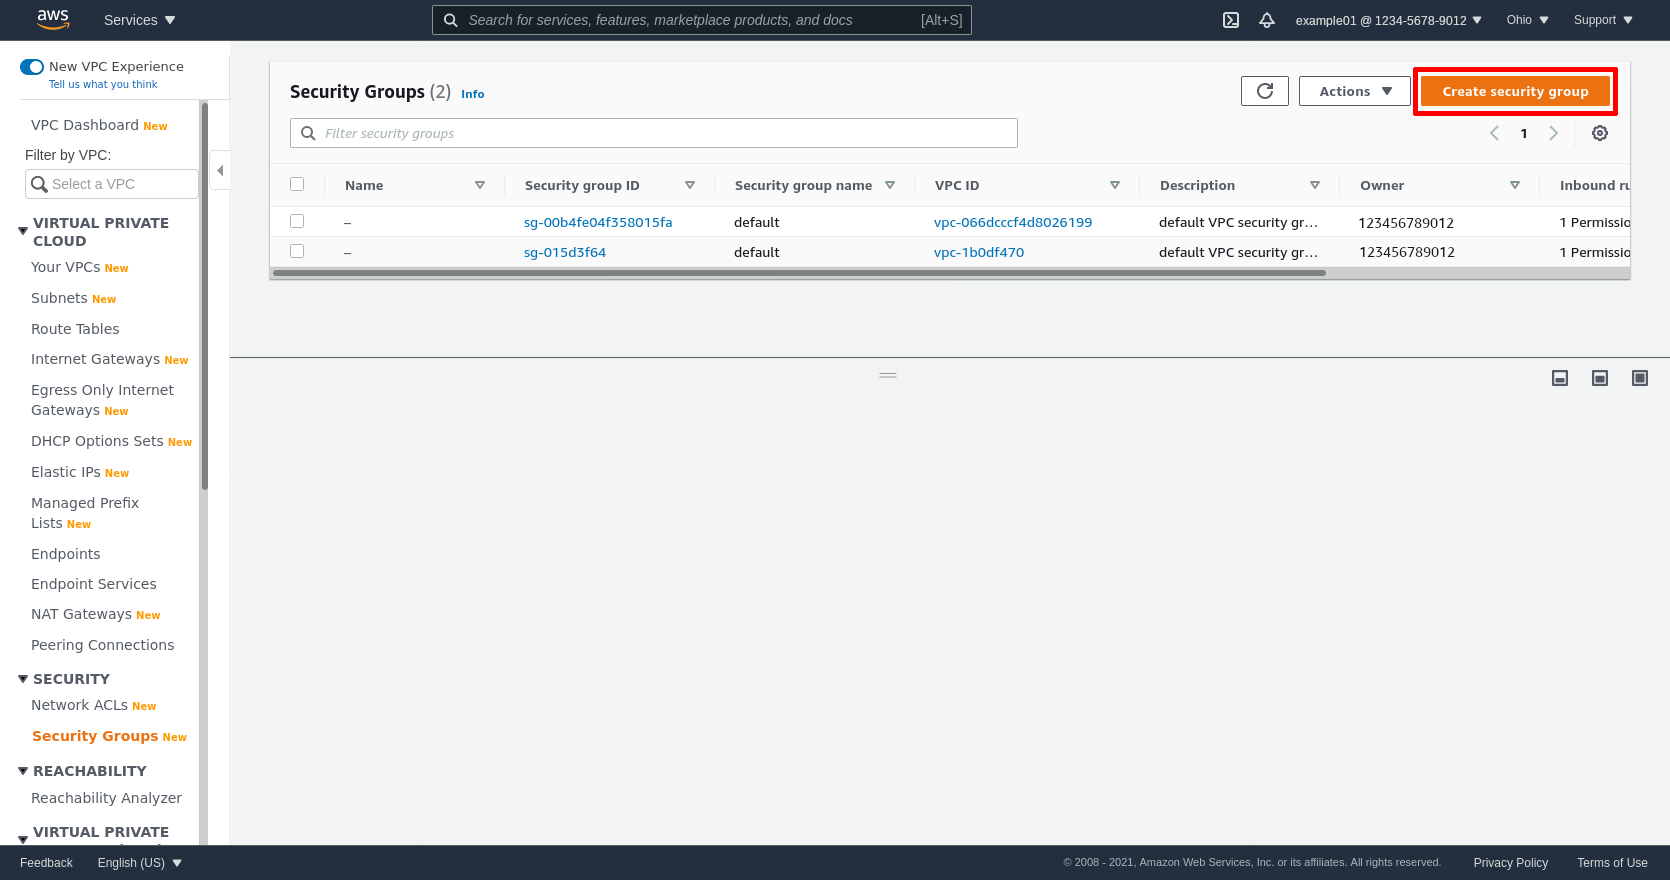
So in the leftnav of the AWS console, click the Security Groups link:
Then click the Create security group button:
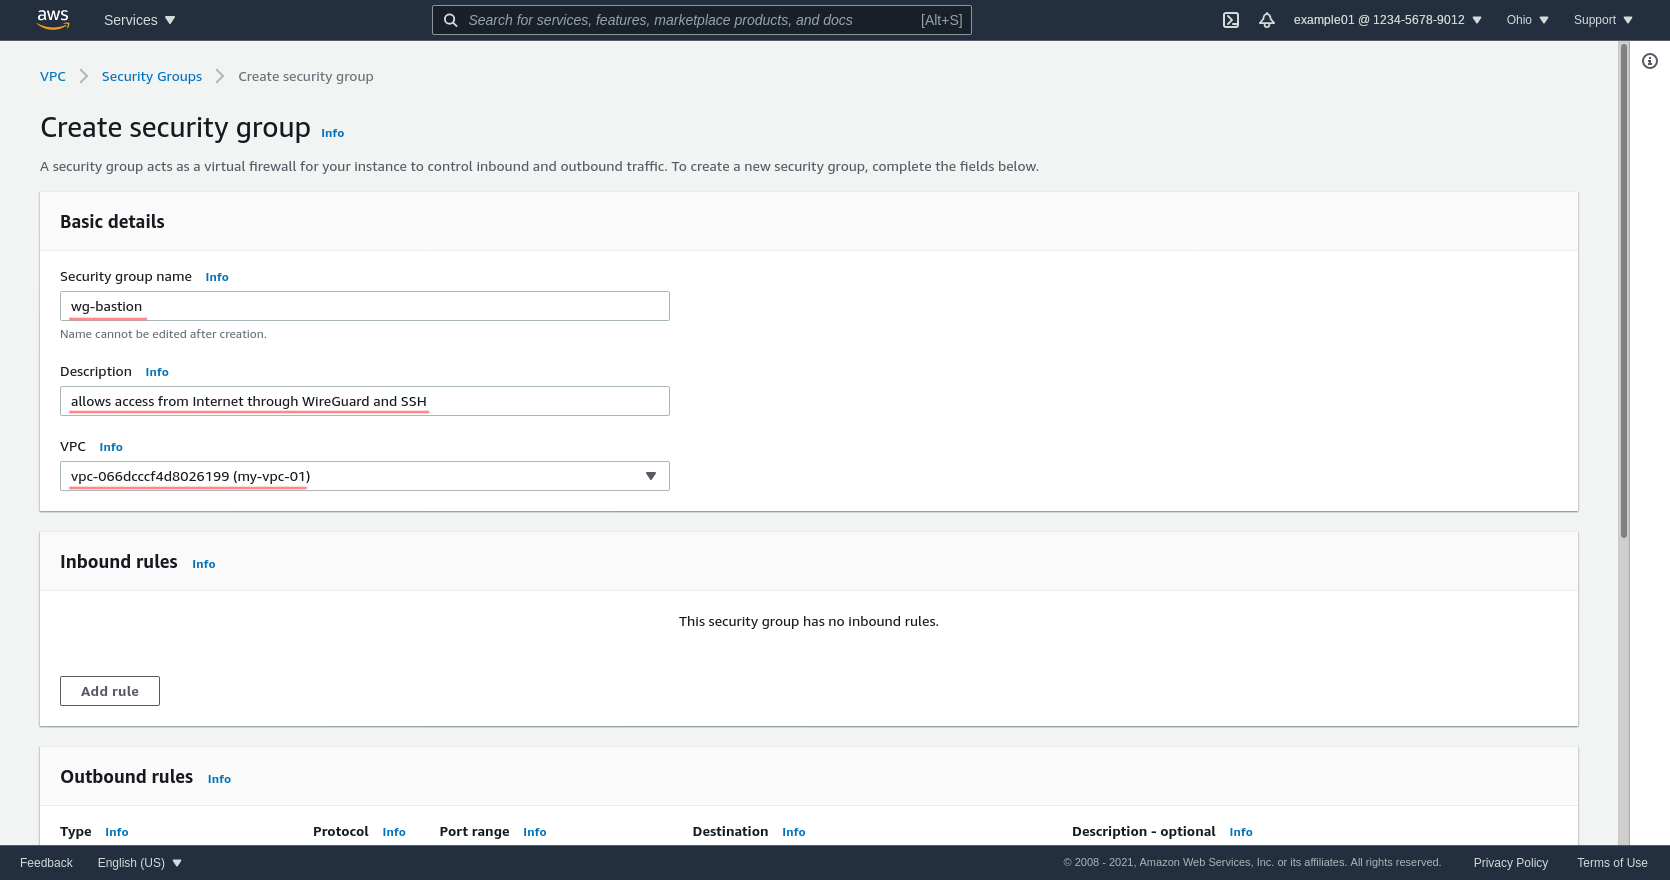
Then enter the Security group name; I called this first group wg-bastion. Enter a Description, and select the VPC (mine is vpc-066dcccf4d8026199):
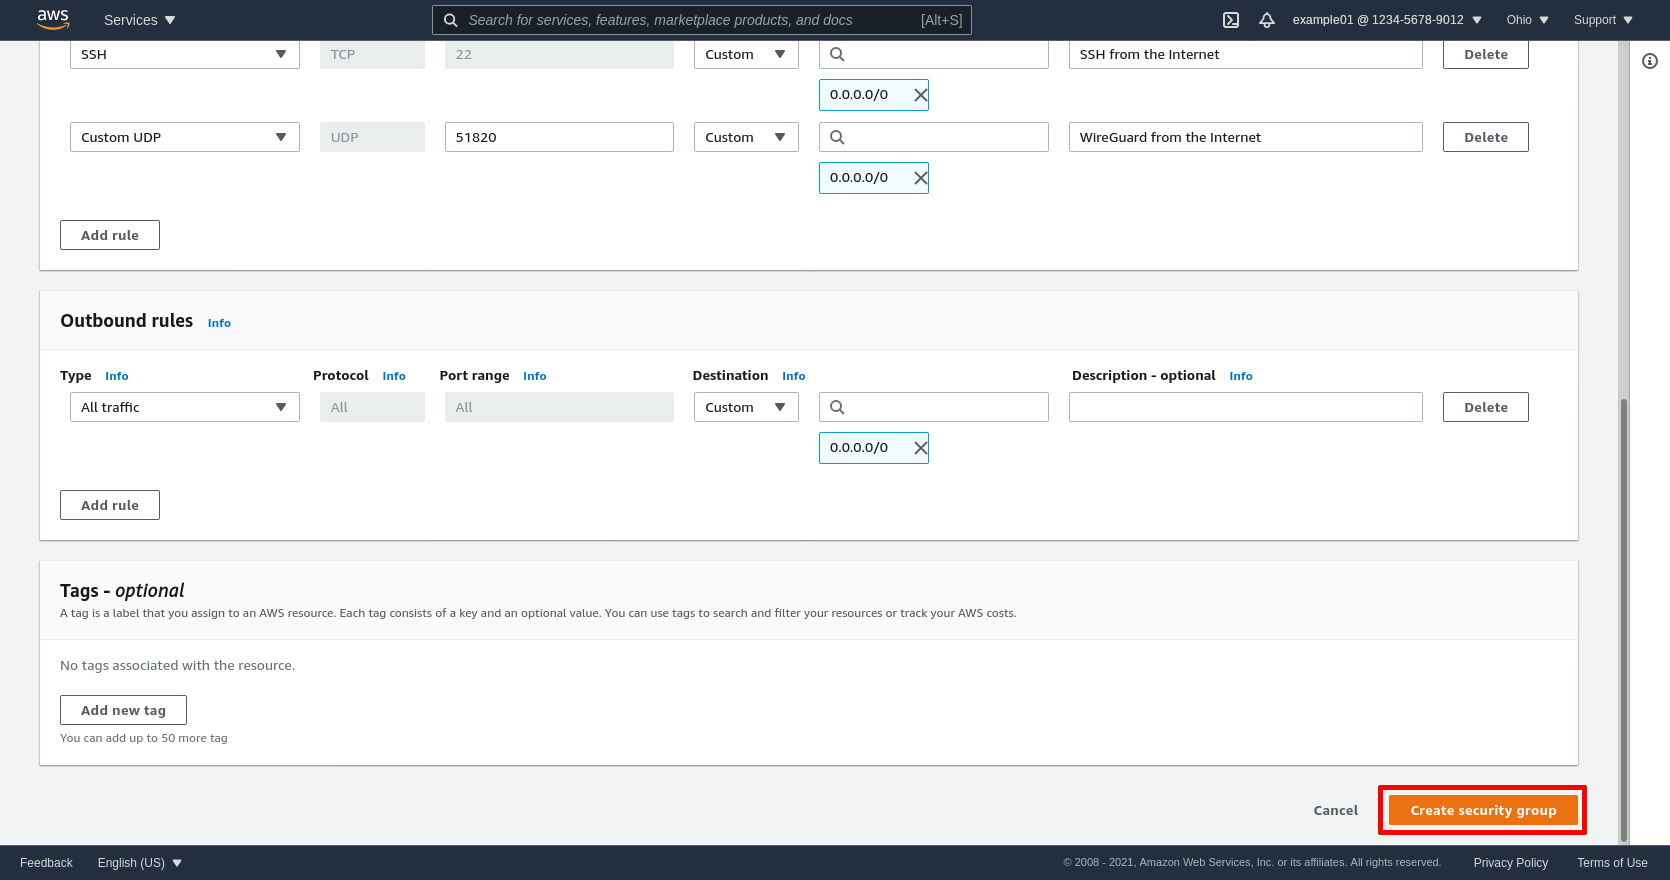
Then click the Add rule button in the “Inbound rules” section of the page twice to add two lines. For the first line, select SSH for the Type, and add 0.0.0.0/0 as the Source. For the second line, select Custom UDP for the Type, set 51820 as the Port range, and add 0.0.0.0/0 as the Source:

This will allow SSH and WireGuard access to the WireGuard server from anywhere in the Internet. If you know the WireGuard server will only need to be accessed from a few static IP addresses or blocks (like the public IP addresses from which your corporate offices’ traffic emerges onto the Internet), substitute those IP addresses or blocks for 0.0.0.0/0.
After doing that, click the Create security group button at the bottom of the page:
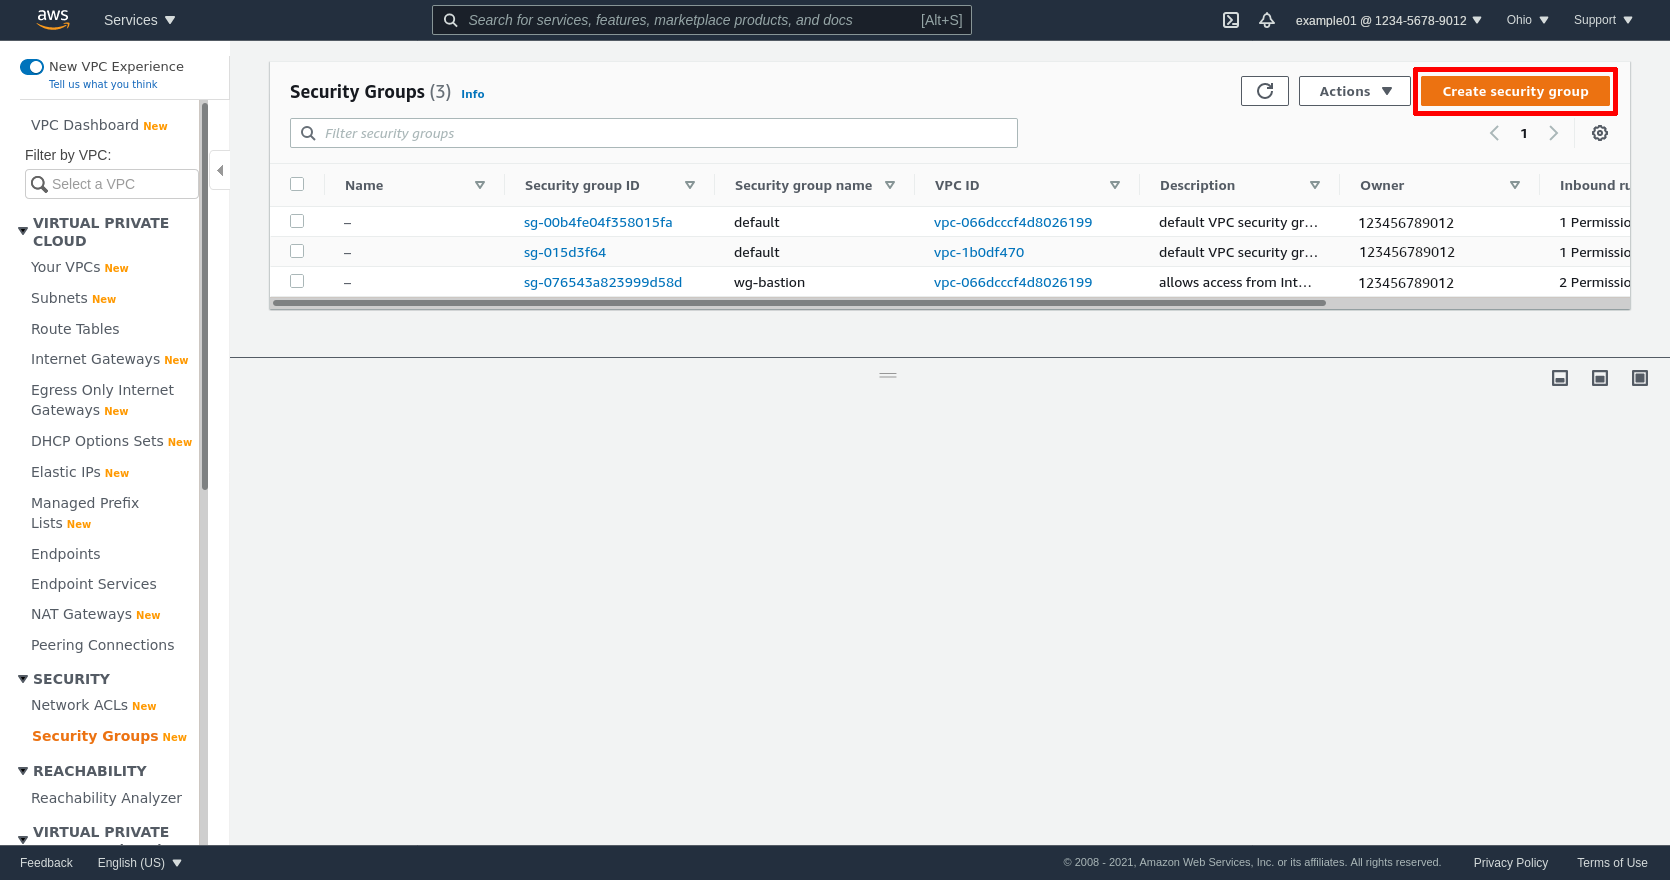
Go back to the main Security Groups page and click the Create security group button again:
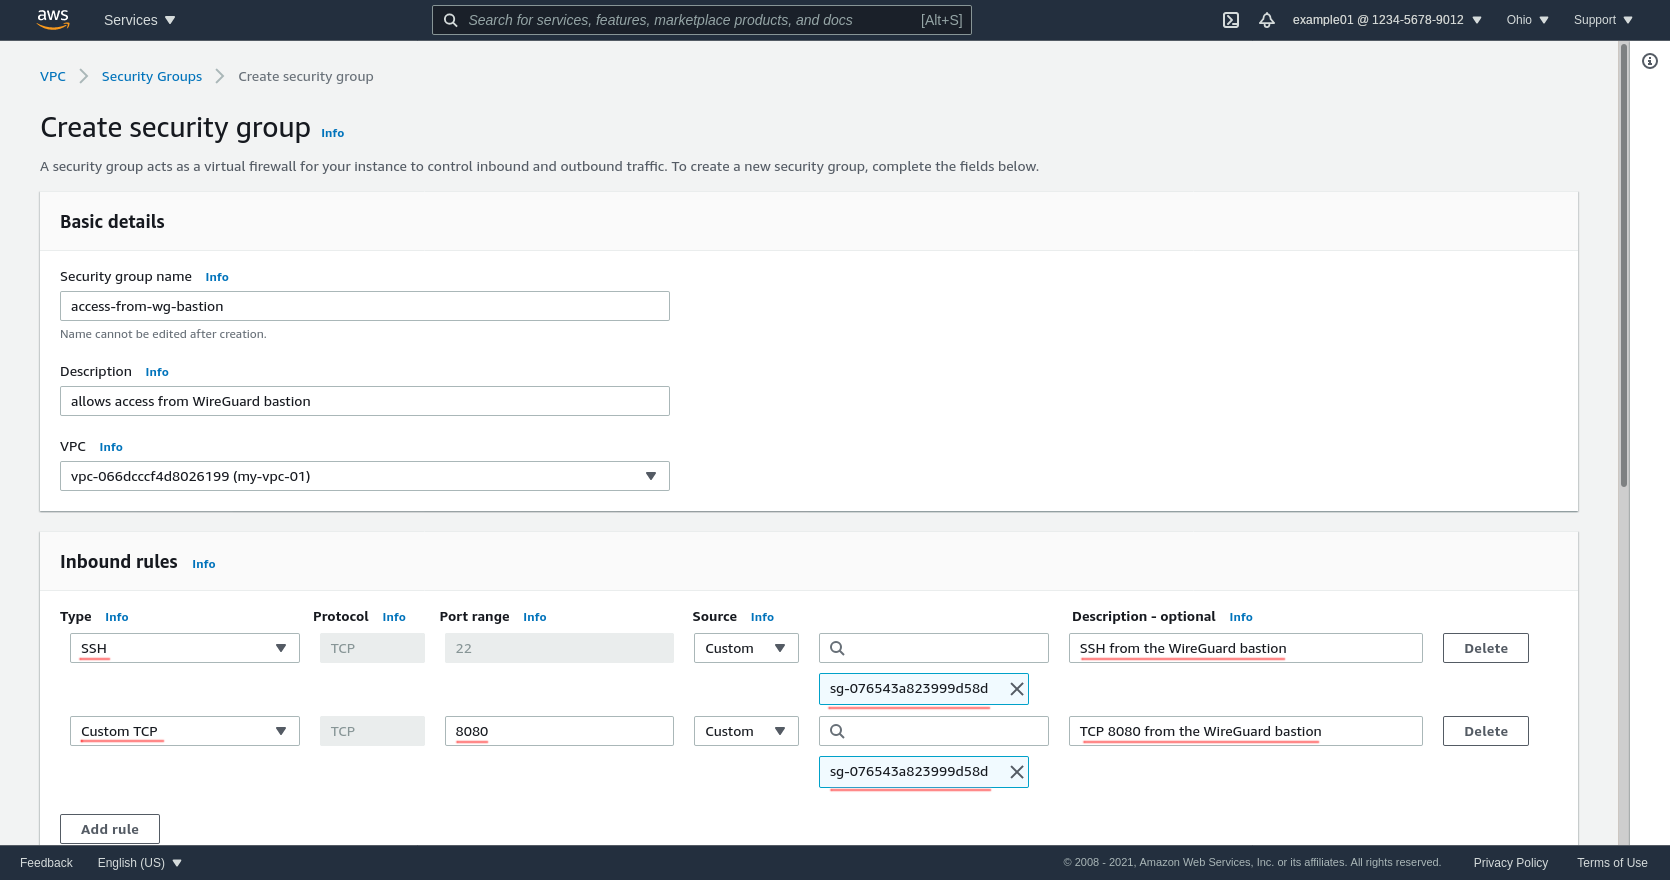
Then enter the Security group name for the second group; I called the mine access-from-wg-bastion. Enter a Description, and select the VPC (mine is vpc-066dcccf4d8026199):
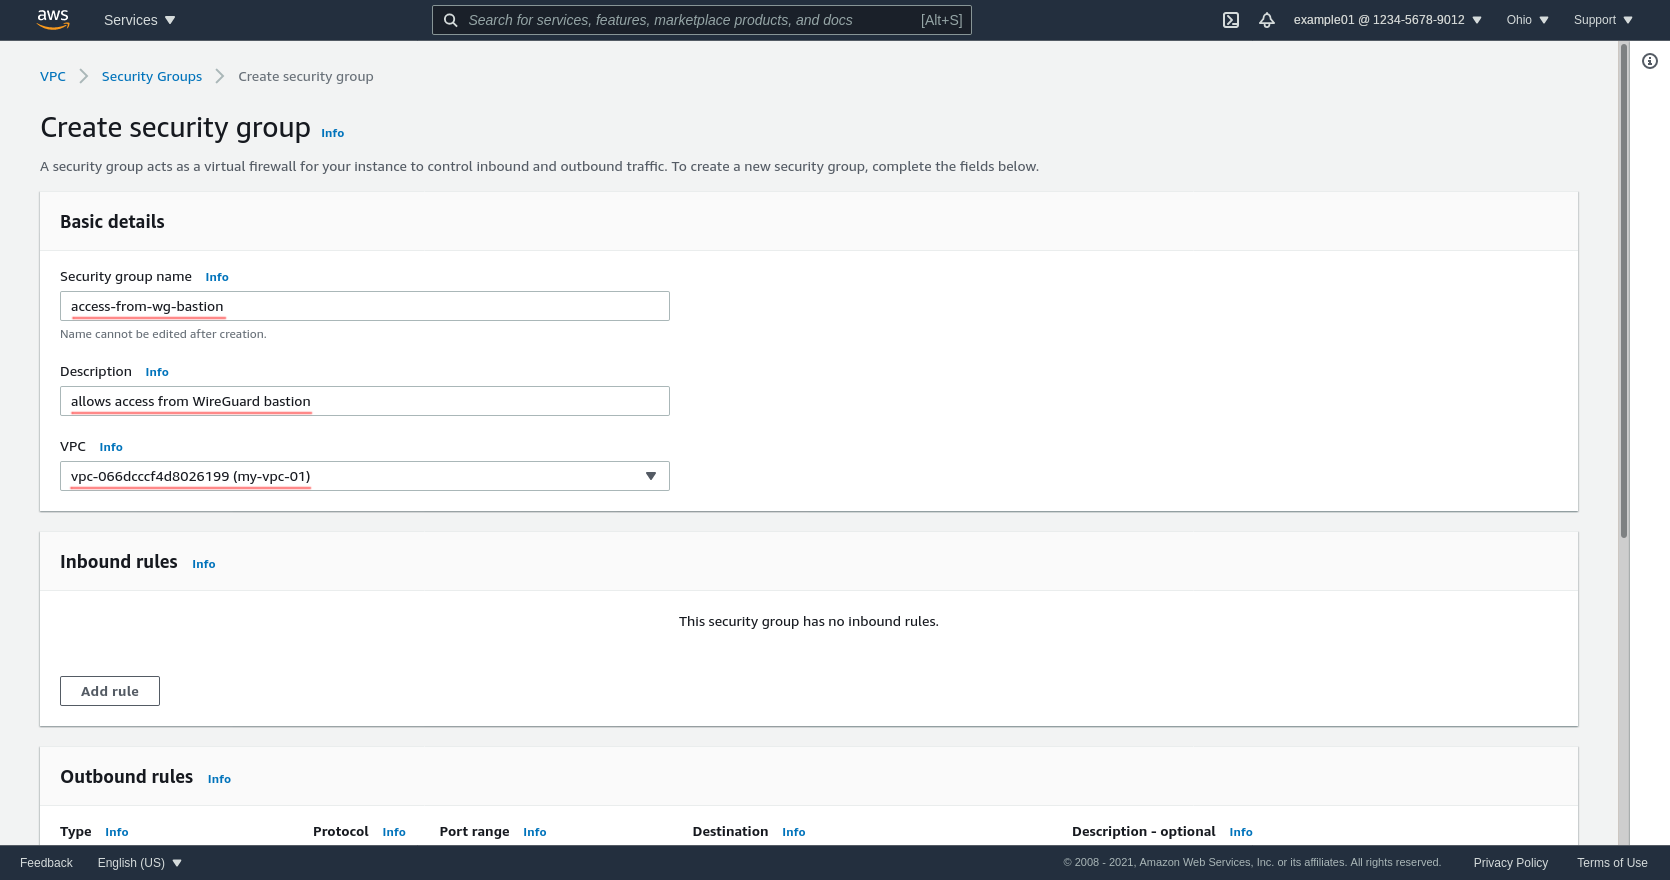
Then click the Add rule button in the “Inbound rules” section of the page to add one line. Select All traffic for the Type, and add the wg-bastion SG (in my case, sg-076543a823999d58d) as the Source:
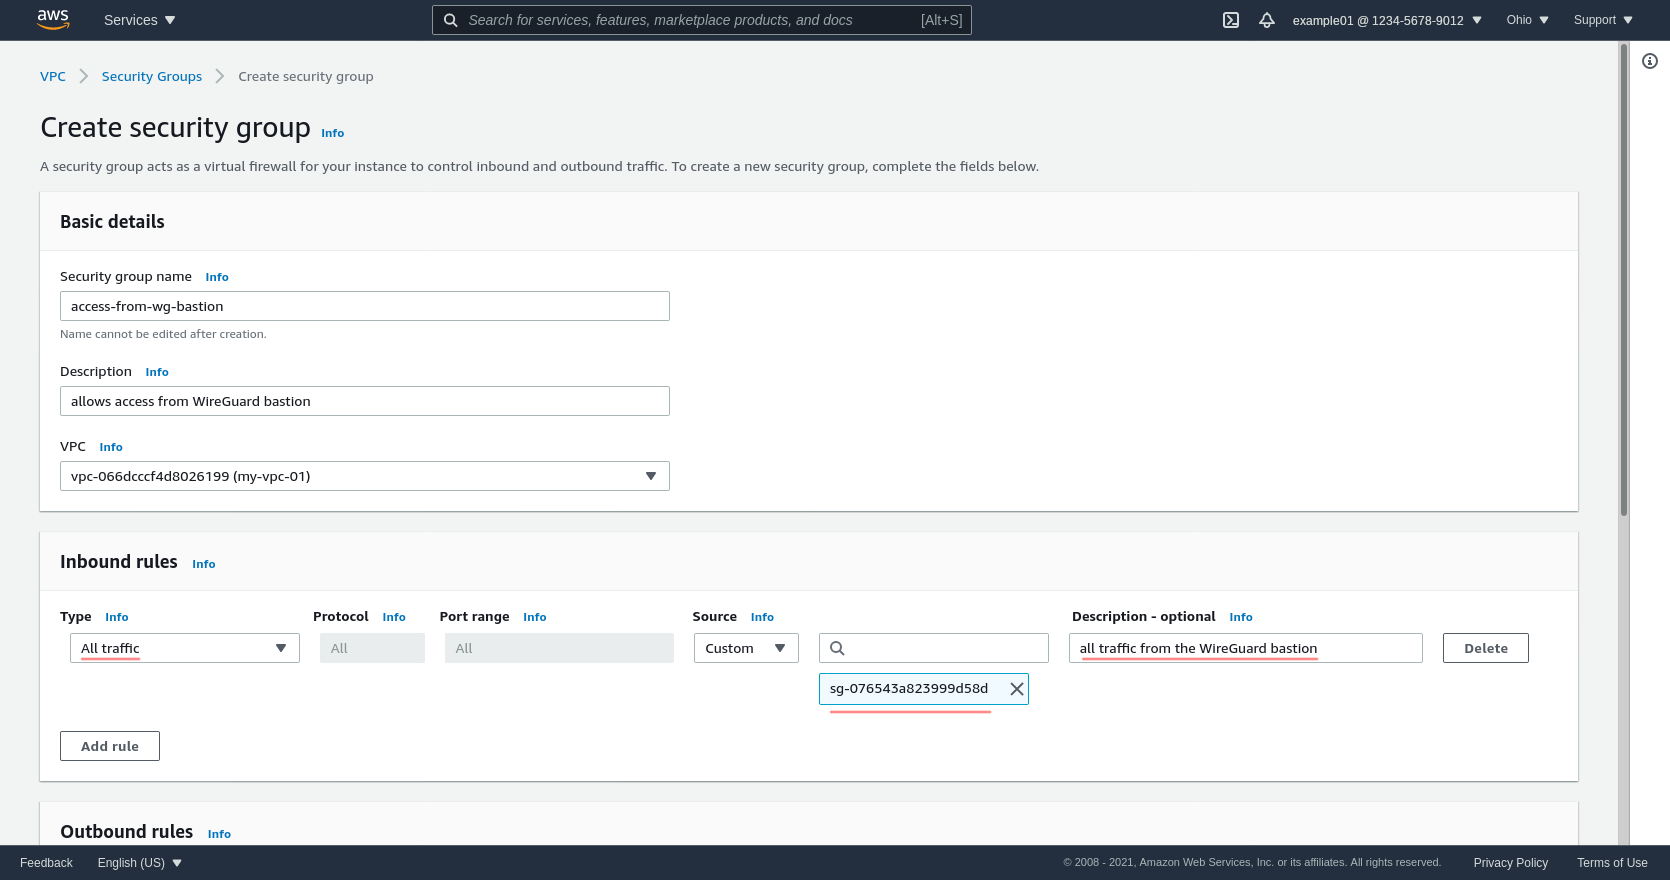
This will allow in all traffic from the WireGuard server to our custom internal application. If you know your internal applications will only need to expose a few specific ports (like say TCP ports 443 or 8080), instead of allowing all traffic with a single rule, add a separate rule for each port you need to expose; and set the source for each rule to the same wg-bastion SG.
For my example application, I actually only need to expose TCP ports 22 (to allow me to SSH into the EC2 instance running the example application, to set it up) and 8080 (used by the example application itself). So I could configure the “Inbound rules” for the access-from-wg-bastion group like this, instead:
Either way, after adjusting your inbound rules appropriately, click the Create security group button at the bottom of the page:

Register SSH Key Pair
Now navigate to the EC2 service (type EC2 into the AWS search bar and click the “EC2” result under “Services”).
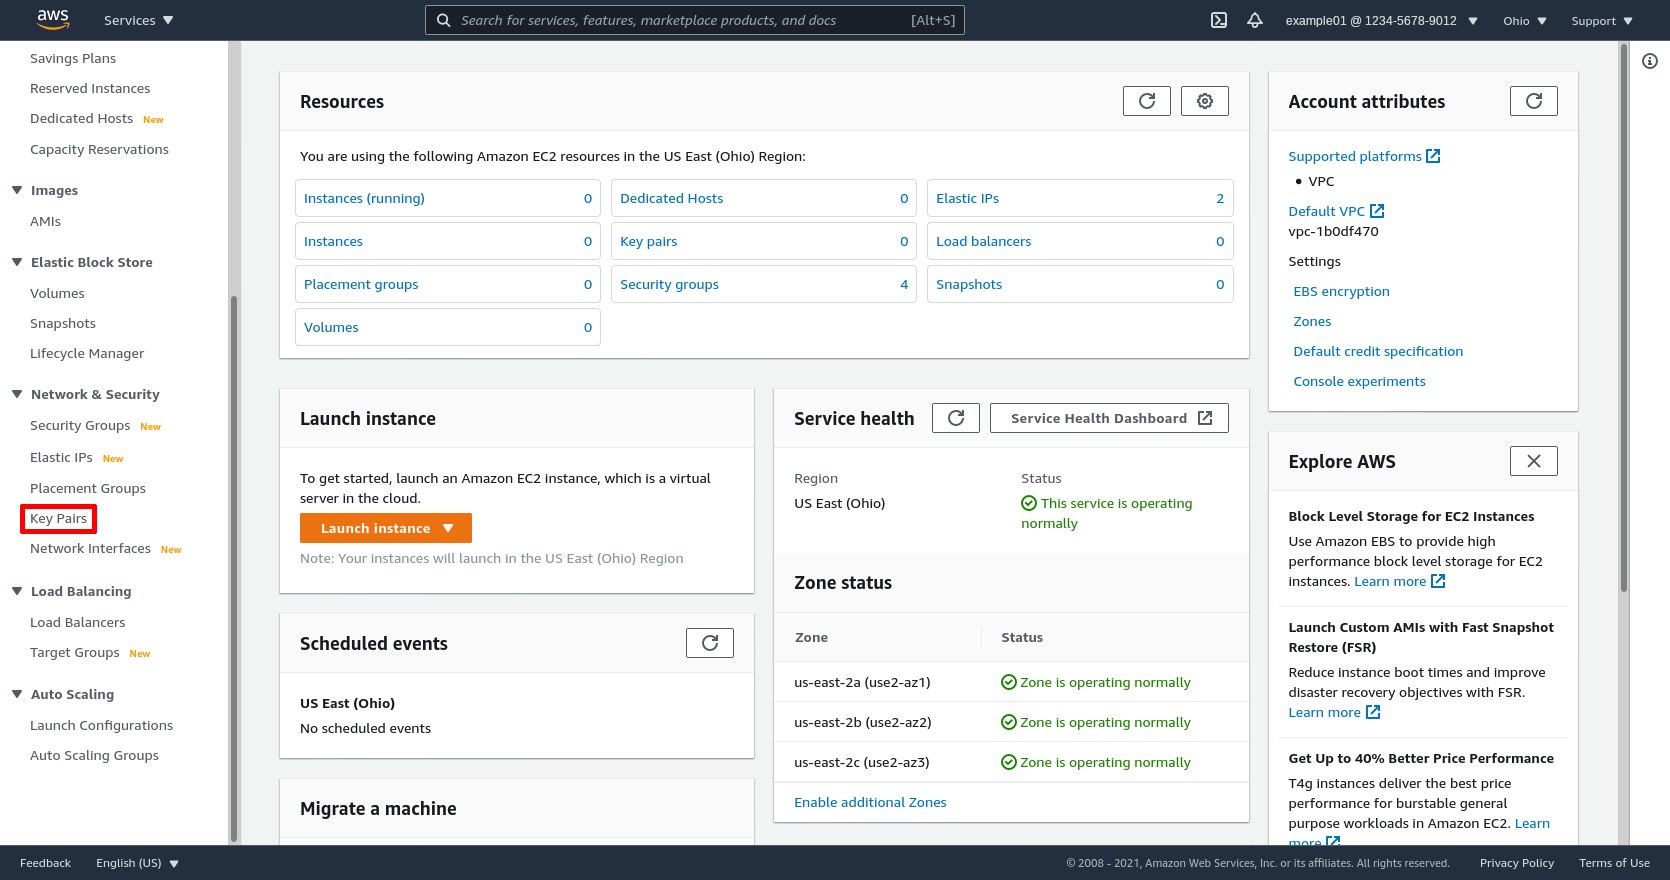
If you haven’t already registered an SSH key pair to use for newly launched instances in this region (us-east-2 in this example), you need to do so now. In the leftnav, click the Key Pairs link:
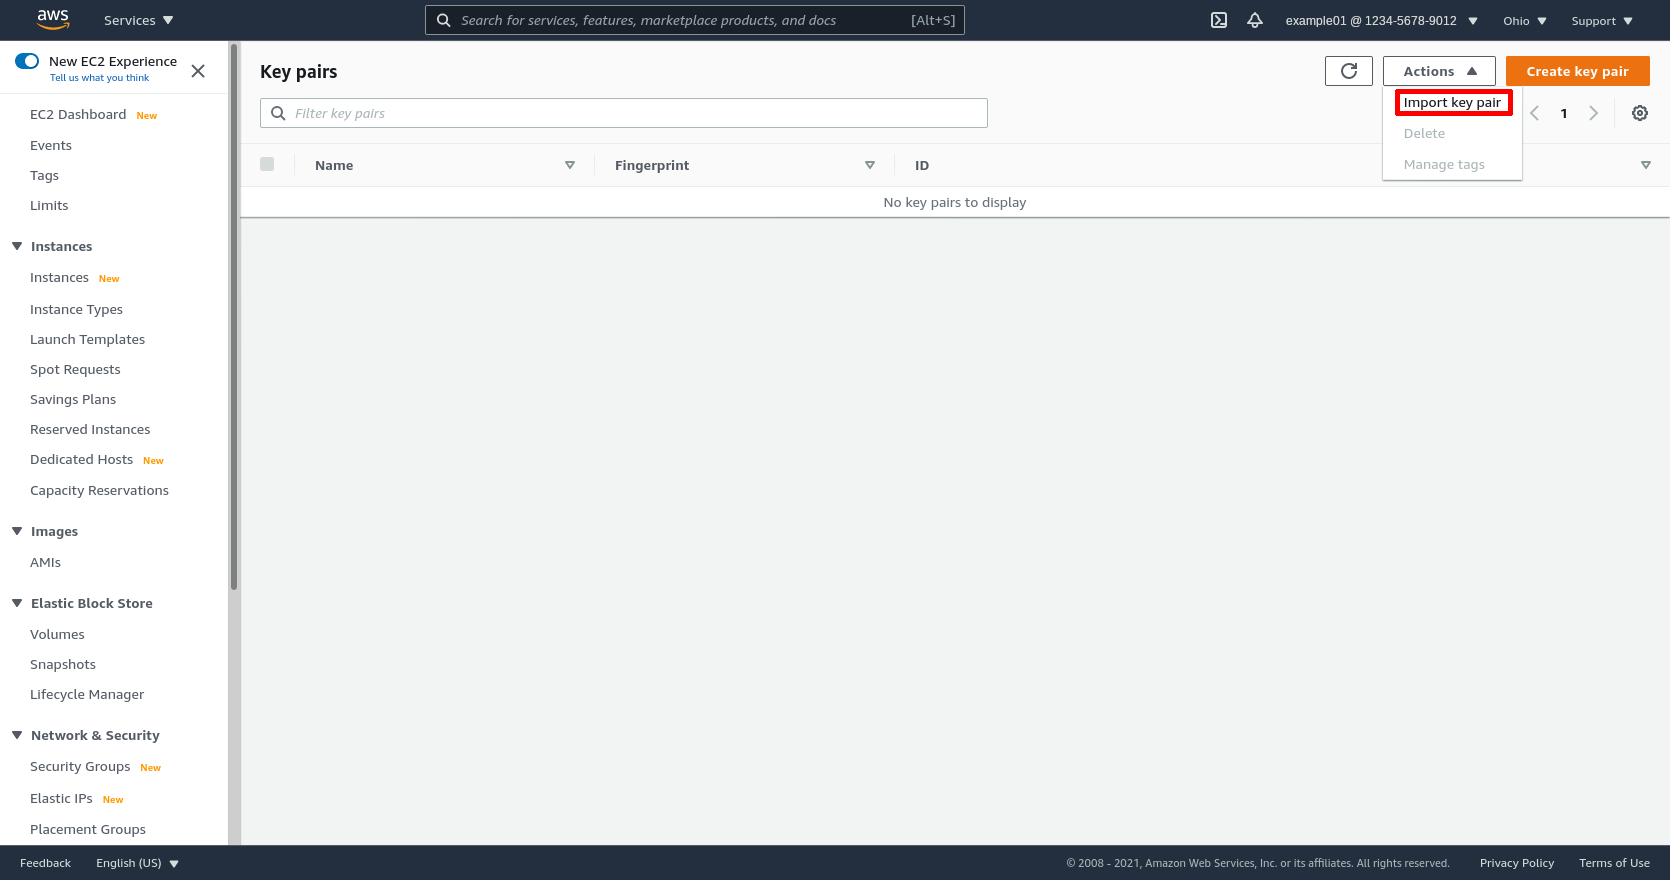
Then select the Import key pair option action:
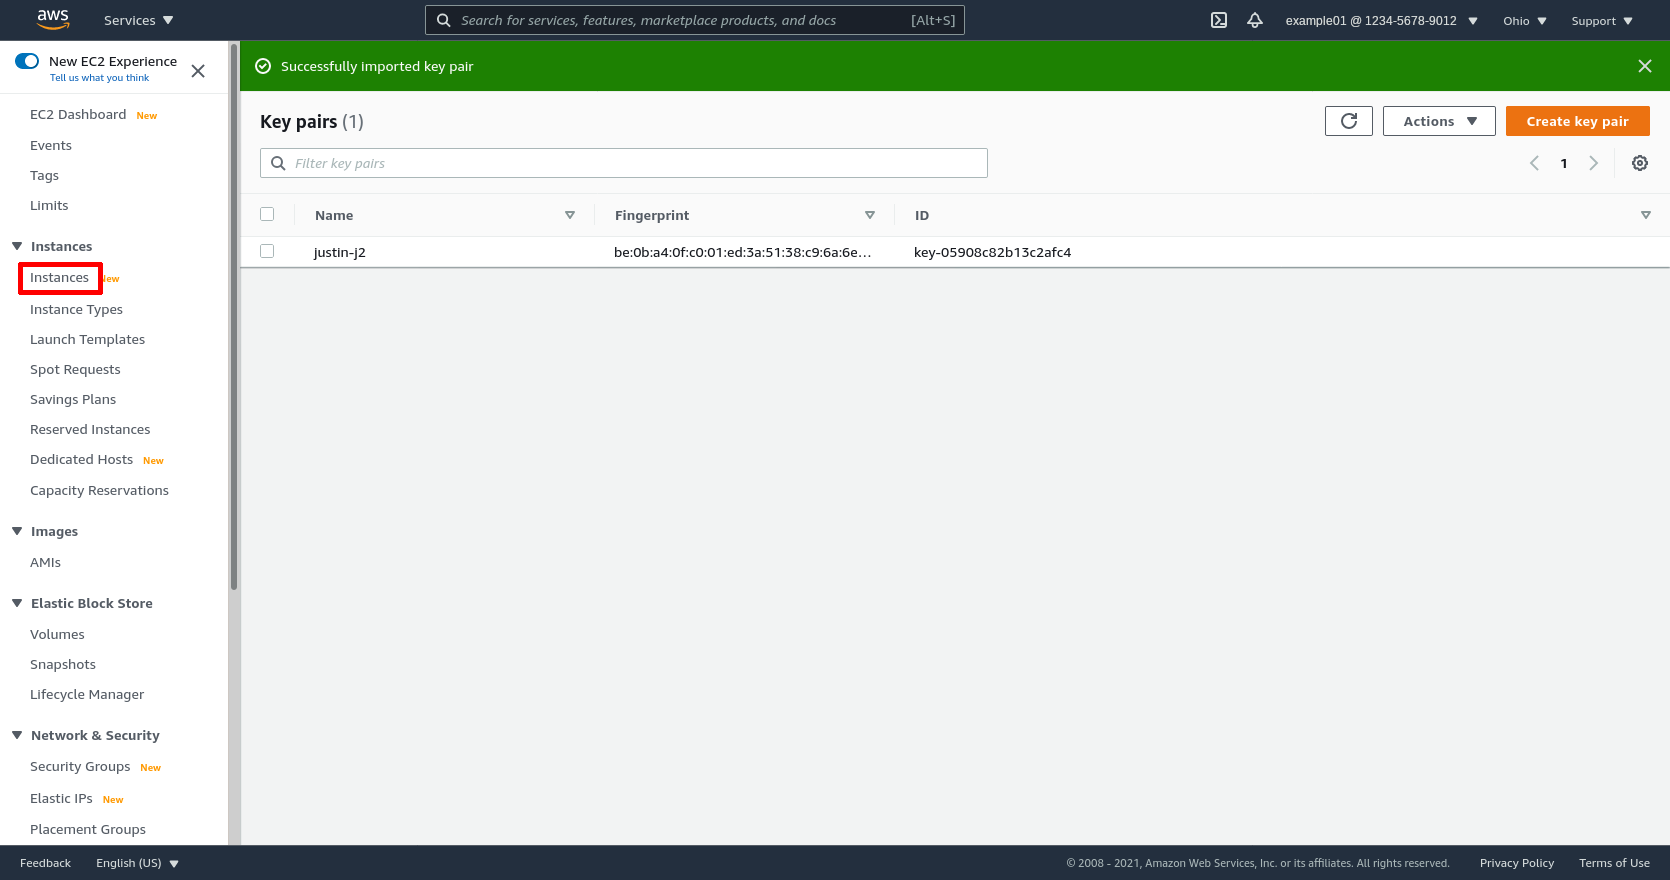
Enter a Name for the key pair (I use a combination of my name and the device on which the key pair is stored: justin-j2). Click the Browse button, and select the id_rsa.pub file containing the public key of the SSH key pair you’ll use to access new EC2 instances. Then click the Import key pair button:

Launch WireGuard Server Instance
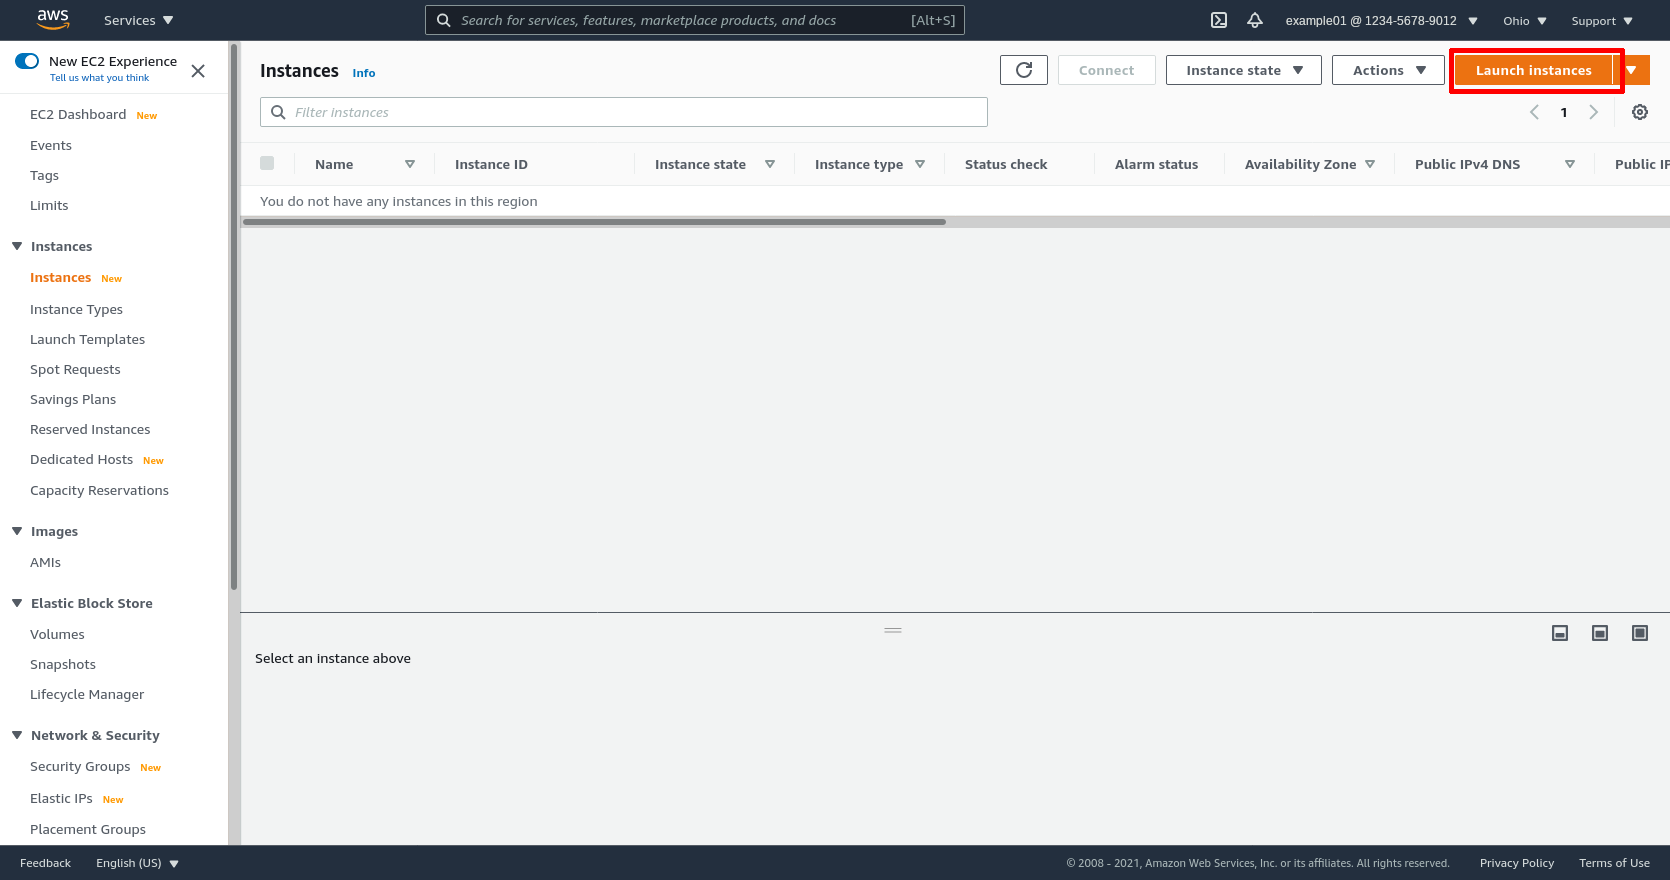
Now to launch the WireGuard server, in the leftnav, click the Instances link:
Then click the Launch instances button:
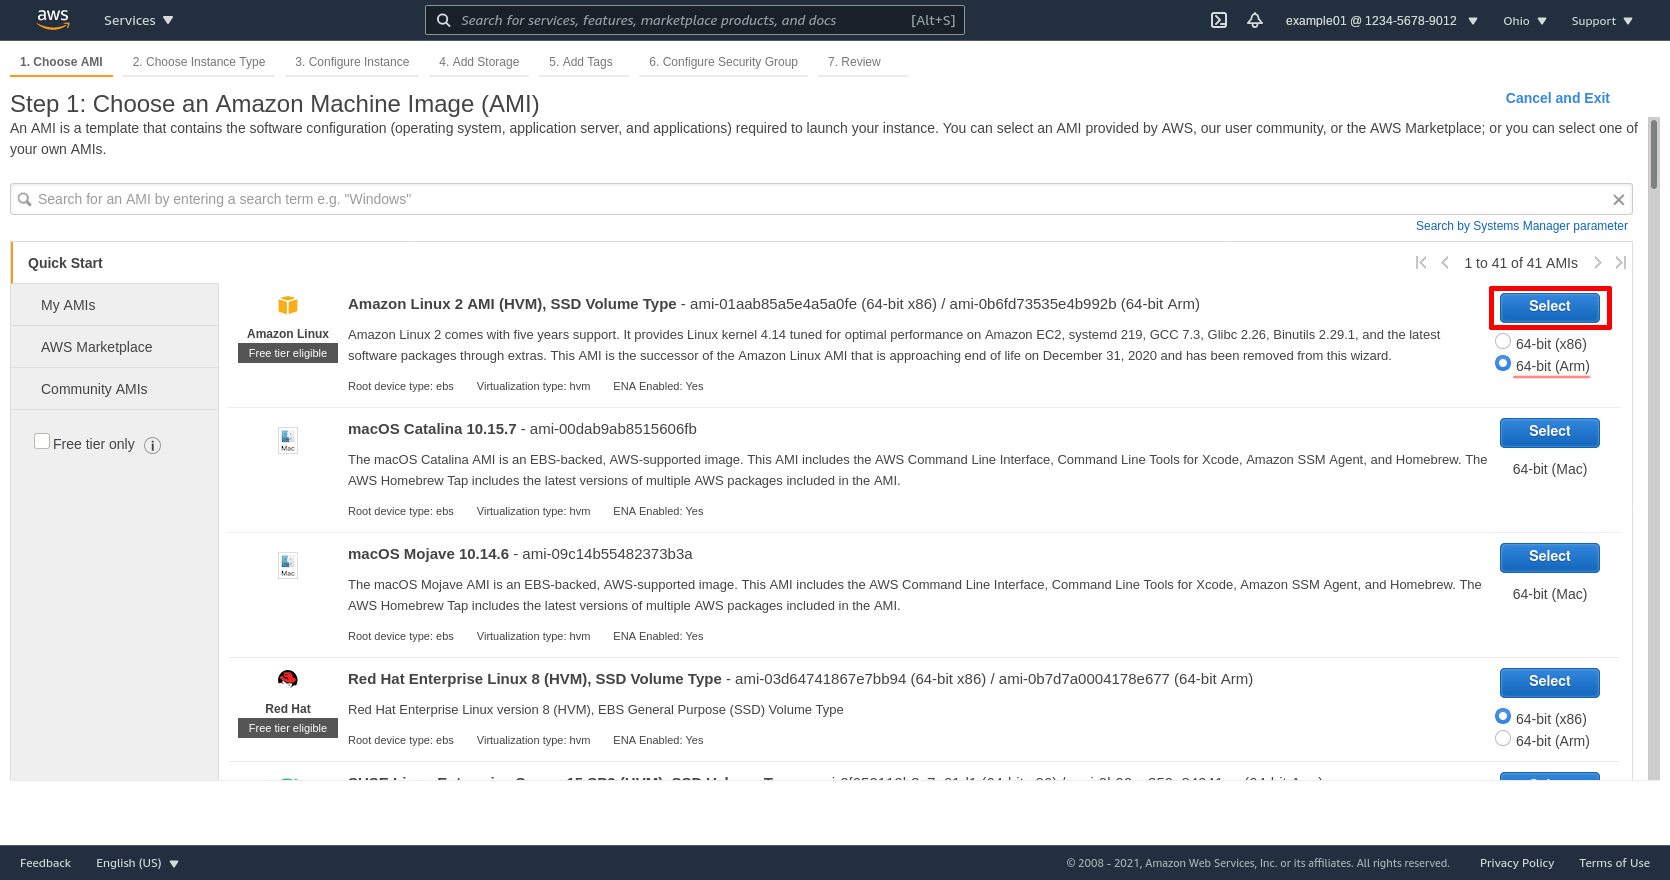
For the Amazon Linux 2 AMI (HVM), SSD Volume Type image, select its 64-bit (Arm) radio button, and then click its Select button:
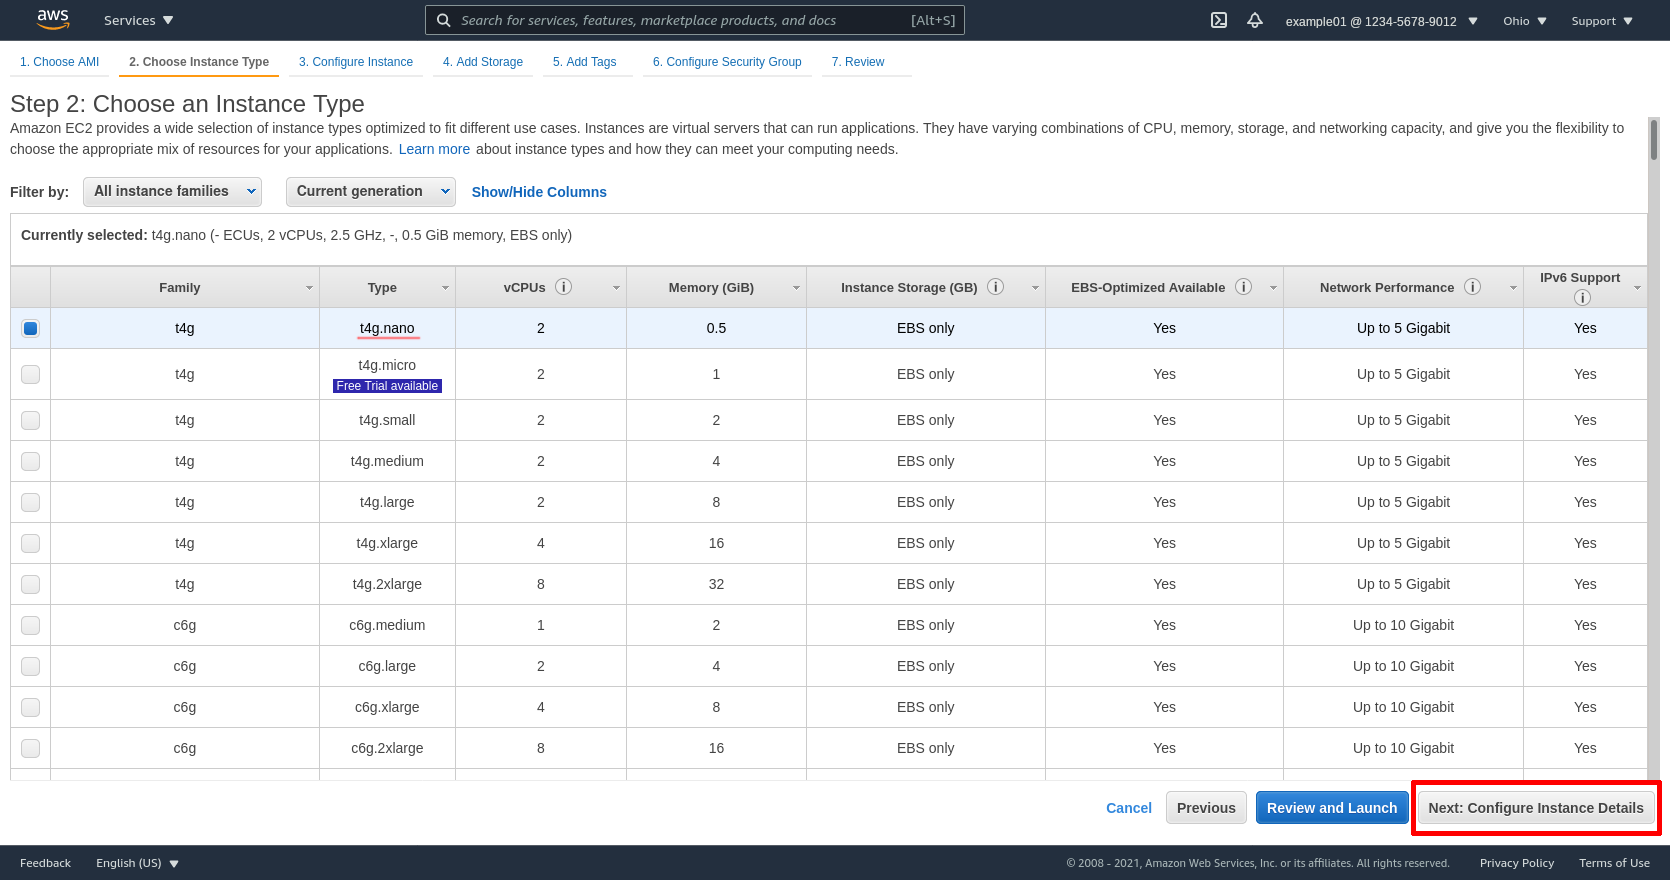
Select the t4g.nano type (of the t4g instance family). Then click the Next: Configure Instance Details button:
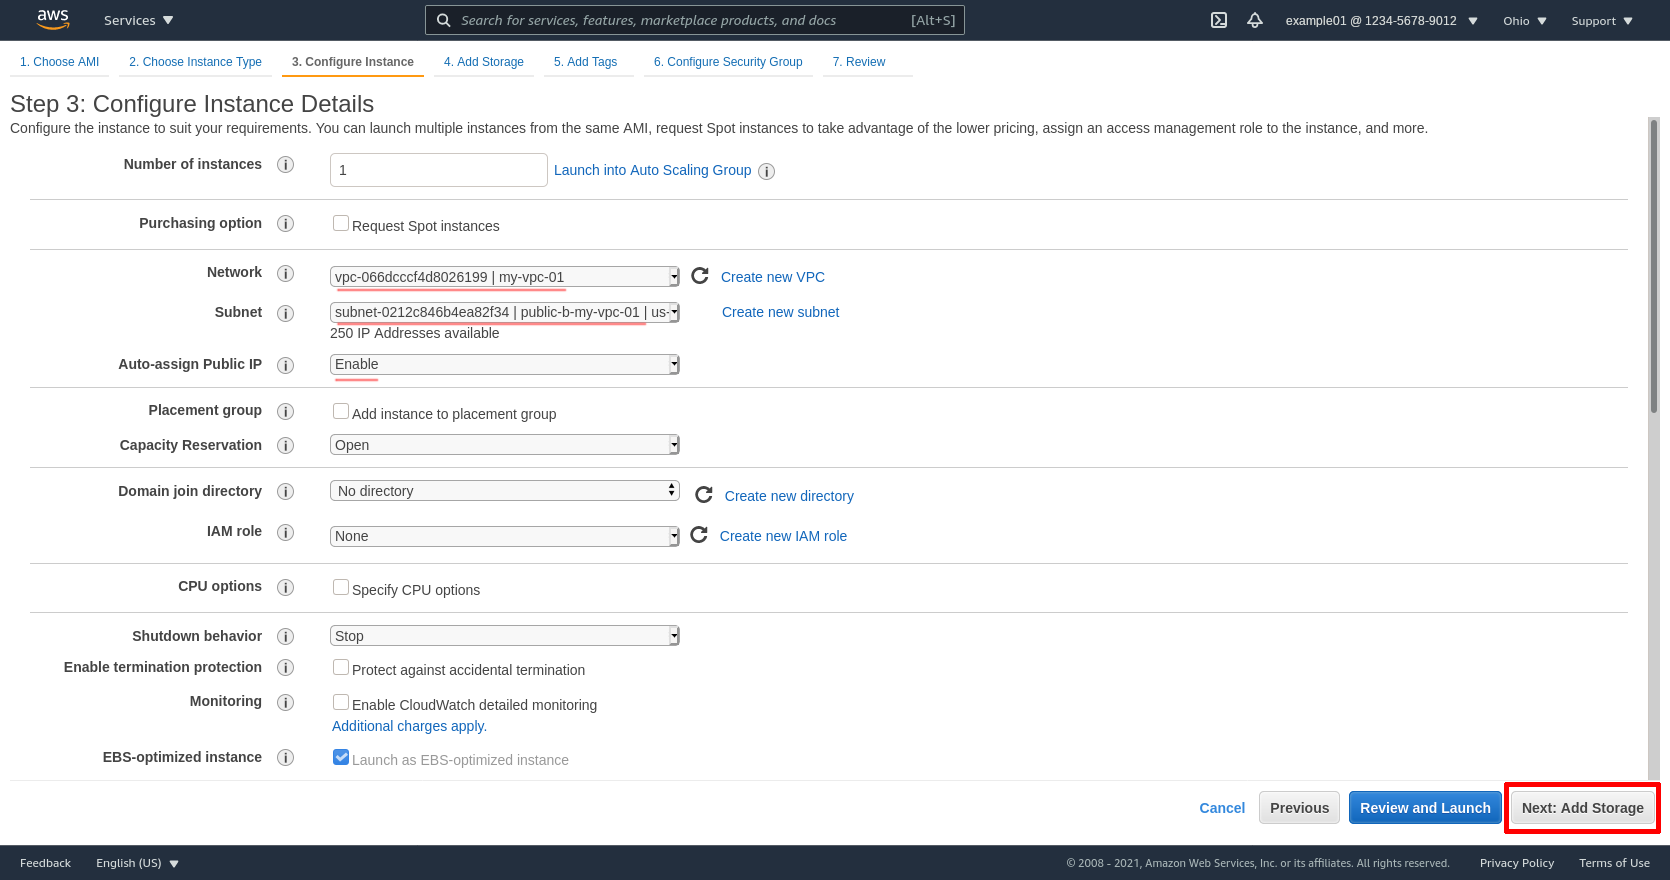
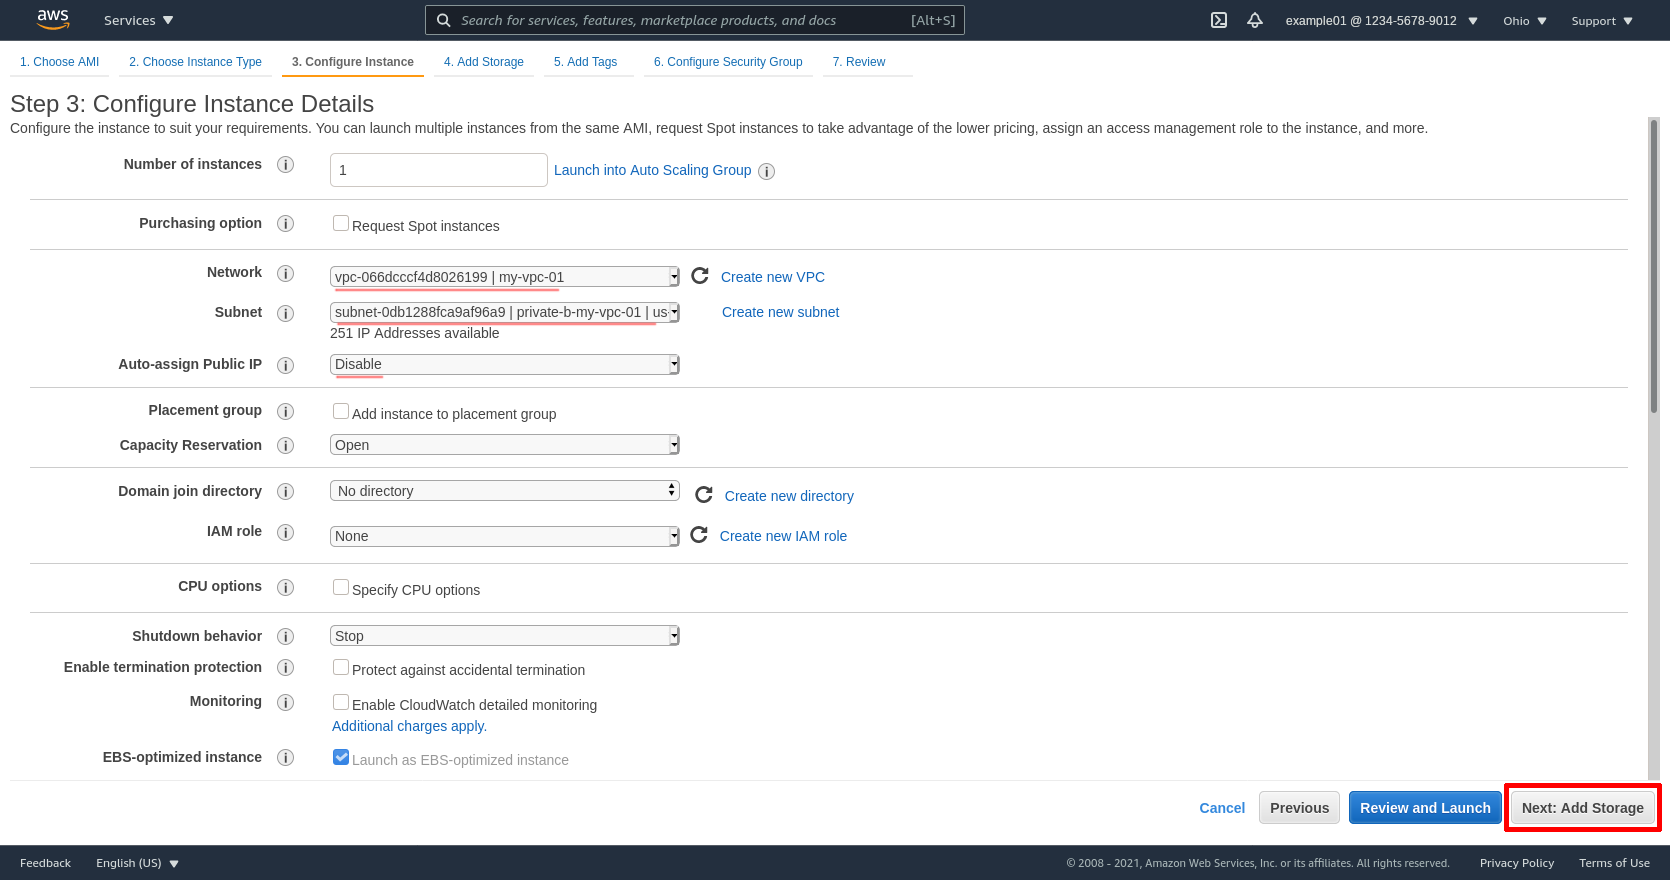
Select the VPC we created earlier (my-vpc-01) for the Network, and one of its public subnets (public-b-my-vpc-01) for the Subnet, and select Enable for the Auto-assign Public IP option. Then click the Next: Add Storage button:
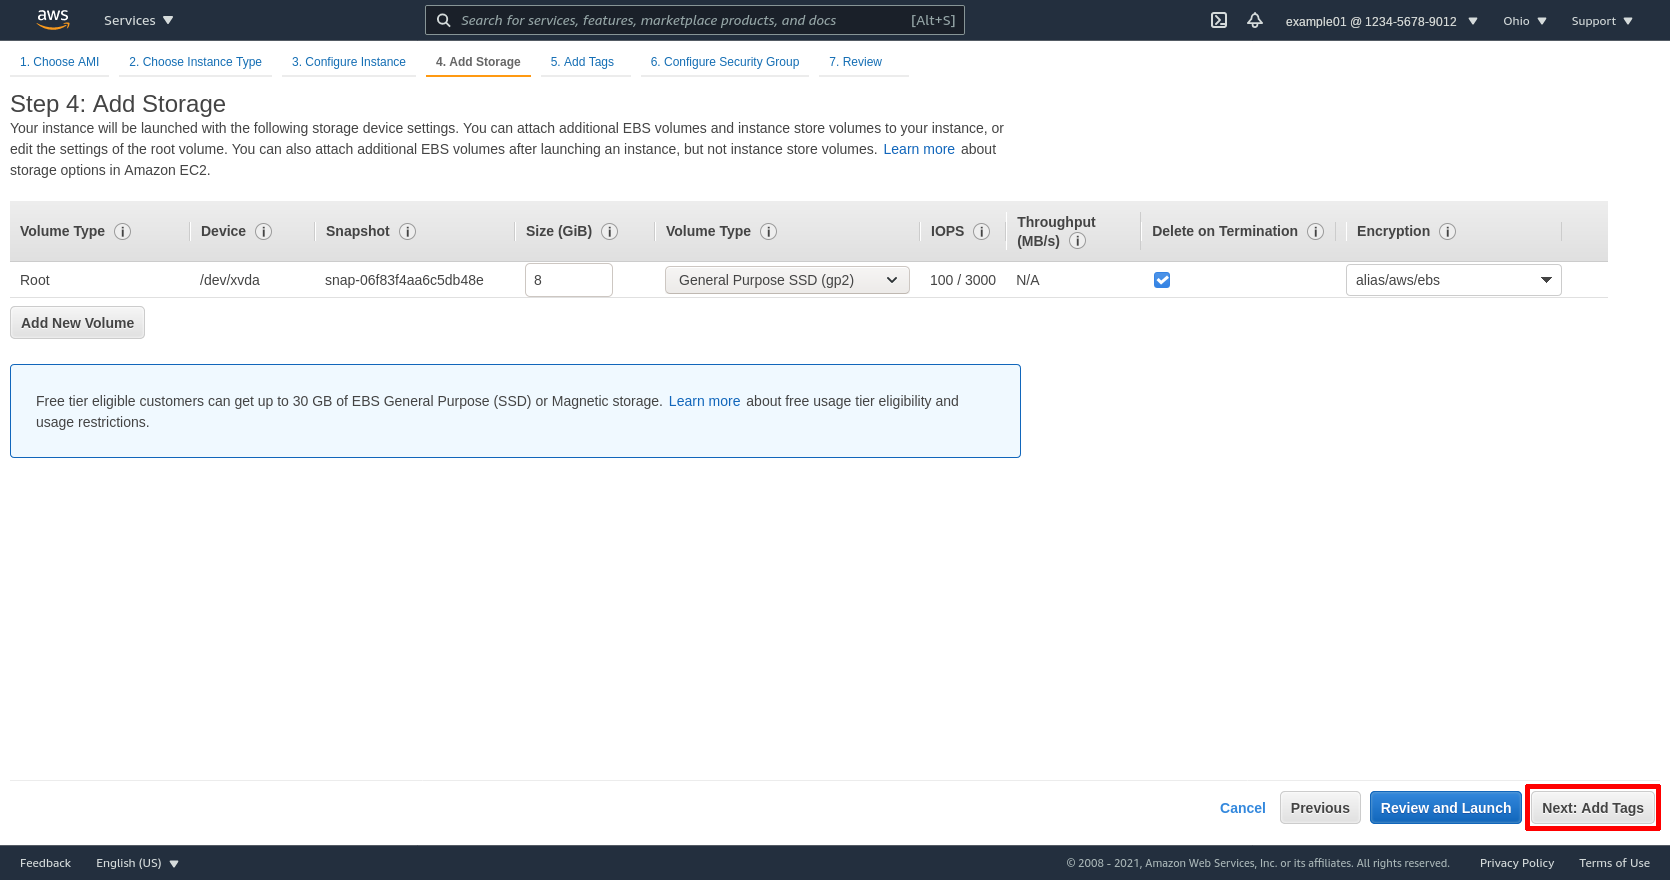
On the next page (“Add Storage”), the defaults are all fine, so click the Next: Add Tags button:
Add a Name tag on the this page, with the value set to something that will help you identify the purpose of the instance. For me, that’s wireguard-server. Then click the Next: Configure Security Group button:

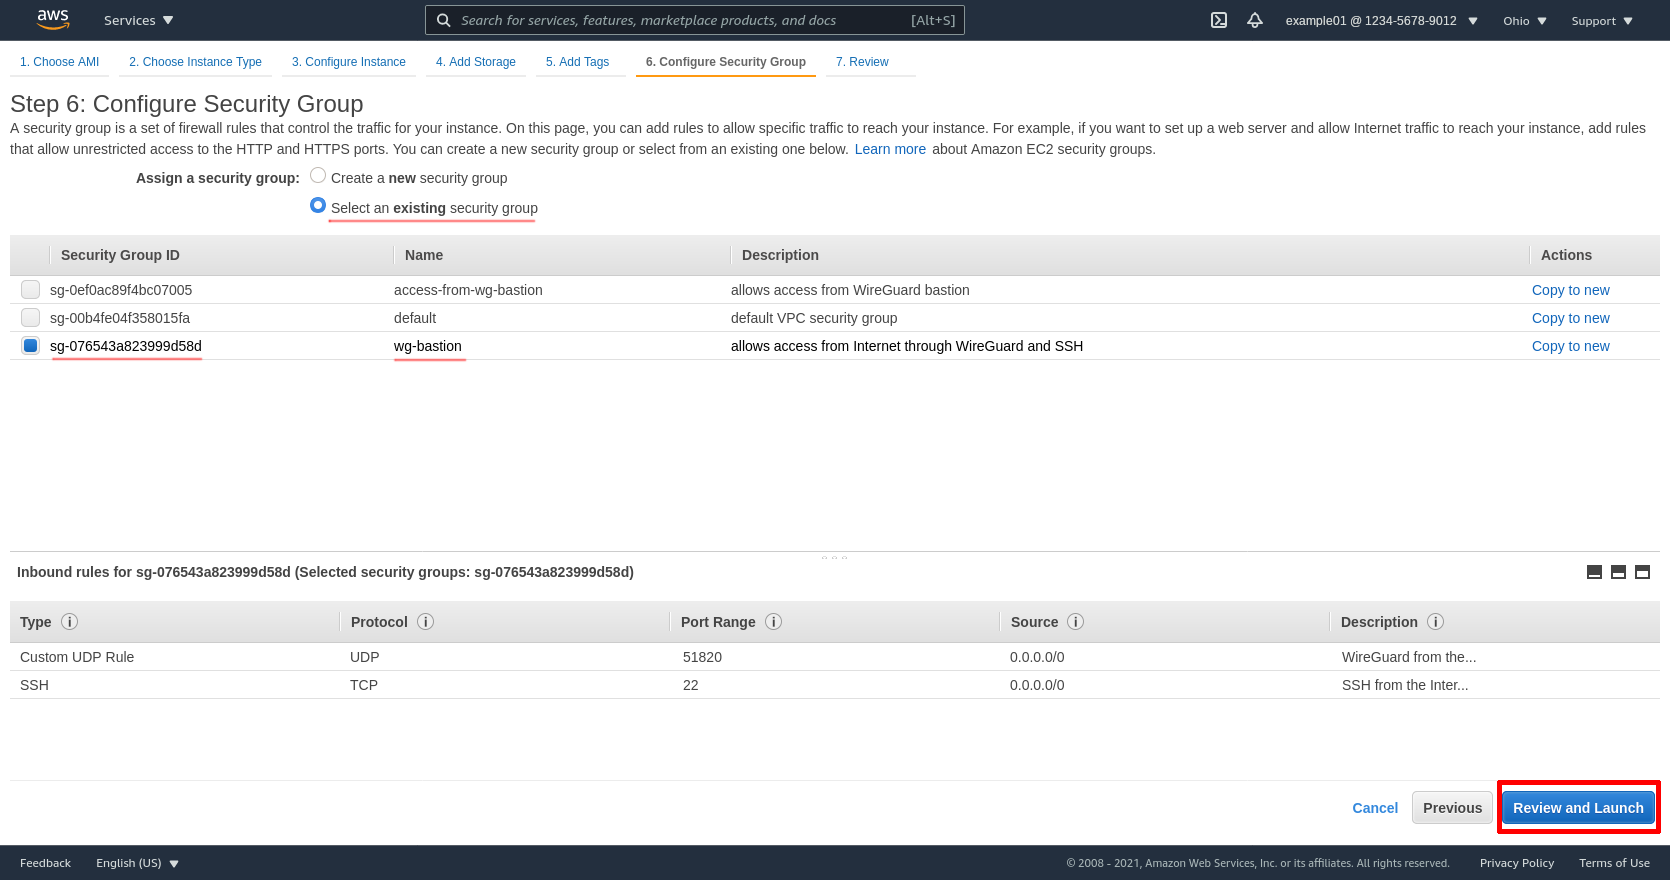
Select the Select an existing security group radio button, and choose the wg-bastion security group. Then click the Review and Launch button:
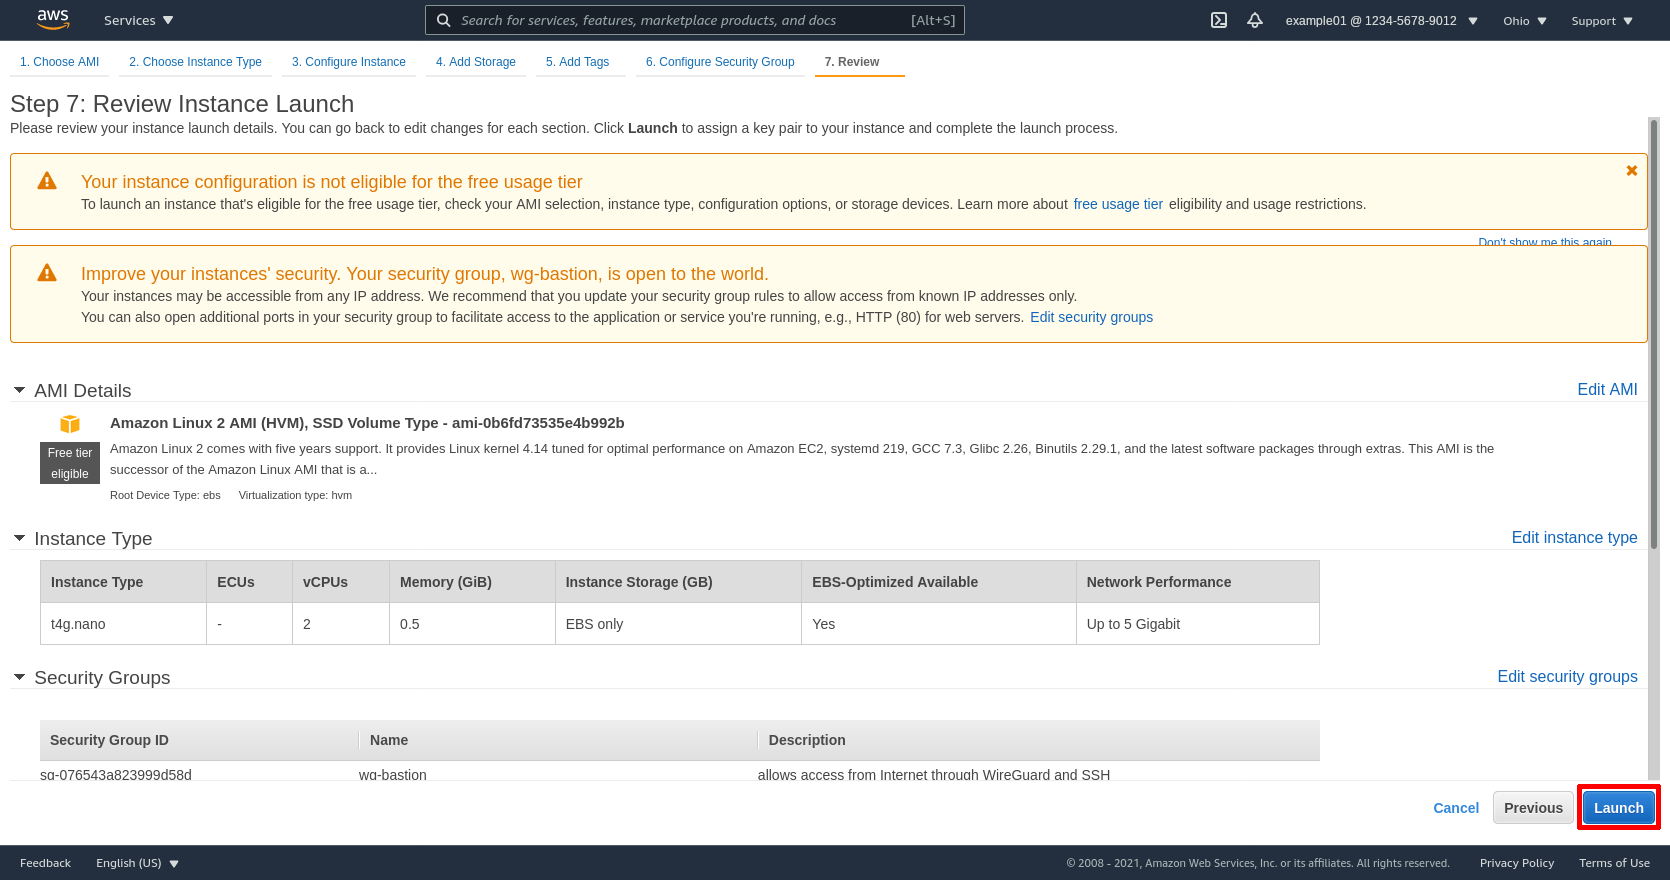
On the next page, click the Launch button:
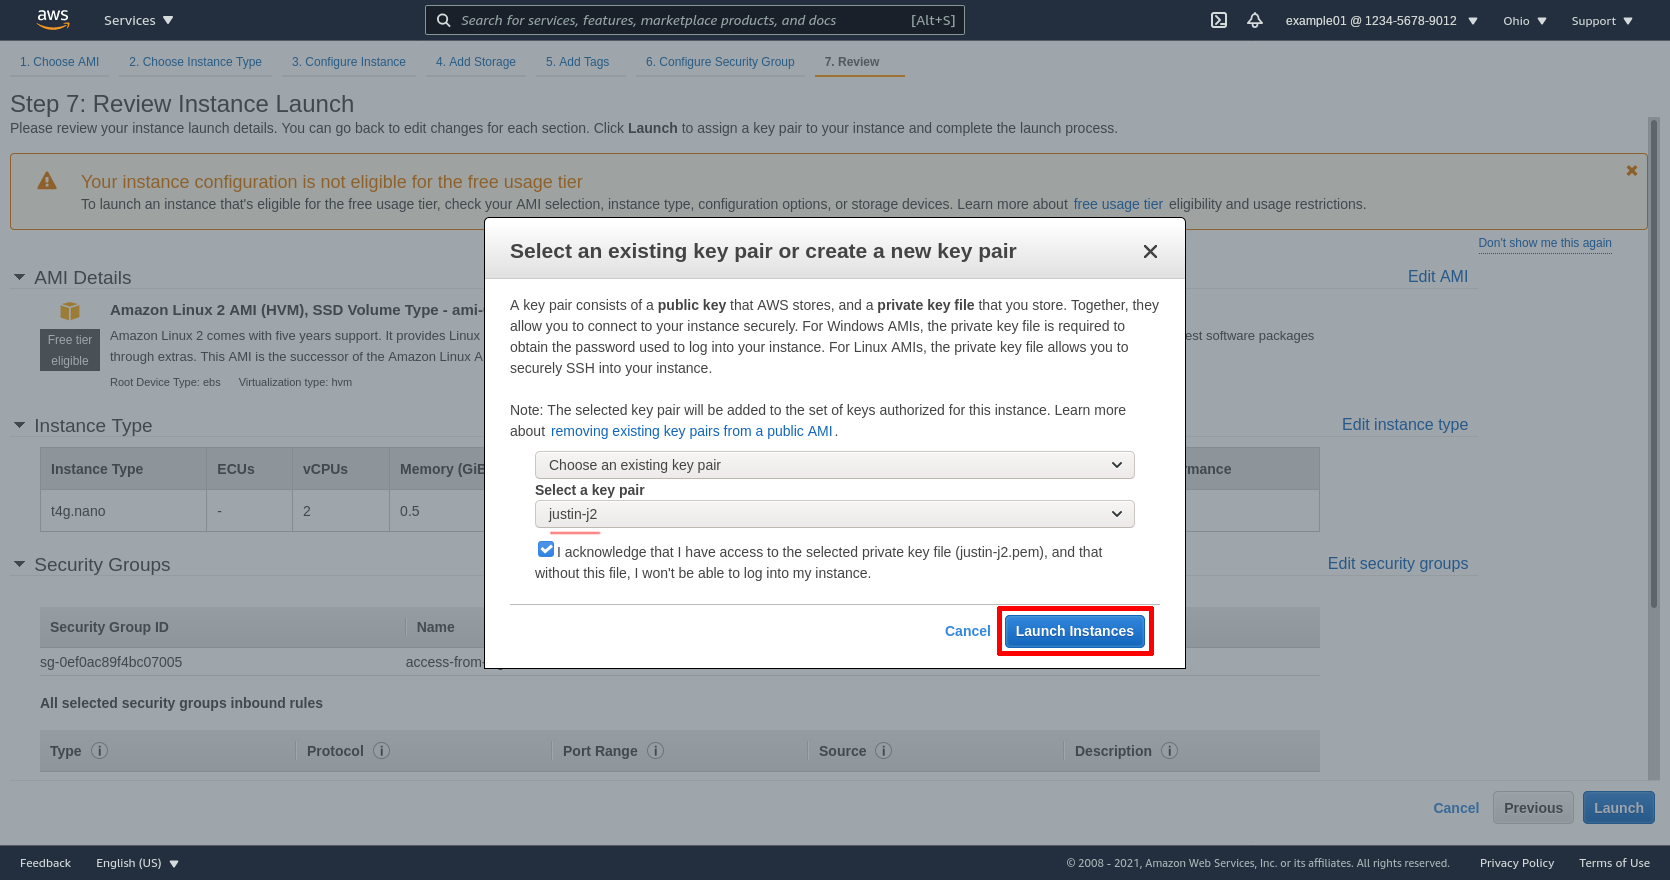
Then select the SSH key pair you registered in the previous section (or had registered previously); for me it’s justin-j2. Then click the Launch Instances button:

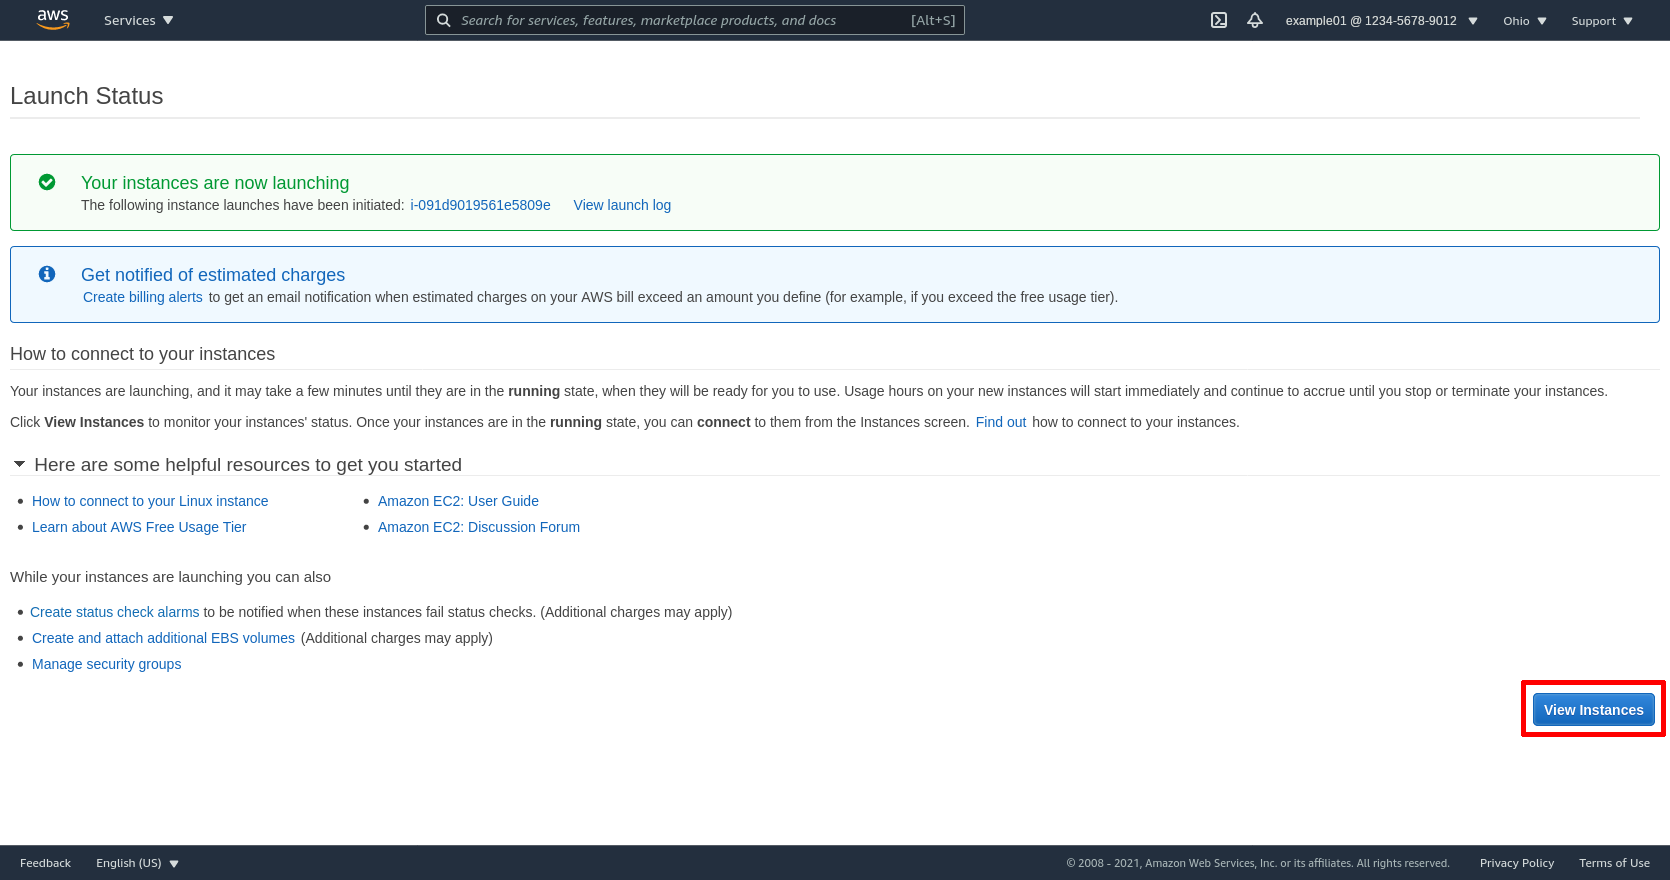
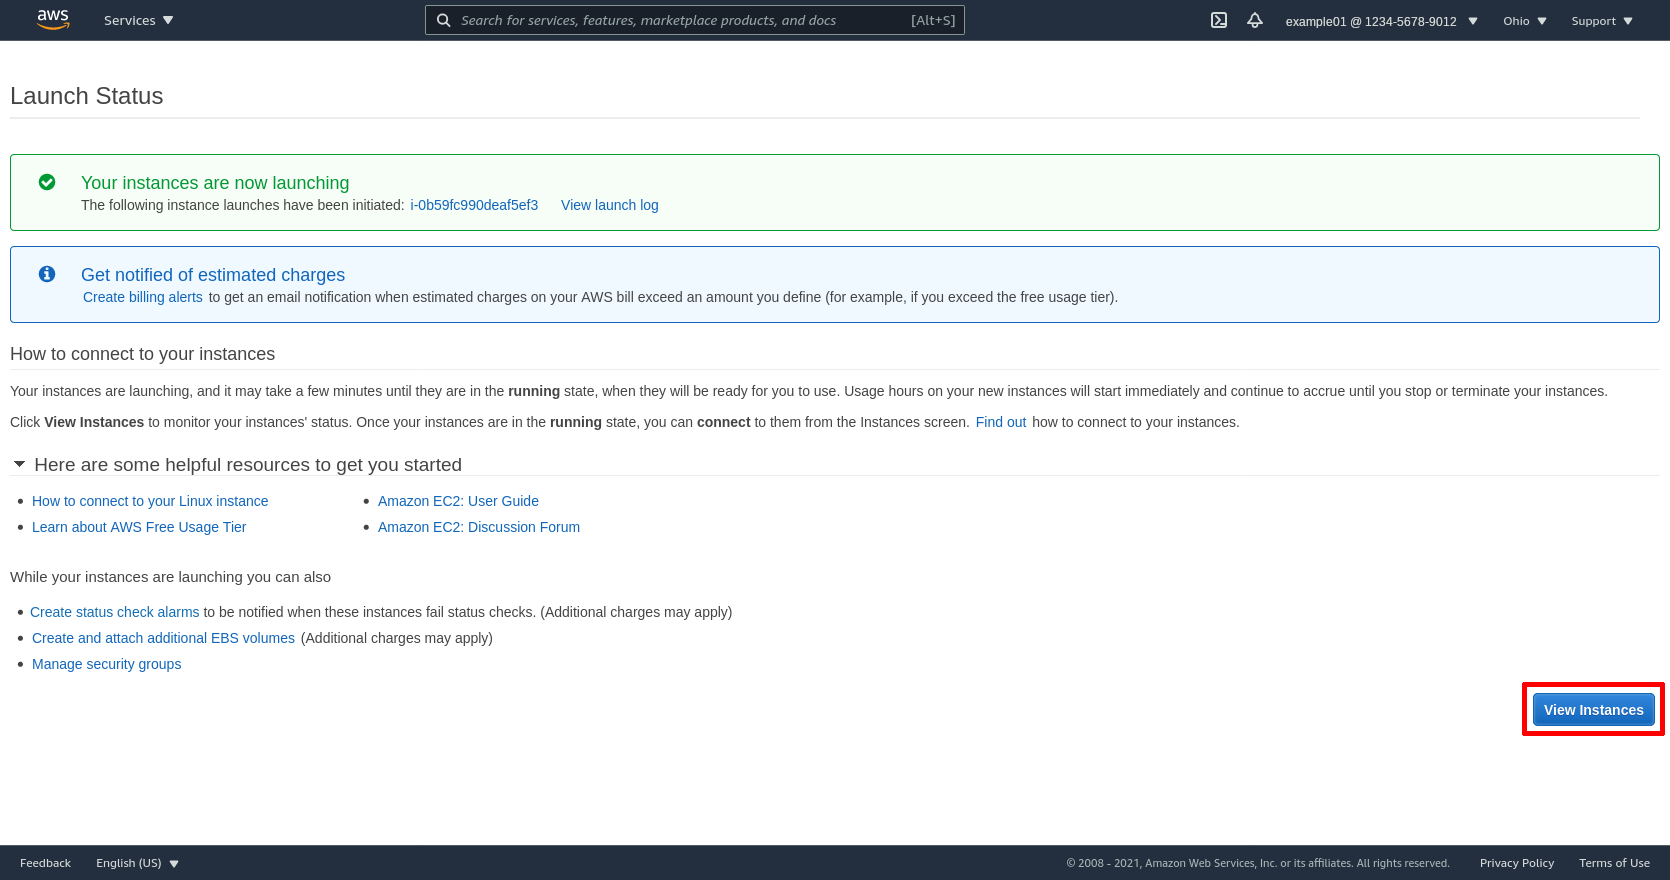
Click the View Instances button on “Launch Status” page to view the newly launched EC2 instance:
Configure WireGuard Server
Up to this point, we’ve just launched a generic EC2 instance running Amazon Linux 2. We need to make one configuration change to the EC2 instance (to allow it to act as a router), and then we can log into the server and install WireGuard.
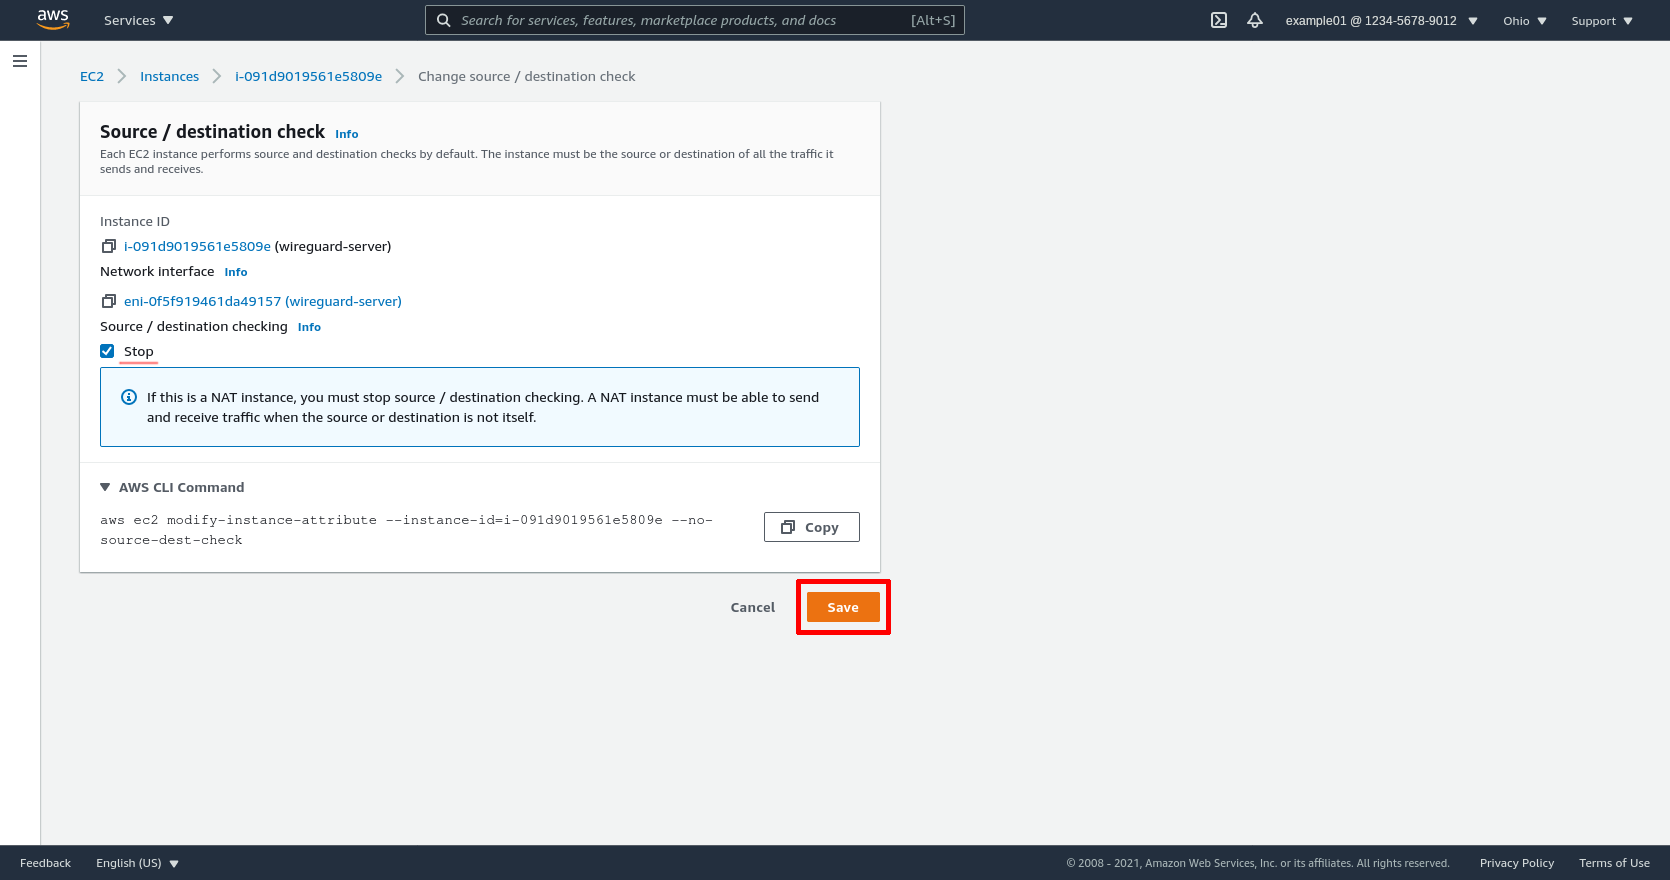
In the AWS console, select the new instance, and then select the Change source/destination check action from the Networking submenu of actions:
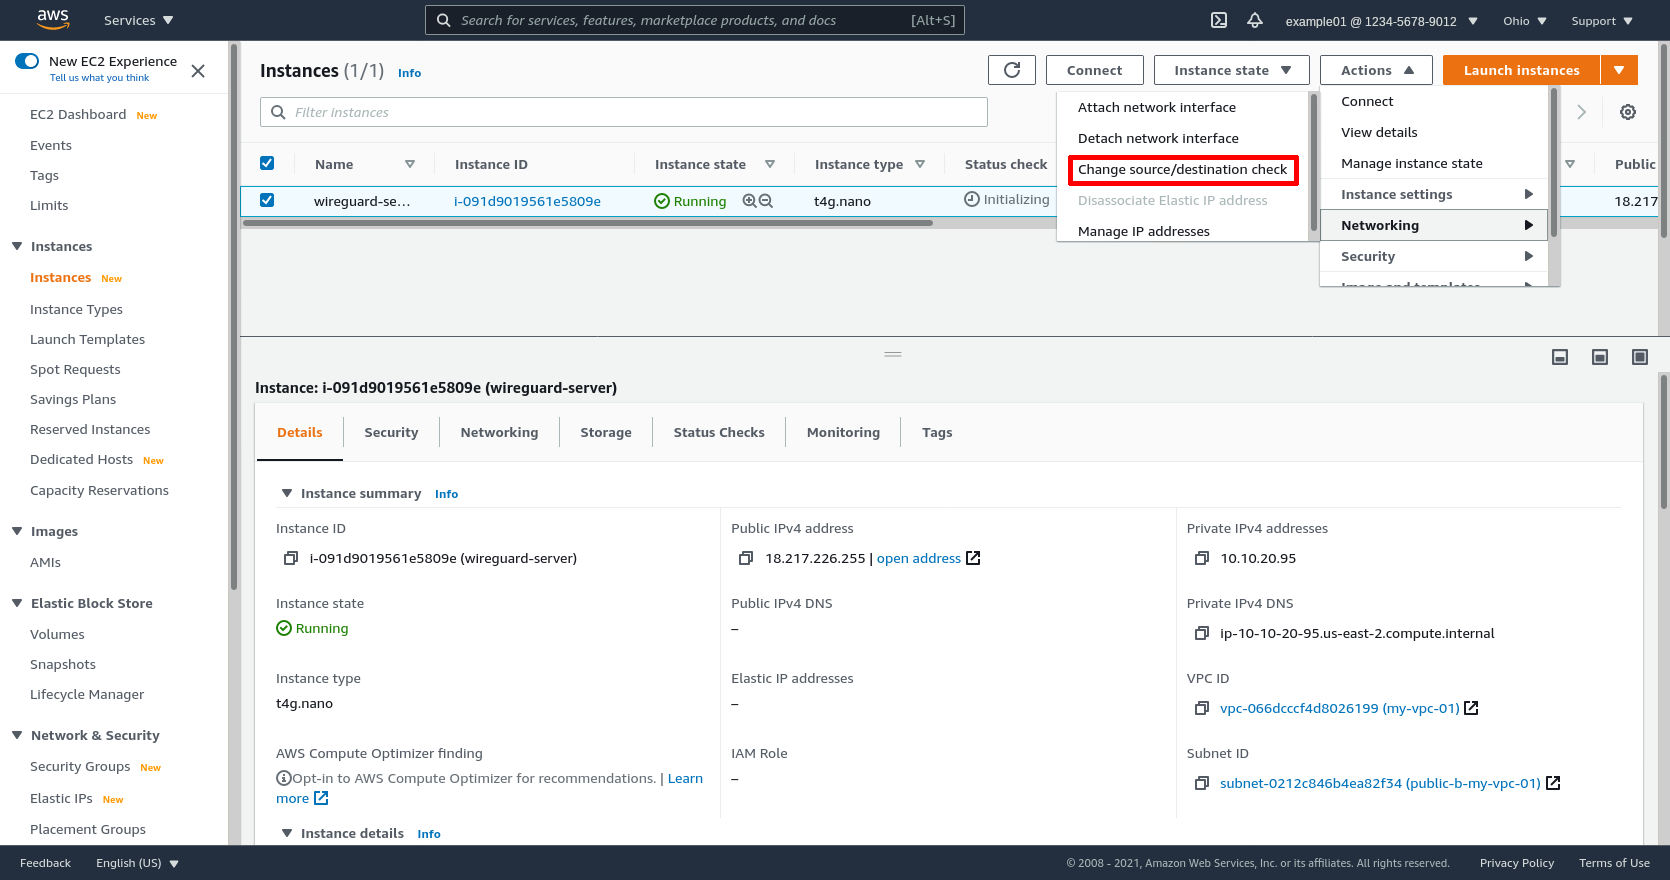
Check the Stop checkbox on this page. Then click the Save button:
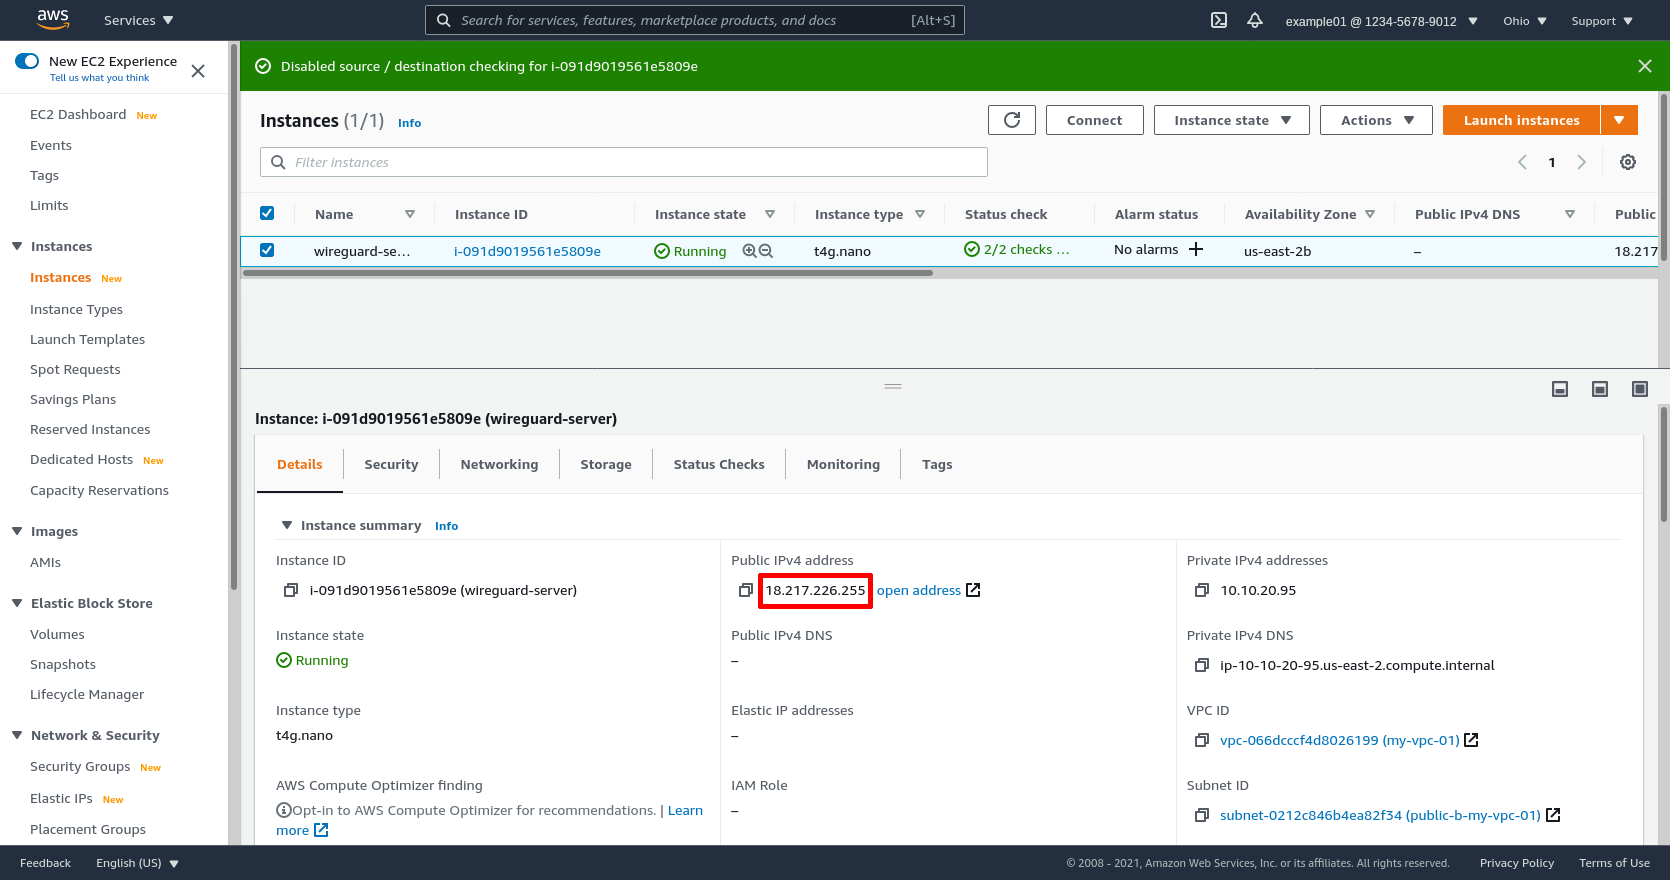
This will allow us to use this EC2 instance to forward traffic from the outside to other EC2 instances in the VPC (specifically, the instances running our internal applications).
Now copy the instance’s Public IPv4 address (18.217.226.255 in this example):
Open up a terminal, and SSH into the instance from your local workstation (add the -i flag to the ssh command if you need to specify the path to the SSH key pair with which you launched the instance):
justin@jws:~$ ssh ec2-user@18.217.226.255
The authenticity of host '18.217.226.255 (18.217.226.255)' can't be established.
ED25519 key fingerprint is SHA256:Xqy9YXRw4Bt0Ar6n+jlNf+Mb4bhmyq1aKPsKitg8MbE.
Are you sure you want to continue connecting (yes/no/[fingerprint])? yes
Warning: Permanently added '18.217.226.255' (ED25519) to the list of known hosts.

       __|  __|_  )
       _|  (     /   Amazon Linux 2 AMI
      ___|\___|___|

https://aws.amazon.com/amazon-linux-2/
[ec2-user@ip-10-10-20-95 ~]$
On the server, install WireGuard. If the server is running Amazon Linux 2, like this example, follow the steps from the Install WireGuard on Amazon Linux article. Otherwise, follow the WireGuard Installation instructions for your chosen server platform.
Once you’ve installed WireGuard, run sudo wg to check that you’ve installed it successfully — if successful, its initial output will be blank (if not successful, you’ll see errors):
$ sudo wg
Now generate a WireGuard key on the server:
$ wg genkey > server.key
$ wg pubkey < server.key > server.pub
$ cat server.key
ABBBBBBBBBBBBBBBBBBBBBBBBBBBBBBBBBBBBBBBBFA=
$ cat server.pub
fE/wdxzl0klVp/IR8UcaoGUMjqaWi3jAd7KzHKFS6Ds=
And also generate a WireGuard key on your local workstation (if you haven’t yet installed WireGuard on your local workstation, do so now):
justin@jws:~$ wg genkey > my-workstation.key
justin@jws:~$ wg pubkey < my-workstation.key > my-workstation.pub
justin@jws:~$ cat my-workstation.key
AAAAAAAAAAAAAAAAAAAAAAAAAAAAAAAAAAAAAAAAAEE=
justin@jws:~$ cat my-workstation.pub
/TOE4TKtAqVsePRVR+5AA43HkAK5DSntkOCO7nYq5xU=
SCP the public key from your local workstation to the server, and the server’s public key to your workstation:
justin@jws:~$ scp my-workstation.pub ec2-user@18.217.226.255:.
justin@jws:~$ scp ec2-user@18.217.226.255:server.pub .
Now create a new file on the server at /etc/wireguard/wg0.conf, and put the following content in it:
# /etc/wireguard/wg0.conf

# local settings for WireGuard Server
[Interface]
PrivateKey = ABBBBBBBBBBBBBBBBBBBBBBBBBBBBBBBBBBBBBBBBFA=
Address = 10.0.0.2/32
ListenPort = 51820

# IP forwarding
PreUp = sysctl -w net.ipv4.ip_forward=1
# IP masquerading
PreUp = iptables -t mangle -A PREROUTING -i wg0 -j MARK --set-mark 0x30
PreUp = iptables -t nat -A POSTROUTING ! -o wg0 -m mark --mark 0x30 -j MASQUERADE
PostDown = iptables -t mangle -D PREROUTING -i wg0 -j MARK --set-mark 0x30
PostDown = iptables -t nat -D POSTROUTING ! -o wg0 -m mark --mark 0x30 -j MASQUERADE

# firewall local host from wg peers
PreUp = iptables -A INPUT -i wg0 -m state --state ESTABLISHED,RELATED -j ACCEPT
PreUp = iptables -A INPUT -i wg0 -j REJECT
PostDown = iptables -D INPUT -i wg0 -m state --state ESTABLISHED,RELATED -j ACCEPT
PostDown = iptables -D INPUT -i wg0 -j REJECT
# firewall wg peers from other hosts
PreUp = iptables -A FORWARD -o wg0 -m state --state ESTABLISHED,RELATED -j ACCEPT
PreUp = iptables -A FORWARD -o wg0 -j REJECT
PostDown = iptables -D FORWARD -o wg0 -m state --state ESTABLISHED,RELATED -j ACCEPT
PostDown = iptables -D FORWARD -o wg0 -j REJECT

# remote settings for Justin's Workstation
[Peer]
PublicKey = /TOE4TKtAqVsePRVR+5AA43HkAK5DSntkOCO7nYq5xU=
AllowedIPs = 10.0.0.1/32
Replace the PrivateKey value with the private key you generated on the server (server.key), and the PublicKey value with the public key you generated on your local workstation (my-workstation.pub).
For a detailed explanation of all the settings in this file, see the Point to Site Configuration article (“Host β” in that article is the equivalent of the WireGuard bastion server in this article). The firewall commands in this file will prevent clients from using the WireGuard tunnel to connect directly to other services on the server, or to other WireGuard clients that you add later (omit these firewall commands if you do want to allow such access). Since we’re using AWS security groups to control access from the WireGuard server to other services in the VPC, we don’t need to add any additional firewall commands beyond this on the server to control access to WireGuard traffic forwarded out from the server to the VPC.
Bring up the wg0 WireGuard interface we just configured by running the following commands on the server:
$ sudo systemctl enable wg-quick@wg0.service
$ sudo systemctl start wg-quick@wg0.service
Now with the interface up, when you run sudo wg on the server, you should see the following output:
$ sudo wg
interface: wg0
  public key: fE/wdxzl0klVp/IR8UcaoGUMjqaWi3jAd7KzHKFS6Ds=
  private key: (hidden)
  listening port: 51820

peer: /TOE4TKtAqVsePRVR+5AA43HkAK5DSntkOCO7nYq5xU=
  allowed ips: 10.0.0.1/32
Configure WireGuard Client
Now configure your local workstation to connect to the server over WireGuard. Create a new file on your local workstation at /etc/wireguard/my-vpc-01.conf, and put the following content in it:
# /etc/wireguard/my-vpc-01.conf

# local settings for Justin's Workstation
[Interface]
PrivateKey = AAAAAAAAAAAAAAAAAAAAAAAAAAAAAAAAAAAAAAAAAEE=
Address = 10.0.0.1/32

# remote settings for WireGuard Server
[Peer]
PublicKey = fE/wdxzl0klVp/IR8UcaoGUMjqaWi3jAd7KzHKFS6Ds=
Endpoint = 18.217.226.255:51820
AllowedIPs = 10.10.0.0/16
Replace the PrivateKey value with the private key you generated on your local workstation (my-workstation.key), and the PublicKey value with the public key you generated on the server (server.pub). Also replace the Endpoint value with the actual public IPv4 address of the server, and the AllowedIPs value with the actual IPv4 CIDR block of the VPC.
Bring up the my-vpc-01 WireGuard interface we just configured on your local workstation:
justin@jws:~$ sudo systemctl enable wg-quick@my-vpc-01.service
justin@jws:~$ sudo systemctl start wg-quick@my-vpc-01.service
Now if you run sudo wg on your local workstation, it should include the following output:
justin@jws:~$ sudo wg
interface: my-vpc-01
  public key: /TOE4TKtAqVsePRVR+5AA43HkAK5DSntkOCO7nYq5xU=
  private key: (hidden)
  listening port: 56789

peer: fE/wdxzl0klVp/IR8UcaoGUMjqaWi3jAd7KzHKFS6Ds=
  endpoint: 18.217.226.255:51820
  allowed ips: 10.10.0.0/16
Launch Web Application Instance
Back in the AWS console for the EC2 service, on the main Instances page, click the Launch instances button:
As with the WireGuard server, click the Select button for the Amazon Linux 2 AMI (HVM), SSD Volume Type image — after first selecting the 64-bit (Arm) radio button:

Select the t4g.nano type (of the t4g instance family). Then click the Next: Configure Instance Details button:

Select the VPC we created earlier (my-vpc-01) for the Network — but this time, select one of its private subnets (I chose private-b-my-vpc-01) for the Subnet, and select Disable for the Auto-assign Public IP option. Then click the Next: Add Storage button:
On the next page (“Add Storage”), the defaults are all fine, so click the Next: Add Tags button:

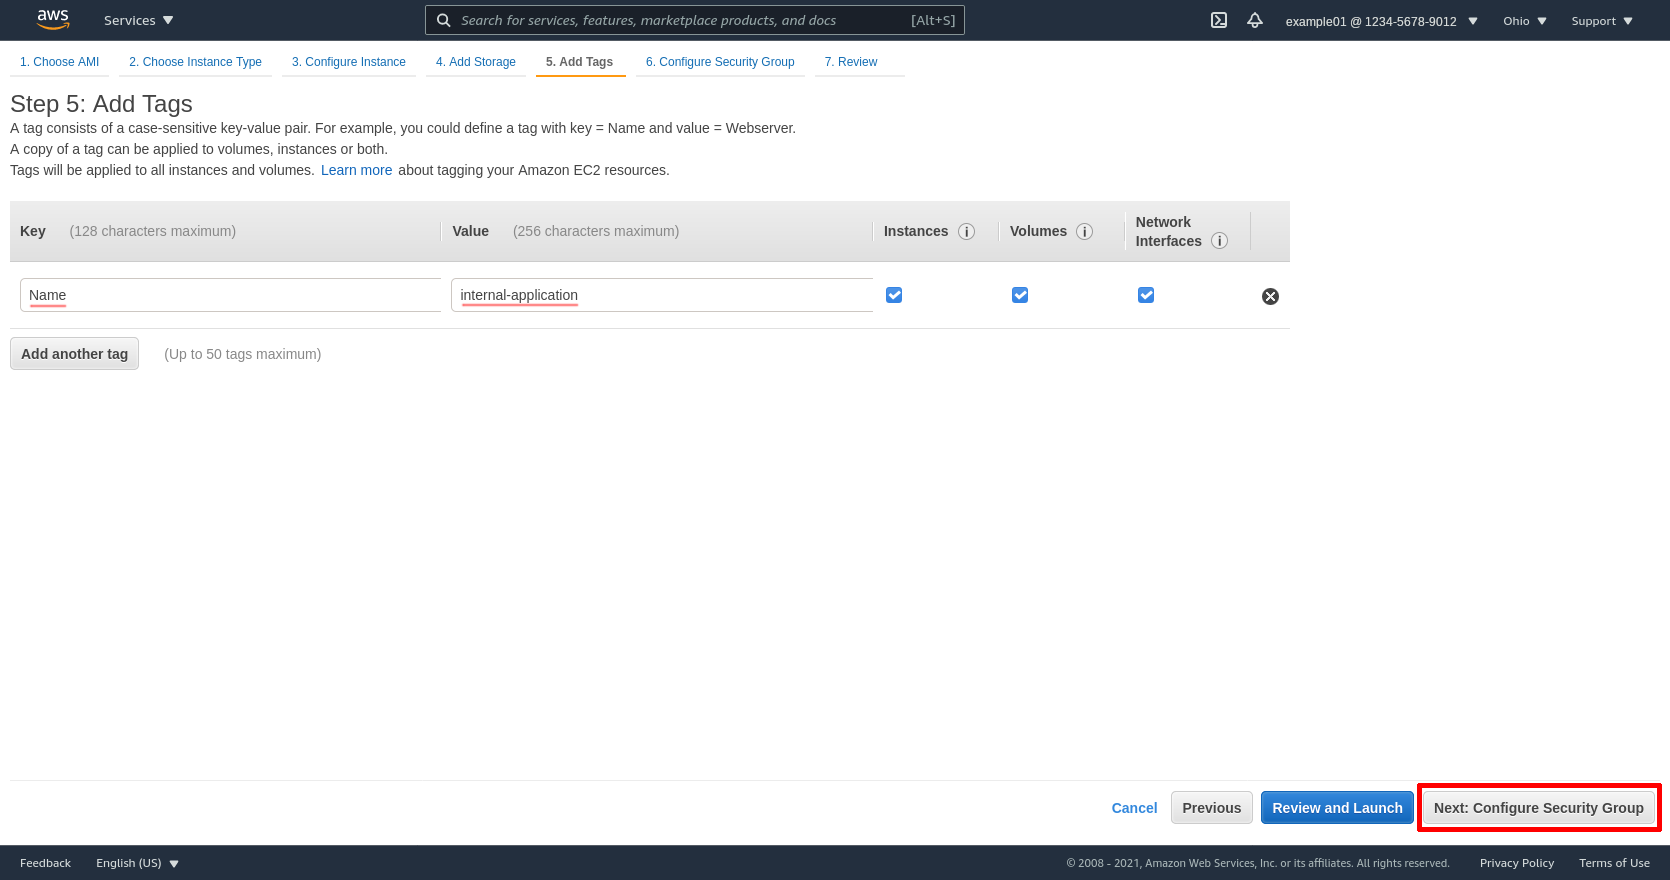
Add a Name tag on the next page, with the value set to something that will help you identify the purpose of the instance. For me, that’s internal-application. Then click the Next: Configure Security Group button:
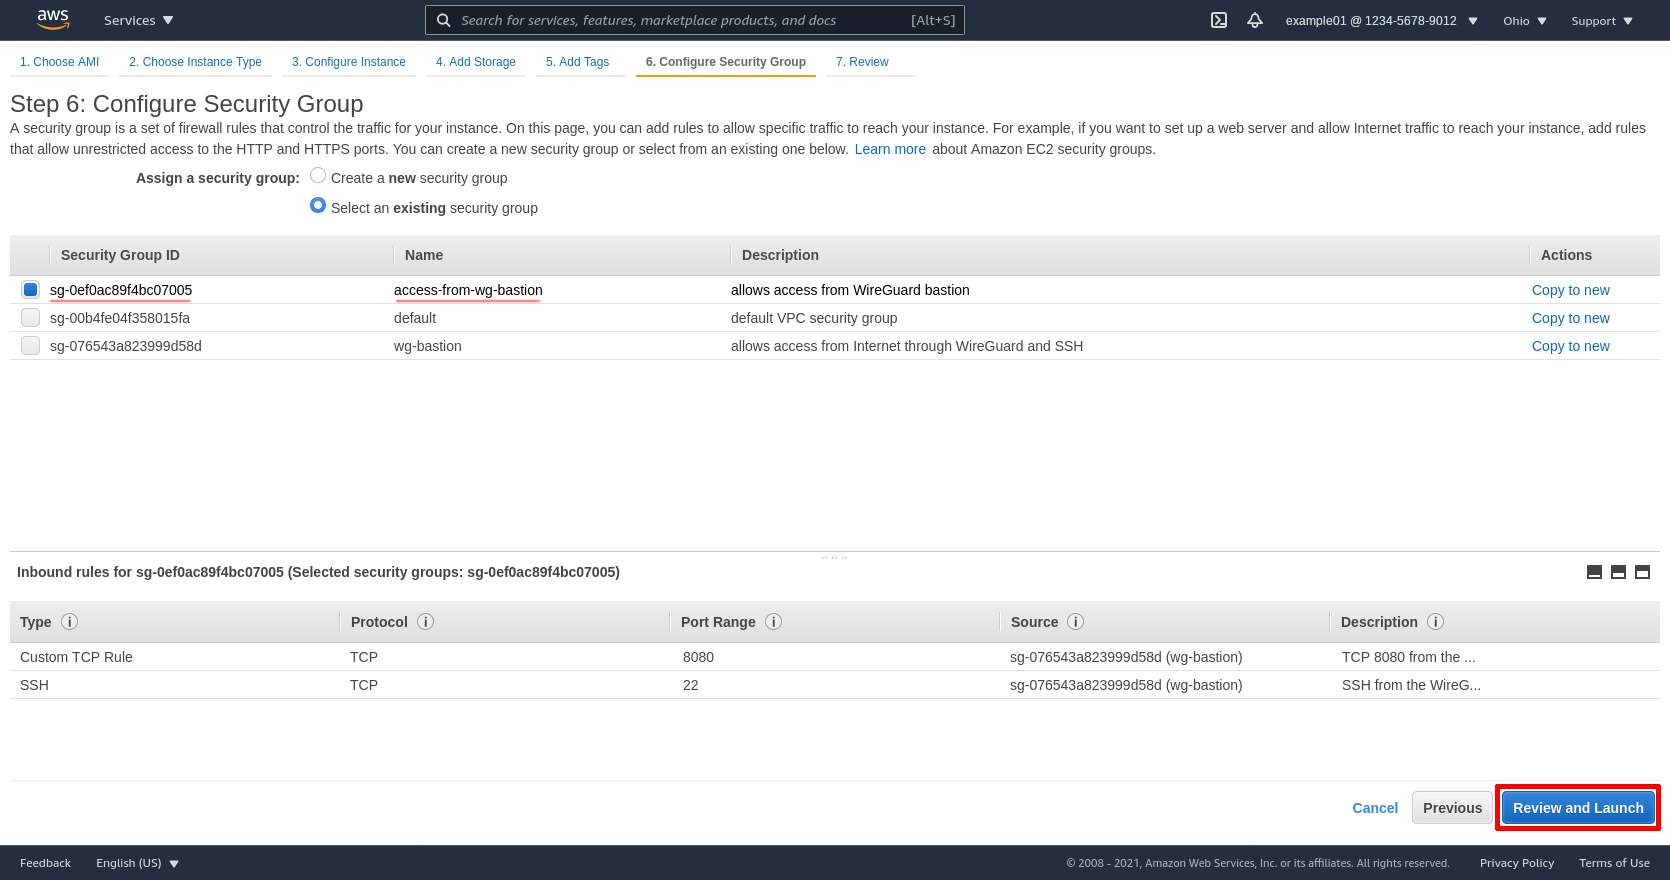
Select the Select an existing security group radio button, and choose the access-from-wg-bastion security group. Then click the Review and Launch button:
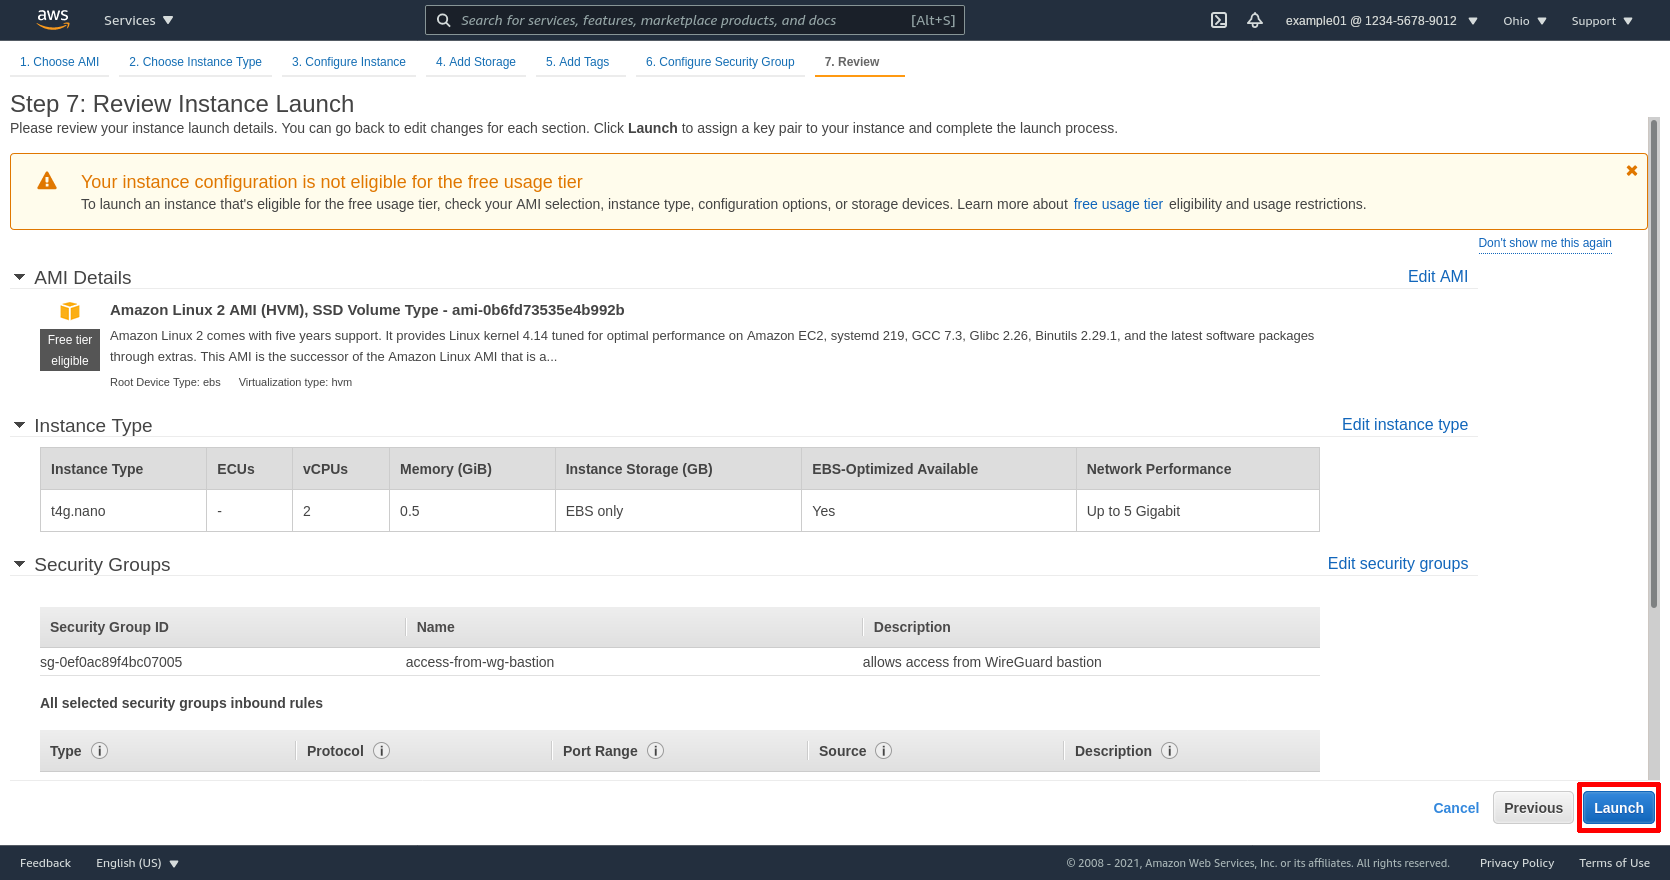
On the next page, click the Launch button:
Then select the SSH key pair you registered in the previous section (or had registered previously); for me it’s justin-j2. Then click the Launch Instances button:
Click the View Instances button on “Launch Status” page to view the newly launched EC2 instance:
Connect Through WireGuard
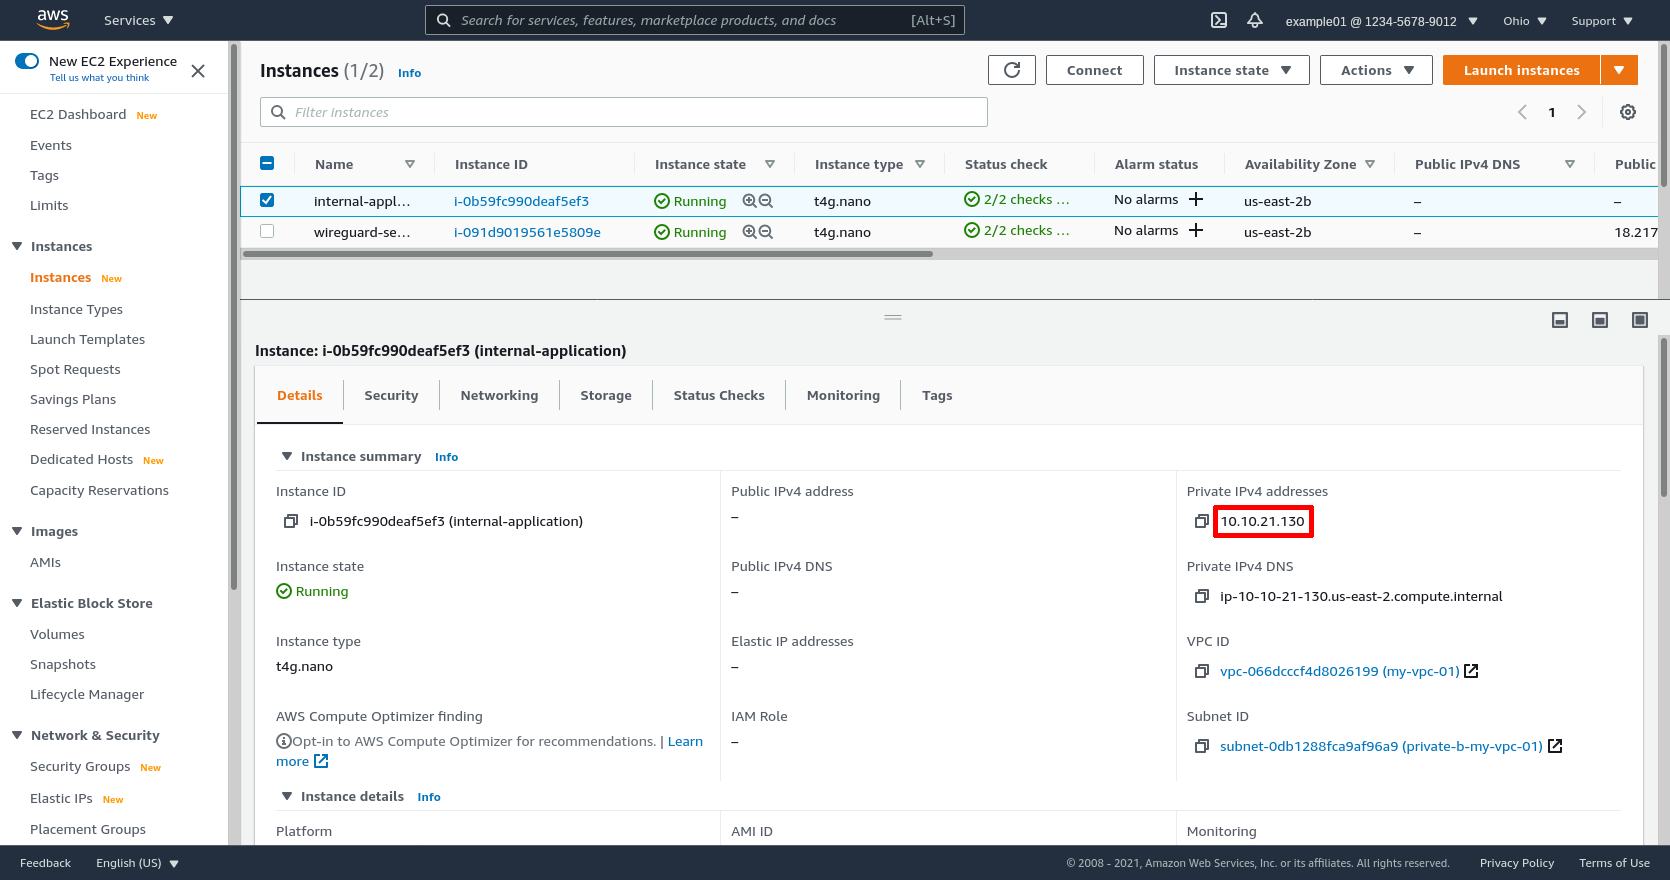
Now copy the instance’s Private IPv4 address (10.10.21.130 in this example):
Open up a terminal, and SSH into the instance from your local workstation (add the -i flag to the ssh command if you need to specify the path to the SSH key pair with which you launched the instance):
justin@jws:~$ ssh ec2-user@10.10.21.130
The authenticity of host '10.10.21.130 (10.10.21.130)' can't be established.
ED25519 key fingerprint is SHA256:jIZRUEvDbNfhyE+ihx400dWKamVmjk2Qf220tsZExLE.
Are you sure you want to continue connecting (yes/no/[fingerprint])? yes
Warning: Permanently added '10.10.21.130' (ED25519) to the list of known hosts.

       __|  __|_  )
       _|  (     /   Amazon Linux 2 AMI
      ___|\___|___|

https://aws.amazon.com/amazon-linux-2/
[ec2-user@ip-10-10-21-130 ~]$
This SSH session will be routed through the WireGuard connection between my local workstation and the WireGuard server I set up in a previous section, and from that WireGuard server to the internal application EC2 instance I just set up. This routing happens automagically because:
- In the my-vpc-01 WireGuard interface I set up for my local workstation in the Configure WireGuard Client section, I set the AllowedIPs value for the WireGuard server to 10.10.0.0/16 (a block which contains the internal application’s IP address, 10.10.21.130).
- I brought that interface up with wg-quick (via the sudo systemctl start wg-quick@my-vpc-01.service command), which automatically sets up routes on my local workstation to match the AllowedIPs value for each peer of the interface.
- In the wg0 configuration file I set up for the WireGuard server in the Configure WireGuard Server section, I used several PreUp commands (executed by wg-quick) to configure the Linux networking subsystem on the server to allow network traffic to be forwarded, and to apply masquerading (aka NAT) to the WireGuard traffic forwarded to the VPC.
Finally, on the internal application server, run the following commands to start the example web app (which serves the directory listings of a dummy directory via a Python webserver running on port 8080):
$ mkdir -p dummydir && cd dummydir
$ python -m SimpleHTTPServer 8080
Now to access the internal application from your local workstation, run this command (using the private IP address of the internal application server):
$ curl 10.10.21.130:8080
If you see any HTML output from this, your WireGuard tunnel to the internal application works! Just like the SSH session above, this HTTP request will be routed through the WireGuard tunnel between your local workstation and the WireGuard server, and from the WireGuard server through the VPC’s internal network to the internal application.
Troubleshoot WireGuard Tunnel
If you try to connect to the internal application like above, but the connection hangs or you get an error like Connection refused or No route to host, first run sudo wg on your local workstation:
justin@jws:~$ sudo wg
interface: my-vpc-01
  public key: /TOE4TKtAqVsePRVR+5AA43HkAK5DSntkOCO7nYq5xU=
  private key: (hidden)
  listening port: 56789

peer: fE/wdxzl0klVp/IR8UcaoGUMjqaWi3jAd7KzHKFS6Ds=
  endpoint: 18.217.226.255:51820
  allowed ips: 10.10.0.0/16
  latest handshake: 49 seconds ago
  transfer: 20.65 KiB received, 29.90 KiB sent
You should see the interface to my-vpc-01 listed (if not, follow through the instructions for Configure WireGuard Client above). You should also see some data both sent and received in the transfer field for the WireGuard bastion server peer.
If you don’t see a transfer field at all listed for the peer, you likely have a routing problem on your local workstation. First make sure that the IP of the internal server to which you’re trying to connect (10.10.21.130 in this example) is within the listed IP blocks in the allowed ips field. If it isn’t, correct your my-vpc-01.conf file to include your VPC’s IPv4 CIDR block in the AllowedIPs value for the bastion server peer, and restart the interface (via the sudo systemctl restart wg-quick@my-vpc-01.service command).
If the allowed ips field is good, try using the ip route command to check the route to the internal application from your workstation. You should see something similar to this:
justin@jws:~$ ip route get 10.10.21.130
10.10.21.130 dev my-vpc-01 src 10.0.0.1 uid 1000
    cache
If the result of the command indicates a device other than my-vpc-01 will be used, you need to fiddle with the routing tables on your workstation.
Otherwise, if the transfer field for the peer lists some data sent, but none received, run sudo wg on the WireGuard server:
$ sudo wg
interface: wg0
  public key: fE/wdxzl0klVp/IR8UcaoGUMjqaWi3jAd7KzHKFS6Ds=
  private key: (hidden)
  listening port: 51820

peer: /TOE4TKtAqVsePRVR+5AA43HkAK5DSntkOCO7nYq5xU=
  endpoint: 198.51.100.1:52780
  allowed ips: 10.0.0.1/32
  latest handshake: 1 minute, 57 seconds ago
  transfer: 30.13 KiB received, 20.88 KiB sent
You should see the interface to wg0 listed (if not, follow through the instructions for Configure WireGuard Server above). You should also see some data both sent and received in the transfer field for your workstation peer.
If you don’t see a transfer field listed at all, you’ve either incorrectly configured the PrivateKey, PublicKey, or Endpoint setting on the client (review the instructions for Configure WireGuard Client above); incorrectly configured the PrivateKey, PublicKey, or ListenPort setting on the server (review the instructions for Configure WireGuard Server above); or there’s some VPC network setting that’s blocking traffic on UDP port 51820 from your local workstation to the WireGuard server (see the section below to troubleshoot).
If the transfer field shows data both sent and received, then the WireGuard tunnel itself is working correctly, but either the WireGuard server is not routing traffic internally to the VPC, or some VPC network setting is blocking traffic between the WireGuard server and the application server. Follow the Basic Troubleshooting steps from the Point-to-Site Configuration article to check if it’s the former (“Host β” in that article is the equivalent of the WireGuard bastion server in this article). Otherwise, see the section below.
Troubleshoot VPC Network
Here are four areas to check in the AWS console if it looks like your WireGuard traffic is being blocked by some AWS networking gear:
EC2 Source/Destination Check
The EC2 instance used by your WireGuard server bastion must have its AWS source/destination checking disabled. This setting is enabled by default to prevent the instance from forwarding the packets it receives from one host onto another host.
To view this setting for an instance, select the instance on the main EC2 Instances page, and then select the Change source/destination check action from the Networking submenu of actions:
For the WireGuard bastion, the Stop checkbox must be checked:
VPC Security Groups
The Inbound rules for the security group used by your WireGuard server bastion (wg-bastion in this example) must at least include access to UDP port 51820 (or whatever you configured the ListenPort value to be on the WireGuard server) from your local workstation’s public IP address. For this example, I’ve configured the security group to allow both UDP 51820 and TCP 22 from everywhere (0.0.0.0/0):
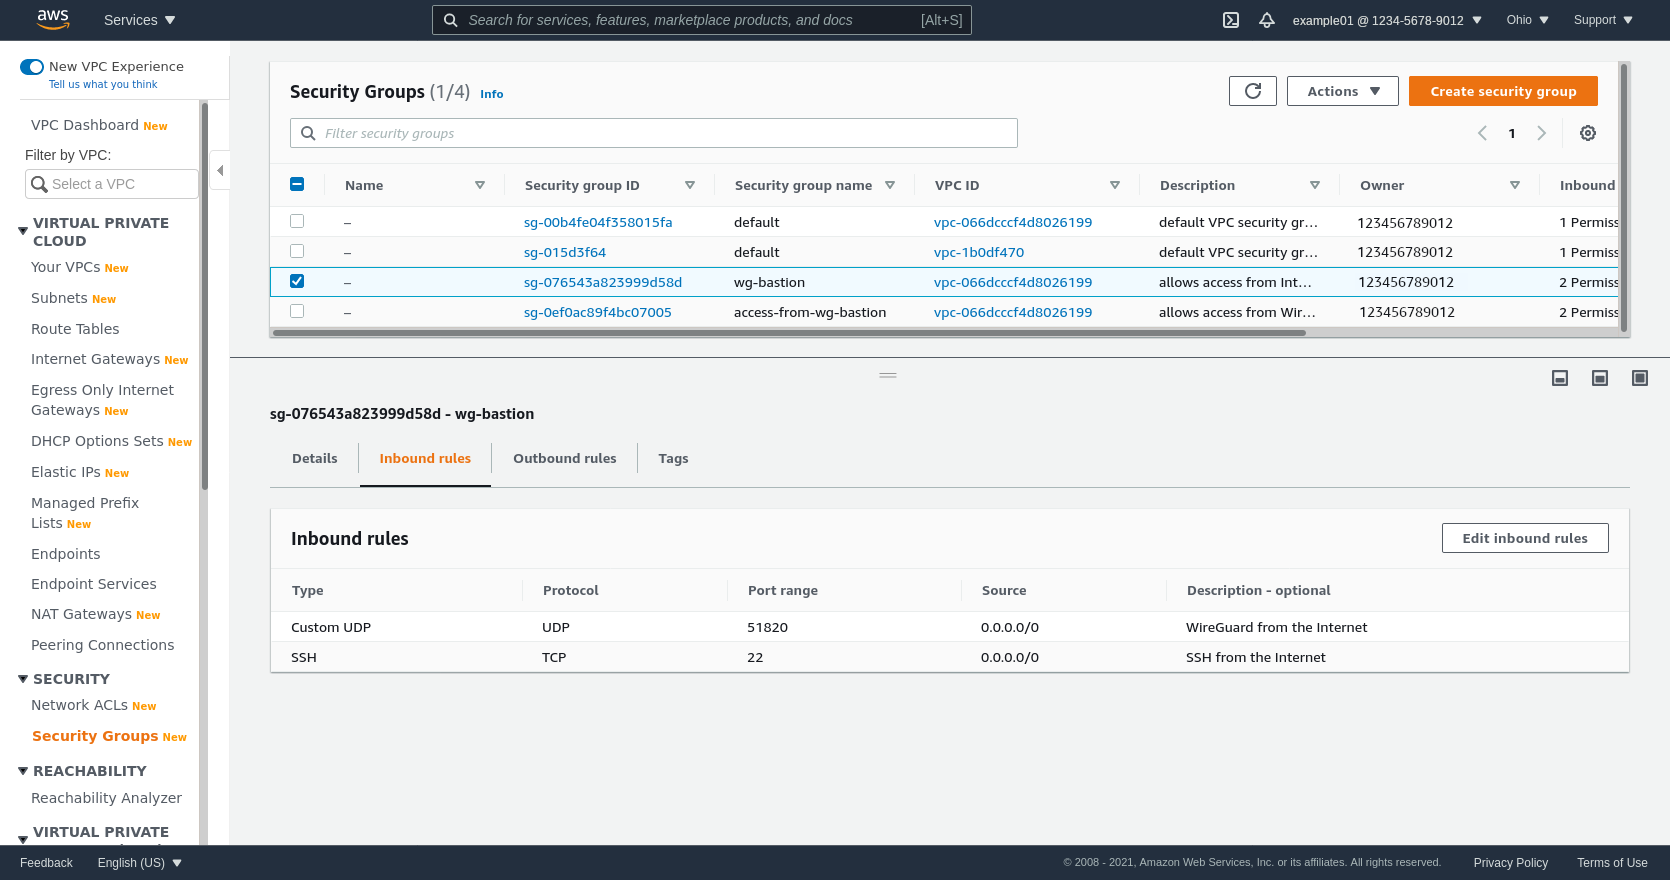
(The TCP 22 rule allows me to SSH directly into the WireGuard server; if you don’t need this, you can omit it.)
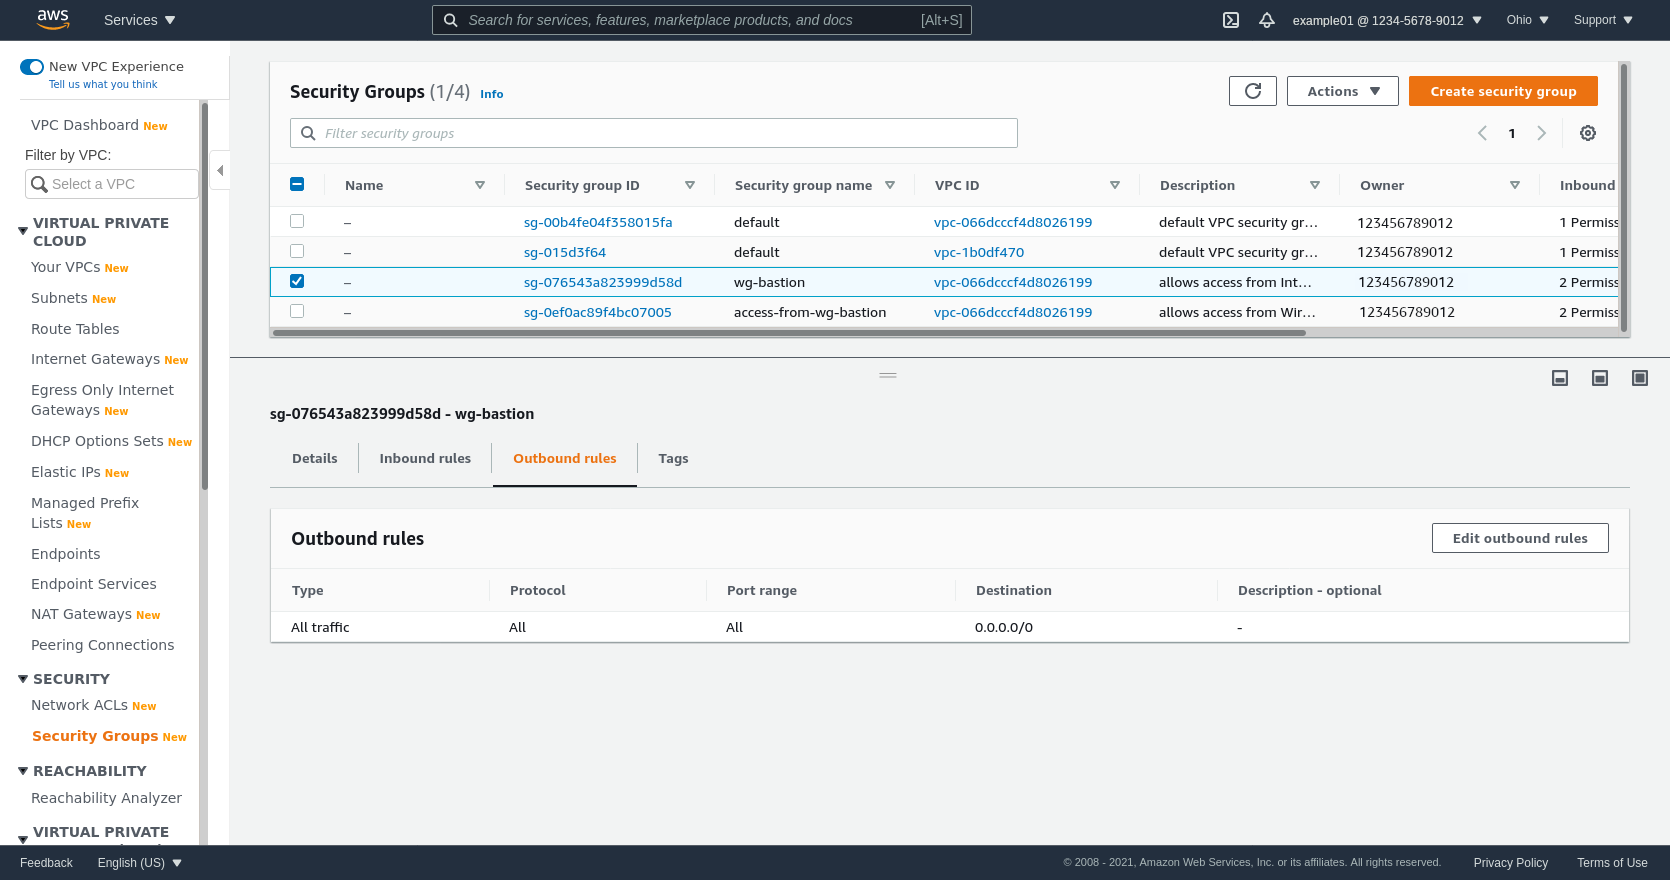
The Outbound rules for the bastion SG must at least include access to your internal application server on whatever port(s) the application uses (in this example, the application uses TCP port 8080; and I also used TCP port 22 to SSH into the application server from the WireGuard server). For this example, however, I’ve just kept the default rule, which allows all traffic to all destinations:
The Inbound rules for the security group used by your internal application (access-from-wg-bastion in this example) must at least include access to the port used by the application (TCP 8080 in this example) from the bastion SG (wg-bastion):
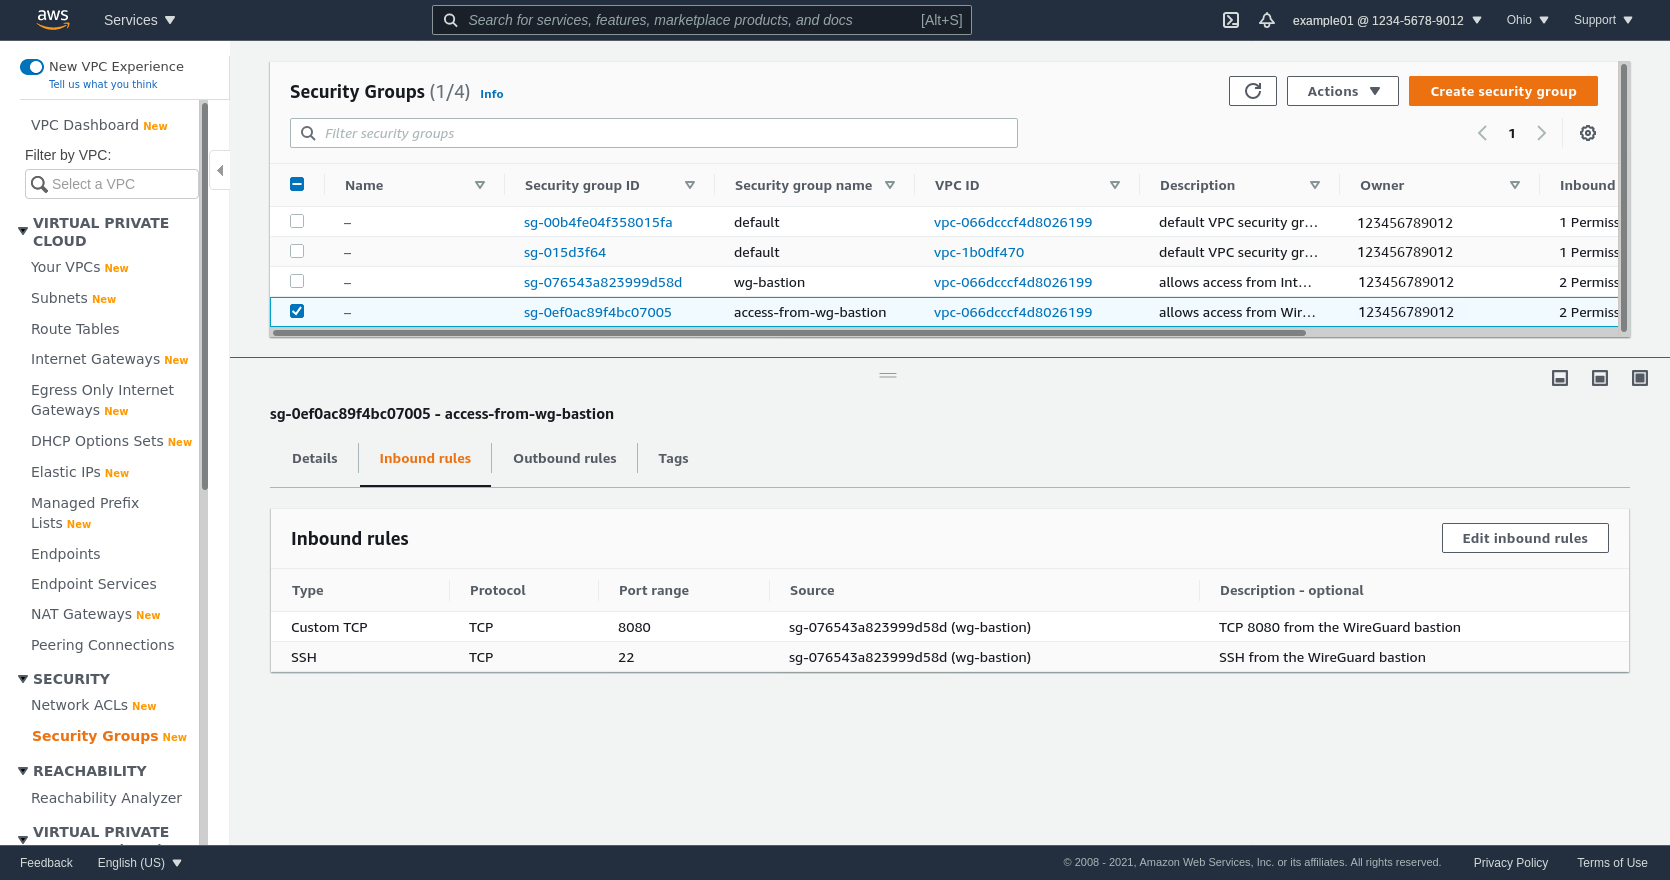
(The TCP 22 rule allows me to SSH into the application server through the WireGuard server; if you don’t need this, you can omit it.)
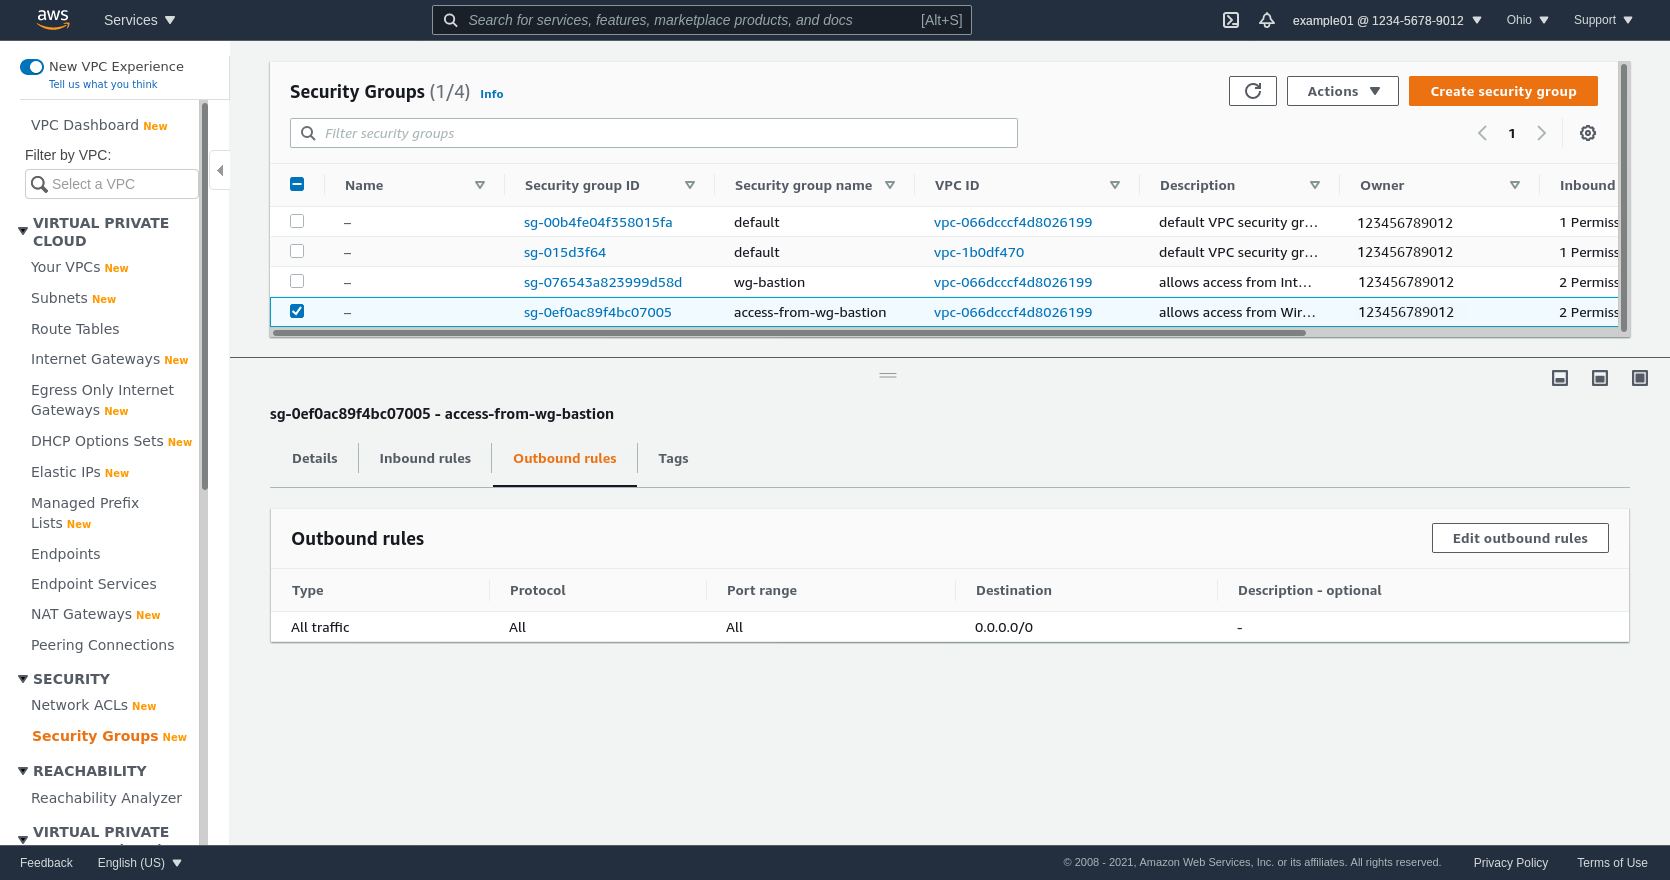
The Outbound rules for the application SG don’t matter (from a WireGuard perspective). For this example, I’ve just kept the default rule, which allows all traffic to all destinations — but you could remove it without disrupting your access to the application through WireGuard (but note, depending on your application, if you remove the default rule you might need to replace it with other rules that would allow the application access to other specific network services, like databases, fileshares, external APIs, etc):
VPC Network ACLs
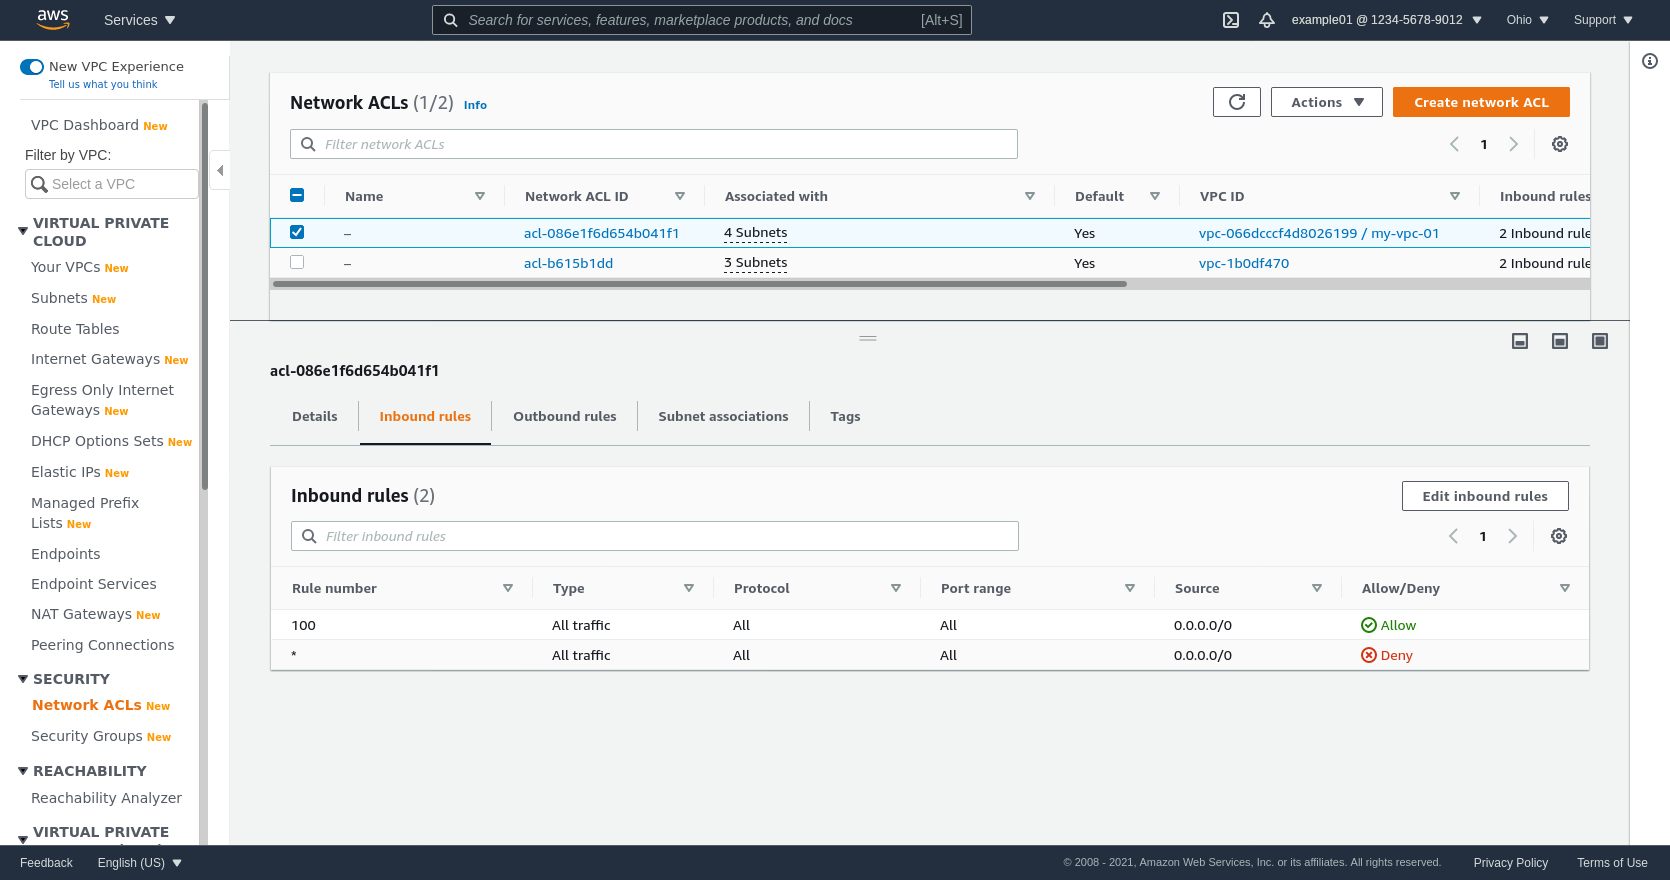
For this example, I’ve just kept the VPC’s default Network ACL (NACL) for all subnets, which allows all inbound and outbound traffic (ie doesn’t add any restrictions on top of what my Security Groups already allow and disallow):
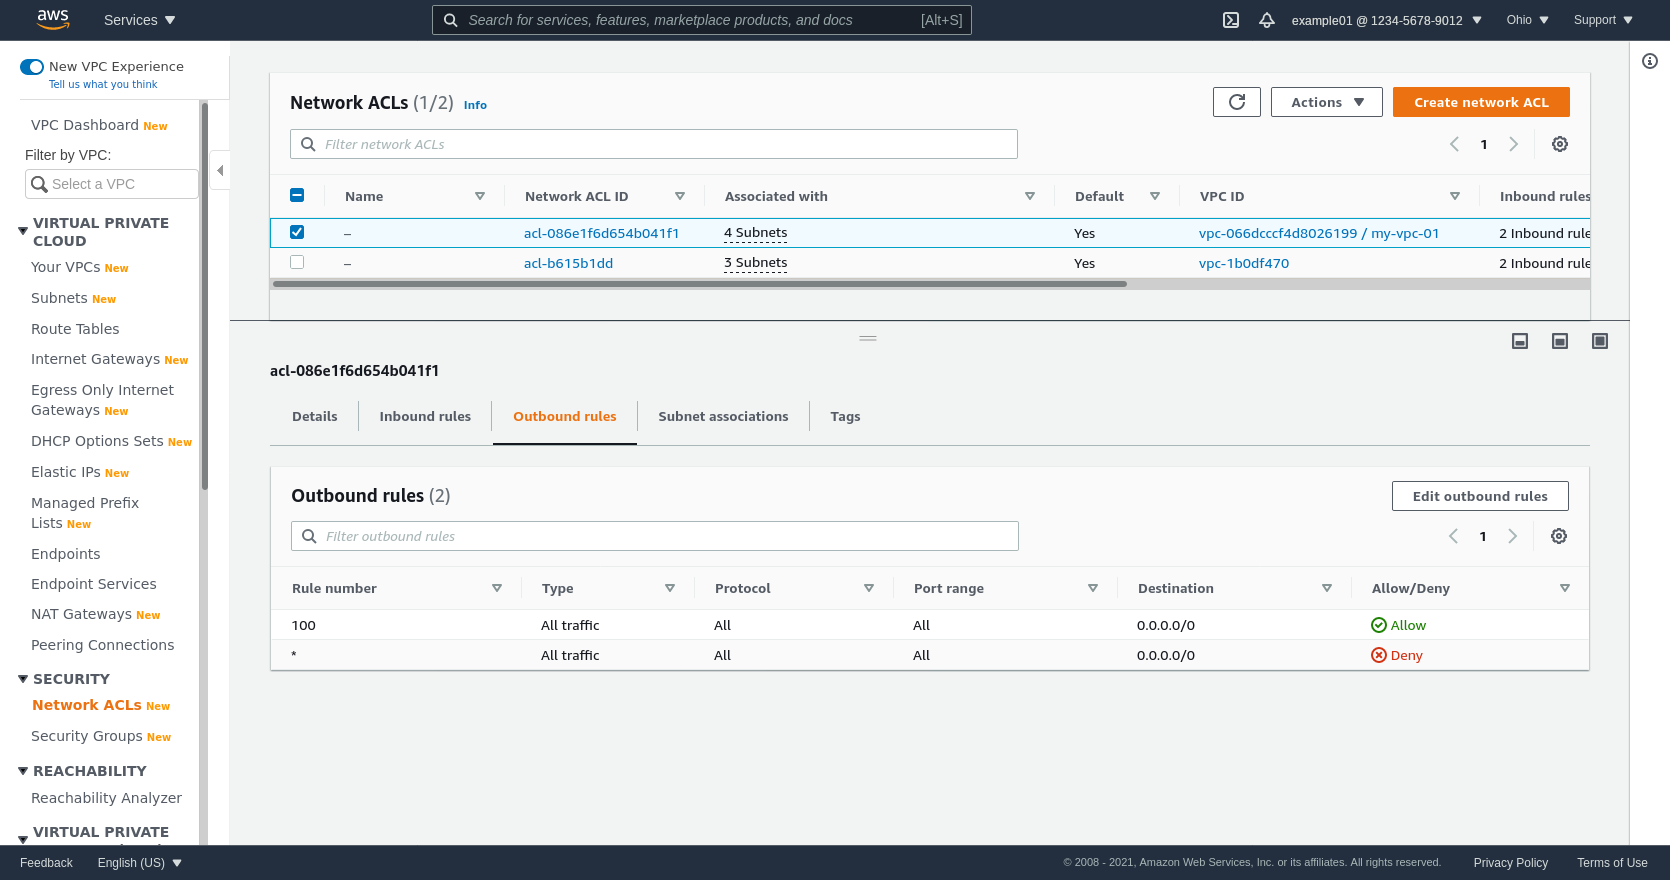
Using Security Groups instead of Network ACLs to restrict traffic in a VPC is generally a much more maintainable approach.
If you do use NACLs, however, note that you would need at minimum to grant the following rules (or rules which subsume them) to the various subnets in your VPC in order to make this example work; including the following inbound rules to the public subnets in your VPC (where 198.51.100.1 would be the public IP address of your workstation, and 10.10.21.130 is the private IP address of the internal application):
| NACL | Type | Protocol | Port range | Source |
|---|---|---|---|---|
| Public Inbound | SSH | TCP | 22 | 198.51.100.1 |
| Public Inbound | Custom UDP | UDP | 51820 | 198.51.100.1 |
| Public Inbound | Custom TCP | TCP | 1024-65535 | 10.10.21.130 |
And the following outbound rules to your public subnets:
| NACL | Type | Protocol | Port range | Destination |
|---|---|---|---|---|
| Public Outbound | Custom TCP | TCP | 1024-65535 | 198.51.100.1 |
| Public Outbound | Custom UDP | UDP | 1024-65535 | 198.51.100.1 |
| Public Outbound | Custom TCP | TCP | 8080 | 10.10.21.130 |
And the following inbound rules to your private subnets (where 10.10.20.95 is the private IP address of the WireGuard bastion):
| NACL | Type | Protocol | Port range | Source |
|---|---|---|---|---|
| Private Inbound | SSH | TCP | 22 | 10.10.20.95 |
| Private Inbound | SSH | TCP | 8080 | 10.10.20.95 |
And the following outbound rule to your private subnets:
| NACL | Type | Protocol | Port range | Destination |
|---|---|---|---|---|
| Private Outbound | Custom TCP | TCP | 1024-65535 | 10.10.20.95 |
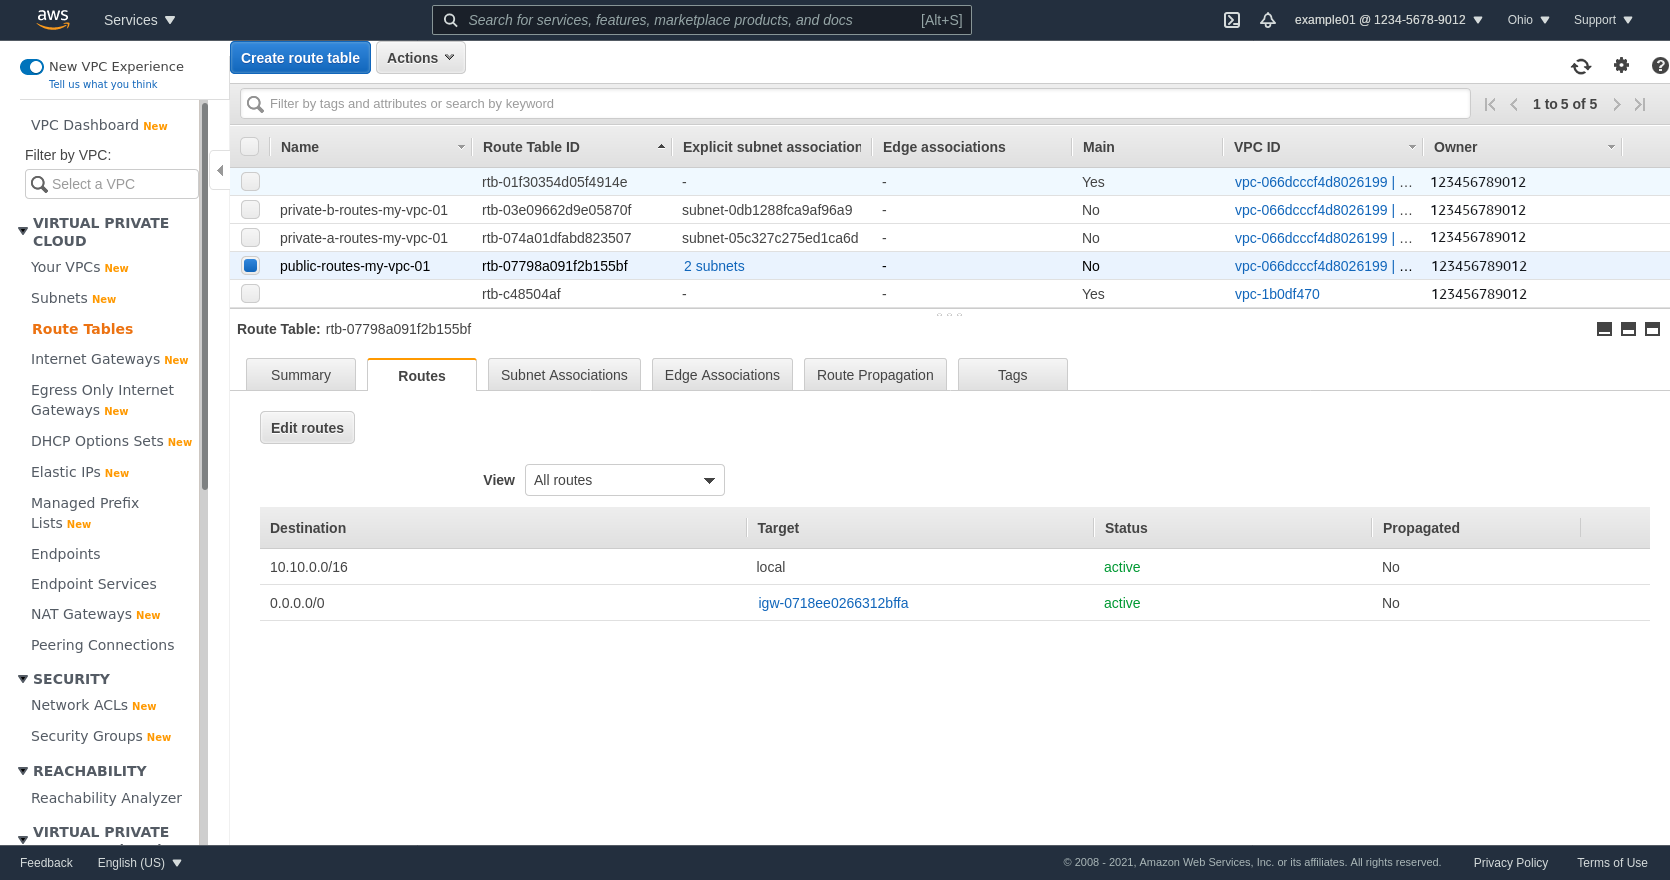
VPC Route Tables
The Routes for your public subnets must route the full VPC subnet IPv4 block locally (10.10.0.0/16 in this example), and be able to route to your workstation through an Internet Gateway:
The Routes for each private subnet must also route the full VPC subnet IPv4 block locally (10.10.0.0/16 in this example). It doesn’t need to be able to route to anything else; but if it does have a NAT Gateway attached, its routing table would look like the following: